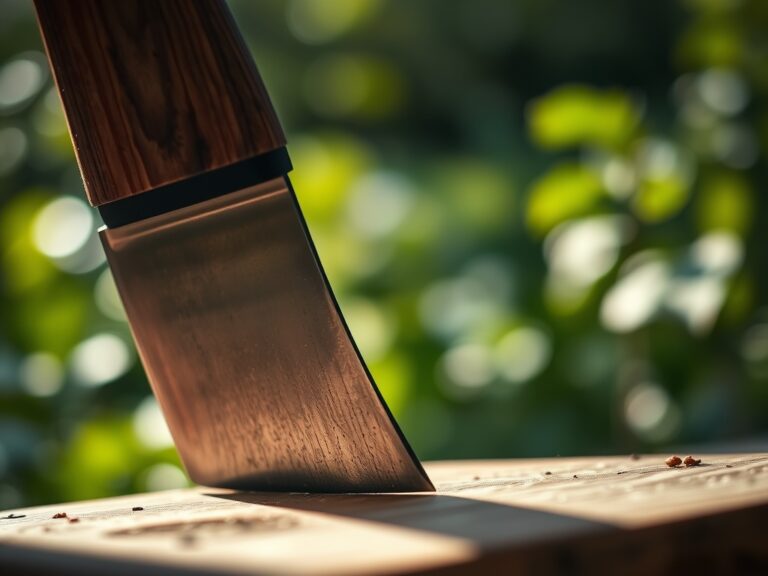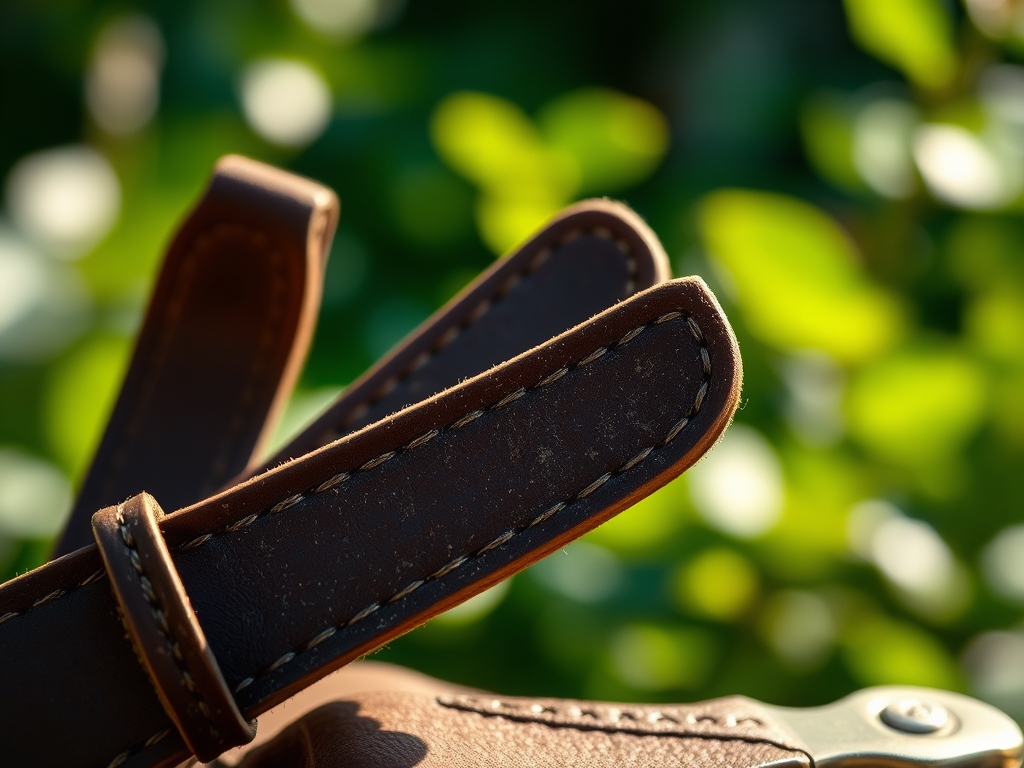
10 Best Leather Strops for Tools
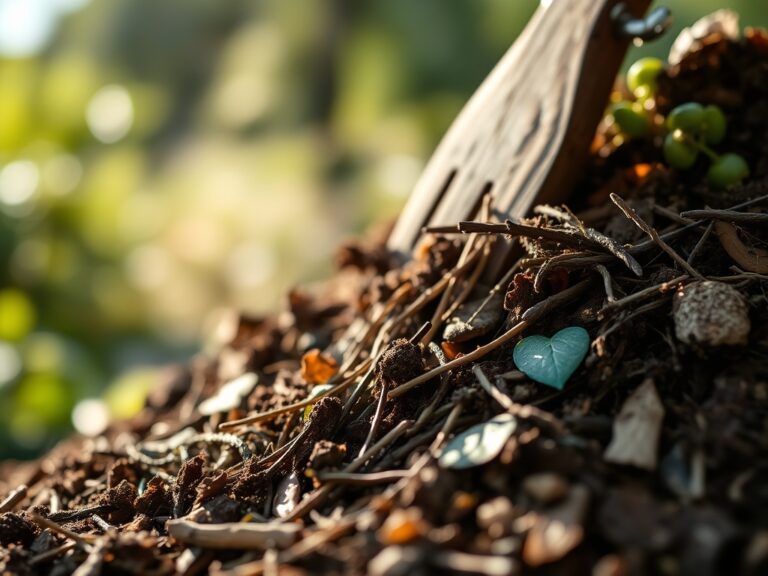
The smell of damp earth after a heavy rain indicates a healthy release of geosmin from soil-dwelling bacteria. This scent signals a peak state of microbial activity within the rhizosphere where turgor pressure remains high. To maintain the precision required for grafting or pruning these healthy specimens, a sharp edge is non-negotiable. Finding the best leather strops for tools ensures that every cut on a woody perennial is clean; this prevents the jagged tissue damage that invites opportunistic pathogens. A dull blade crushes the xylem and phloem vessels; a stropped blade slices through them cleanly.
Maintaining tool integrity is as vital as monitoring soil moisture. When a blade loses its micro-bevel, it requires more force to penetrate plant tissue. This increased pressure can lead to accidental slippage or ragged wounds on the plant. The following guide provides the technical specifications for selecting and using the best leather strops for tools to maintain horticultural excellence.
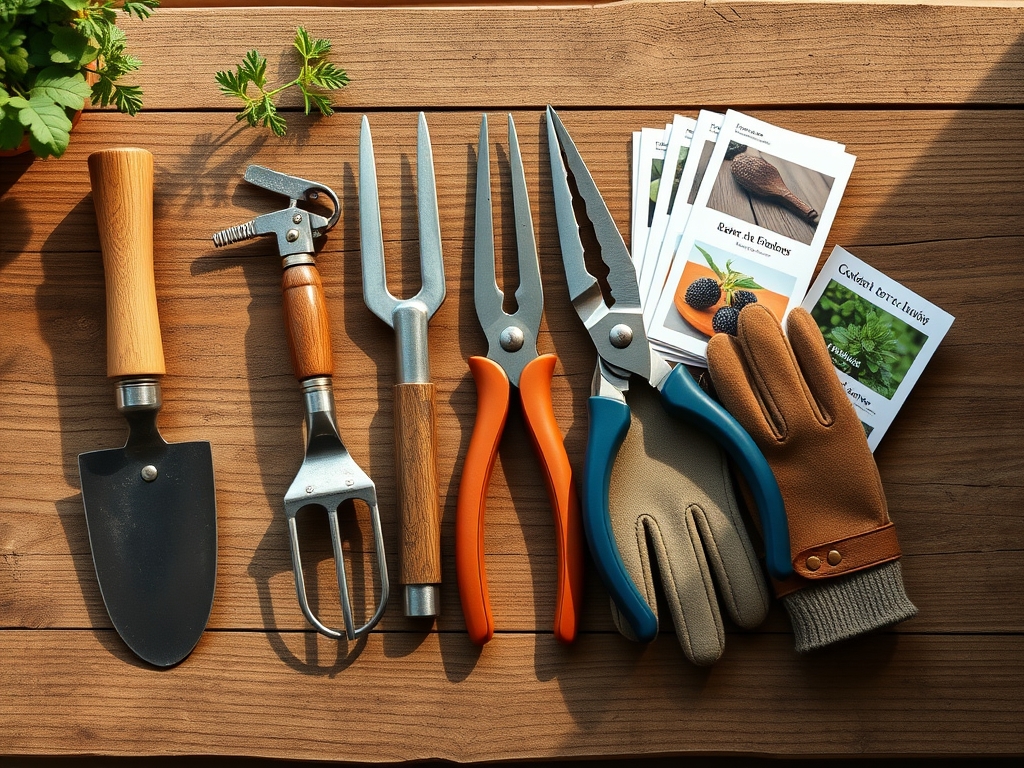
Materials:
The physical texture of your workspace should mirror a friable loam; organized, aerated, and rich in the necessary components for growth. For tool maintenance, the substrate is the leather itself. Vegetable-tanned cowhide with a high Cation Exchange Capacity (CEC) in the surrounding soil is irrelevant here, but the pH of the leather tanning process matters. Aim for leather processed with a neutral pH to prevent the corrosion of high-carbon steel blades.
The best leather strops for tools utilize "rough-out" surfaces to hold honing compounds. These compounds are graded by micron size. A 0.5-micron chromium oxide paste is the standard for achieving a mirror finish. In the garden, the soil pH should ideally sit between 6.0 and 7.0 for maximum nutrient bioavailability. If your soil is too acidic, add pelletized lime at a rate of 5 pounds per 100 square feet. If too alkaline, elemental sulfur is required. Ensure your NPK ratios are balanced at 10-10-10 for general maintenance or 5-10-10 for root development in woody shrubs.
Timing:
Hardiness Zones 4 through 8 experience distinct frost-date windows that dictate the biological clock of the garden. Pruning should occur during the dormant season, typically between late January and early March, before the transition from vegetative to reproductive stages begins. This timing ensures that the plant's energy is stored in the root system rather than being expended on new growth that a late frost could kill.
The biological clock is regulated by the photoperiod. As days lengthen, auxin levels shift, signaling the plant to break bud. Your tools must be stropped and ready before this surge in metabolic activity. Attempting to prune during the height of sap flow can lead to excessive "bleeding" in species like Acer or Betula, which may temporarily reduce turgor pressure in the upper canopy.
Phases:
Sowing
Successful germination requires a consistent temperature of 65 to 75 degrees Fahrenheit. Seeds must be placed at a depth of three times their diameter to ensure adequate moisture contact.
Pro-Tip: Maintain high humidity to prevent the seed coat from hardening. This supports the biological process of imbibition, where the seed absorbs water to activate metabolic enzymes.
Transplanting
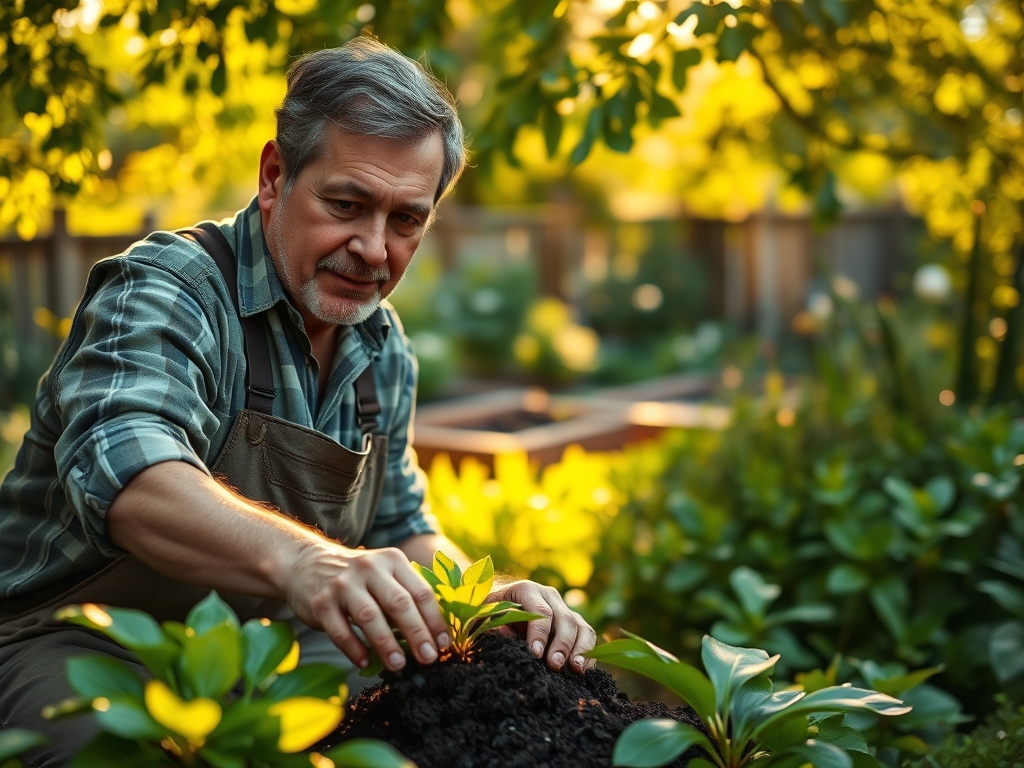
When moving a seedling, the goal is to minimize transplant shock. Ensure the rhizosphere remains intact. Use a hori-hori knife to cut a clean circle around the root ball, preserving as many fine root hairs as possible.
Pro-Tip: Apply a mycorrhizal inoculant to the planting hole. This symbiotic relationship increases the root surface area, allowing for better uptake of phosphorus and water through fungal hyphae.
Establishing
Once in the ground, the plant enters a phase of rapid cell division. Monitor the apical meristem for signs of healthy growth. If the plant becomes "leggy," it may be experiencing phototropism, where it stretches toward a light source.
Pro-Tip: Use a sharp, stropped bypass pruner to pinch back the lead shoot. This triggers auxin suppression, which encourages lateral branching and a more robust, bushy structure.
The Clinic:
Physiological disorders often mimic disease but are usually rooted in environmental stress or nutrient imbalances.
- Symptom: Interveinal chlorosis in new leaves.
Solution: This indicates an Iron deficiency, often caused by a soil pH above 7.0. Apply chelated iron to the soil. - Symptom: Blossom end rot in fruit.
Solution: This is a Calcium deficiency. Ensure consistent watering; 1.5 inches per week; to allow for steady calcium transport through the xylem. - Symptom: Marginal leaf burn.
Solution: This often signals Potassium deficiency or salt buildup. Flush the soil with 2 inches of water to leach excess salts.
Fix-It: For Nitrogen chlorosis (yellowing of older leaves), apply a high-nitrogen fertilizer with an NPK ratio of 20-10-10. Nitrogen is a mobile nutrient; the plant will pull it from old growth to support new development.
Maintenance:
Precision maintenance requires the right equipment. Use a soil moisture meter daily to ensure the root zone stays between 20% and 40% moisture capacity. Apply 1.5 inches of water per week at the drip line of the plant; watering the foliage directly increases the risk of fungal pathogens like powdery mildew.
Clean your bypass pruners after every use with 70% isopropyl alcohol to prevent the spread of tobacco mosaic virus or other systemic issues. Every ten cuts, run the blade across one of the best leather strops for tools at a 20-degree angle. This maintains the "bite" of the steel without removing excessive metal. Use a hori-hori knife for weeding and measuring planting depths; the serrated edge is ideal for dividing perennials in early spring.
The Yield:
Harvesting is the culmination of the reproductive stage. For leafy greens, harvest in the early morning when turgor pressure is at its maximum. This ensures the cell walls are fully distended, providing a crisp texture. For fruiting bodies, wait until the abscission layer has fully formed at the base of the stem.
Post-harvest handling is critical for "day-one" freshness. Immediately submerge harvested greens in 40-degree Fahrenheit water to remove field heat. This slows the rate of respiration and prevents premature senescence. For woody herbs, use your stropped shears to make a 45-degree cut; this increases the surface area for water uptake if they are being kept in a vase.
FAQ:
What is the best material for a tool strop?
Vegetable-tanned bovine leather is the industry standard. It provides a consistent density and a natural "draw" that aligns the microscopic teeth of a steel blade without rounding the edge.
How often should I strop my garden tools?
Strop your blades every 15 to 20 minutes of active use. This frequent maintenance prevents the need for aggressive grinding and extends the lifespan of high-quality carbon steel implements.
Can I use a strop on serrated blades?
No. Strops are designed for flat or convex bevels. Serrated edges require specialized tapered ceramic or diamond rods to reach the individual gullets of the teeth without damaging the leather surface.
What compound should I use on my leather strop?
A chromium oxide green compound (0.5 micron) is ideal for a final polish. For tools with visible nicks or significant dullness, start with a coarser black silicon carbide compound before finishing with the green.