8 Solid Steps to Build a Raised Stone Bed
Damp earth releases geosmin as the spade cuts the sod; the scent signals a disruption of the soil microbiome that precedes any successful construction. To master the steps to build a raised stone bed, one must prioritize structural integrity and drainage over mere aesthetics. A stone bed provides superior thermal mass, regulating soil temperature during the volatile shifts of early spring. This thermal stability ensures consistent turgor pressure within plant cells, preventing the physiological wilting often seen in thinner, wooden structures. By elevating the growing medium, you gain absolute control over the rhizosphere, allowing for precise manipulation of nutrient density and water retention. Success requires a baseline understanding of soil mechanics and local geology. You are not just stacking rocks; you are engineering a microclimate that facilitates rapid root expansion and optimal gas exchange. Every stone placed acts as a heat sink, absorbing solar radiation by day and radiating it back into the root zone by night, effectively extending the growing season by several weeks in cooler climates.
Materials:
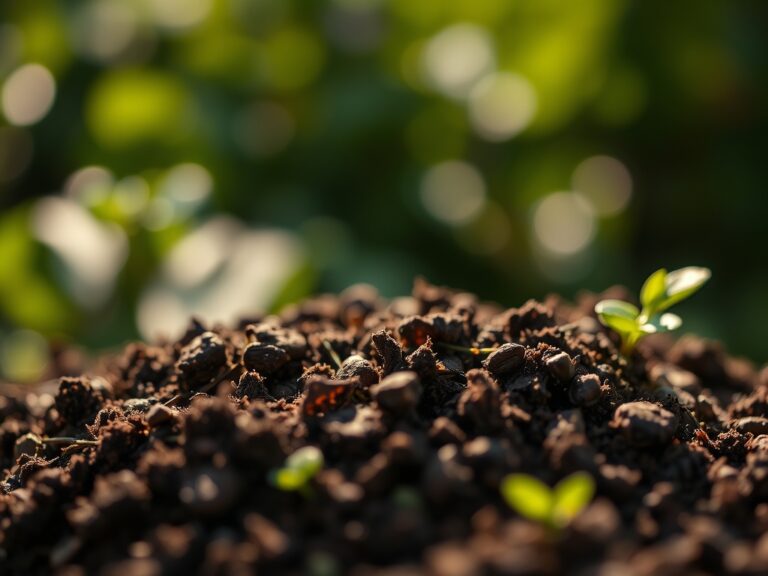
Constructing a permanent stone bed requires a substrate that balances Cation Exchange Capacity (CEC) with porosity. For a general-purpose vegetable or floral bed, target a soil pH between **6.2 and 6.8**. The ideal substrate is a friable loam consisting of **40 percent sand, 40 percent silt, and 20 percent clay**. This ratio ensures that the soil does not compact under its own weight, maintaining the macropores necessary for oxygen to reach root hairs.
For the initial filling, integrate a slow-release organic fertilizer with an NPK ratio of 5-10-5. The higher phosphorus content encourages robust root development during the establishment phase. Avoid high-nitrogen fertilizers (such as 20-0-0) during construction, as excessive nitrogen can lead to succulent, weak growth that is susceptible to environmental stress. The stone itself should be non-calcareous if you intend to grow acid-loving plants; otherwise, limestone can gradually raise the pH of the soil over time through mineral leaching. Use a heavy-duty landscape fabric only at the base to prevent subsoil mixing while allowing for vertical drainage.
Timing:
The window for construction is dictated by your USDA Hardiness Zone. In Zones 4 through 6, construction should be completed at least four weeks before the last predicted frost. This allows the soil to settle and the microbial population to stabilize before the first transplant. In warmer Zones 8 through 10, autumn construction is preferable to take advantage of the winter rains for soil compaction.
Understanding the biological clock of your intended crops is essential. Most temperate plants transition from the vegetative stage to the reproductive stage based on the photoperiod. By building in late winter, you ensure the bed is ready for the "Spring Flush," a period of rapid cellular division triggered by increasing day length and soil temperatures reaching a consistent 55 degrees Fahrenheit. Proper timing ensures that the root system is established before the high transpiration demands of midsummer.
Phases:

Sowing
When sowing seeds directly into the new stone bed, depth is critical. A general rule is to sow seeds at a depth three times their diameter. Ensure the soil surface is level to prevent water from pooling, which can cause seeds to rot or "damp off" due to fungal pathogens like Pythium.
Pro-Tip: Maintain consistent surface moisture to trigger imbibition, the process where the seed absorbs water to activate metabolic processes. Biological Why: High humidity at the soil-air interface is required to soften the seed coat, allowing the radicle to emerge without exhausting the seed's limited energy reserves.
Transplanting
When moving starts into the bed, dig a hole twice as wide as the root ball. Position the plant so the crown is level with the soil surface to prevent stem rot. Space plants according to their mature width to ensure adequate airflow, which reduces the incidence of foliar diseases.
Pro-Tip: Apply a mycorrhizal inoculant to the root ball during transplanting. Biological Why: Mycorrhizal fungi form a symbiotic relationship with the roots, effectively increasing the surface area for nutrient uptake and improving the plant's resistance to drought stress through enhanced water transport.
Establishing
The first 14 to 21 days are the establishment phase. During this time, the plant redirects energy from leaf production to root elongation. Monitor the plants for signs of transplant shock, such as temporary loss of turgor or chlorosis of the lower leaves.
Pro-Tip: Avoid heavy pruning during the first three weeks. Biological Why: The plant needs its existing leaf area to maximize photosynthesis, producing the carbohydrates (sugars) necessary to fuel the growth of new root tissue. Auxin suppression, caused by removing terminal buds too early, can stall root development.
The Clinic:
Physiological disorders often mimic infectious diseases but are rooted in environmental or nutritional imbalances.
Symptom: Blossom End Rot (dark, leathery spots on the bottom of fruit).
Solution: This is a calcium transport issue, often caused by inconsistent watering rather than a lack of calcium in the soil. Maintain steady soil moisture to ensure calcium moves through the xylem.
Symptom: Interveinal Chlorosis (yellowing between green leaf veins).
Solution: This typically indicates a Magnesium deficiency or high pH blocking iron uptake. Apply Epsom salts (Magnesium Sulfate) at a rate of 1 tablespoon per gallon of water if pH is within the correct range.
Symptom: Purpling of older leaves.
Solution: This is a classic sign of Phosphorus deficiency, often occurring in cold soils where phosphorus becomes chemically "locked" and unavailable to the plant.
Fix-It for Nitrogen Chlorosis: If the entire plant is pale green or yellow, apply a liquid kelp or fish emulsion with a 5-1-1 NPK ratio for immediate nitrogen bioavailability.
Maintenance:
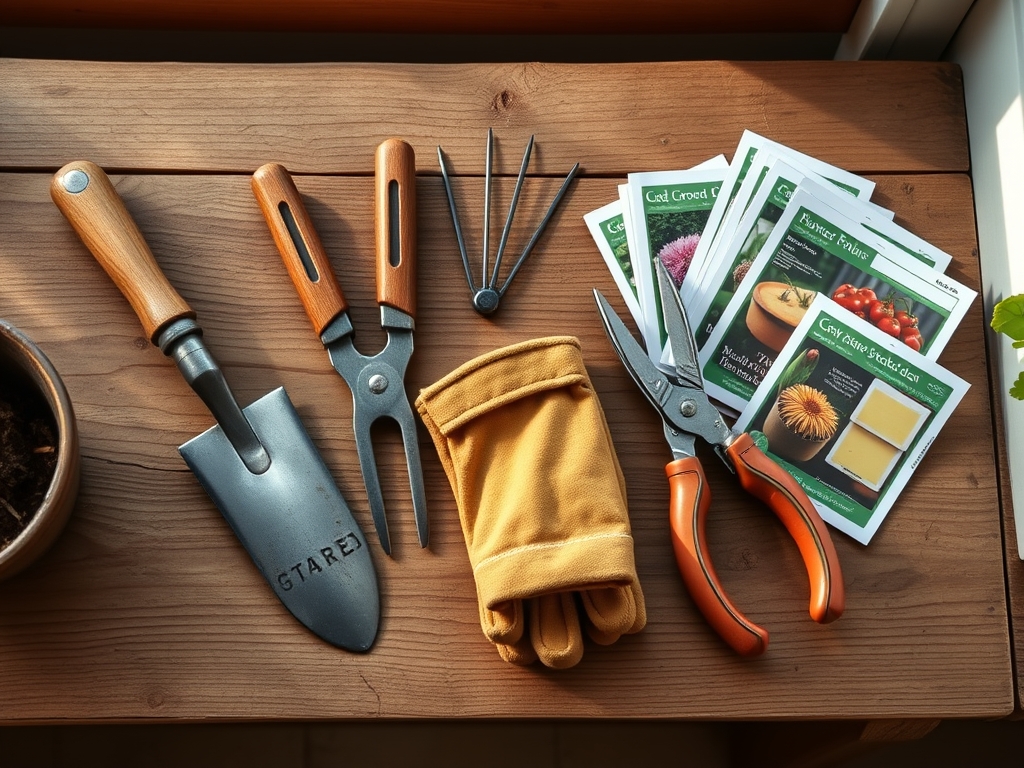
Precision is the hallmark of professional maintenance. Use a soil moisture meter to ensure the root zone remains between 60 and 80 percent field capacity. Most established stone beds require 1.5 inches of water per week, delivered at the drip line to avoid wetting the foliage.
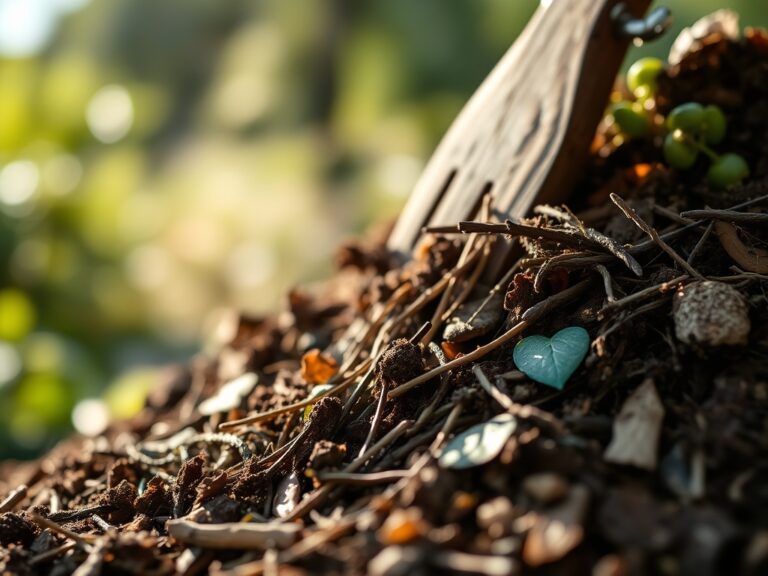
Keep a hori-hori knife sharpened for weeding; its serrated edge allows you to cut taproots deep below the surface without disturbing the primary crop's root system. Use bypass pruners for clean cuts that heal quickly, minimizing the entry points for pathogens. Every autumn, top-dress the bed with 2 inches of well-rotted organic matter to replenish nutrients lost to leaching and crop uptake, maintaining the soil's CEC.
The Yield:
Harvesting is a physiological intervention. For leafy greens, harvest in the early morning when turgor pressure is at its peak and the plant is most hydrated. For fruiting crops, use bypass pruners to snip the pedicel rather than pulling, which can damage the main stem.
To maintain "day-one" freshness, immediately remove "field heat" by placing harvested produce in a cool, shaded area or a hydro-cooling bath. This slows down the rate of respiration and senescence, preserving the sugars and volatile compounds that define flavor. For herbs, harvesting just before the transition to the reproductive (flowering) stage ensures the highest concentration of essential oils in the foliage.
FAQ:
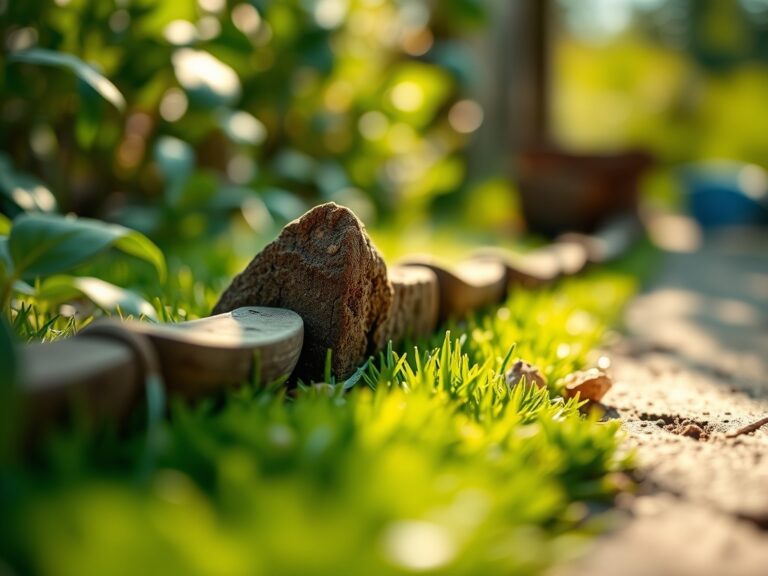
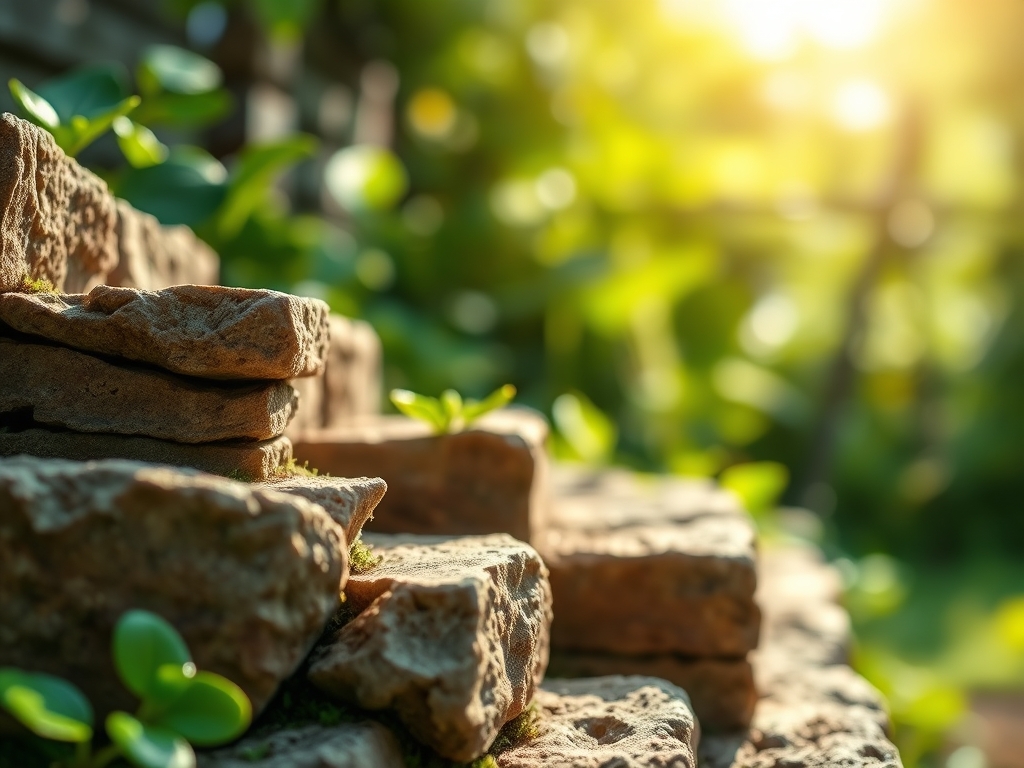
What is the best stone for a raised bed?
Use locally sourced, non-porous stones like granite or basalt. Avoid soft sandstones that weather quickly. Ensure the stones are at least 4 to 6 inches thick to provide the necessary structural weight to resist soil pressure and frost heaving.
How deep should a stone raised bed be?
A minimum depth of 12 to 18 inches is required for most vegetables. This depth allows for unrestricted taproot expansion and provides a sufficient buffer for moisture retention. For deep-rooted crops like carrots, aim for 24 inches.
Do I need mortar for a stone raised bed?
Dry-stacking is preferred for beds under 3 feet tall. It allows for natural drainage through the gaps between stones, preventing hydrostatic pressure buildup. For beds taller than 3 feet, a structural engineer or professional mason should be consulted.
How do I stop weeds from growing between stones?
Pack the joints with a mixture of fine stone dust and sharp sand. This creates a dense barrier that is difficult for seeds to penetrate. For a biological approach, plant creeping thyme in the crevices to outcompete opportunistic weed species.