6 Simple Steps to Scrub Seedling Trays
Damp earth carries a specific olfactory profile of geosmin and fungal activity; it is the scent of a productive rhizosphere. A healthy seedling maintains high turgor pressure, its cell walls rigid against the internal force of water. Achieving this state requires more than just high quality seed and light. Success begins with sanitation. If you do not follow the proper steps to scrub seedling trays, you risk introducing pathogens like Pythium or Rhizoctonia, which cause catastrophic damping-off. Pathogens linger in the microscopic crevices of used plastic, waiting for the high humidity of a germination chamber to thrive. Clean equipment ensures that the initial root hairs emerge into a sterile environment, allowing for maximum nutrient uptake without competition from opportunistic fungi. This technical preparation is the foundation of a successful growing season. Neglecting tray hygiene is a primary cause of early-stage crop failure. By removing biofilm and mineral deposits, you ensure that your irrigation remains uniform and your chemical inputs remain effective.
Materials:

To prepare for the next cycle, you must understand the substrate requirements of your future seedlings. Most vegetable starts thrive in a **friable loam** or a peat-based mix with a **pH between 5.8 and 6.5**. This acidity range ensures that micronutrients like iron and manganese remain bioavailable. Your cleaning kit should include a **10 percent bleach solution** or a **3 percent hydrogen peroxide** wash. For the subsequent planting, you will need a balanced starter fertilizer. Look for an **NPK ratio of 10-10-10** for general purpose or a **5-10-5** ratio if you are prioritizing root development over leaf mass. High **Cation Exchange Capacity (CEC)** in your potting medium is vital; it measures the soil’s ability to hold onto positively charged ions like calcium and magnesium. Use a stiff-bristled nylon brush to reach the corners of the cells. Avoid metal scrapers that can gouge the plastic and create new harborages for bacteria.
Timing:
Timing is dictated by your local Hardiness Zone and the specific photoperiod requirements of your crop. In Zones 5 through 7, the window for starting cool-season brassicas begins 8 to 10 weeks before the last predicted frost. Scrubbing your trays must occur at least two weeks before sowing to allow for total desiccation of any remaining pathogens. This period aligns with the plant's Biological Clock. As seedlings move from the vegetative stage to the reproductive stage, their demand for phosphorus increases. You must synchronize your tray preparation so that the transition from the nursery to the field occurs when soil temperatures consistently hit 60 degrees Fahrenheit. Monitoring the Growing Degree Days (GDD) provides a data-driven approach to timing rather than relying on the calendar alone.
Phases:
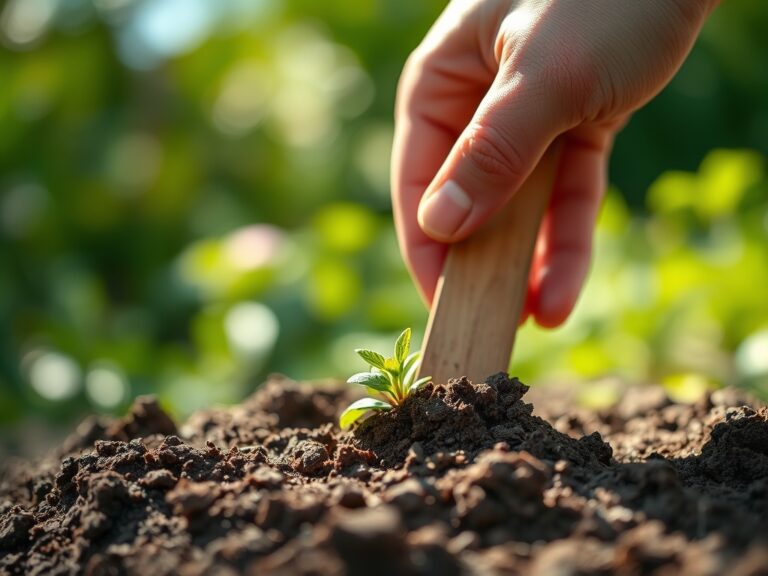
Sowing
Fill the sanitized trays with a pre-moistened medium. Ensure the substrate is not compacted; air porosity should remain around 20 to 30 percent to allow for gas exchange. Place seeds at a depth of twice their diameter. Maintain a consistent temperature of 70 to 75 degrees Fahrenheit for most temperate species.
Pro-Tip: Seedlings exhibit phototropism, where they grow toward a light source due to the redistribution of auxins. To prevent leggy stems, provide a high-intensity light source 2 to 3 inches above the canopy to maintain a compact growth habit.
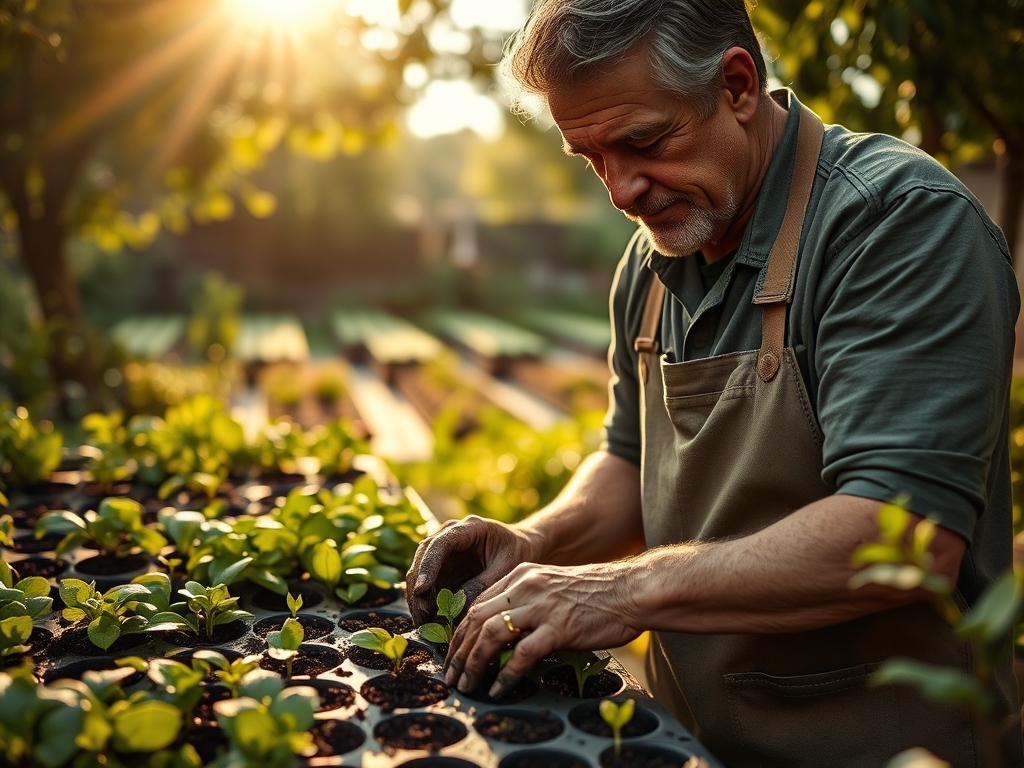
Transplanting
When the first true leaves appear, the plant has transitioned from relying on endosperm energy to active photosynthesis. This is the time to move them to larger vessels or the field. Ensure the root ball remains intact to minimize transplant shock, which is a temporary cessation of growth due to root hair damage.
Pro-Tip: Introducing mycorrhizal fungi during transplanting creates a mycorrhizal symbiosis. These fungi extend the reach of the root system, significantly increasing the surface area for water and phosphorus absorption.
Establishing
Once in the ground, the plant must establish its root architecture. Focus on deep, infrequent watering to encourage the roots to seek moisture in lower soil horizons. Monitor the leaf area index to ensure the plant is capturing enough solar radiation to fuel the expansion of its vascular system.
Pro-Tip: Auxin suppression occurs when you pinch the terminal bud of certain species. This removes apical dominance and forces the plant to invest energy into lateral branching, resulting in a sturdier and more productive plant.
The Clinic:
Physiological disorders often mimic disease but are usually rooted in environmental or nutritional stress.
- Symptom: Interveinal chlorosis on young leaves.
- Solution: This indicates an Iron deficiency. Check the soil pH; if it is above 7.0, iron becomes insoluble. Lower the pH using elemental sulfur.
- Symptom: Purple tinting on the underside of leaves.
- Solution: This is a classic sign of Phosphorus deficiency, often caused by cold soil temperatures (below 55 degrees Fahrenheit) which inhibit phosphorus uptake.
- Symptom: Tip burn on new growth.
- Solution: This suggests Calcium deficiency, often linked to inconsistent transpiration. Ensure steady moisture levels to facilitate the flow of calcium through the xylem.
Fix-It: For Nitrogen chlorosis (yellowing of older leaves), apply a water-soluble fertilizer with a high first number in the NPK ratio. Nitrogen is mobile within the plant, so it moves from old growth to new growth when in short supply.
Maintenance:
Precision is required for long-term plant health. Provide exactly 1.5 inches of water per week delivered at the drip line to avoid wetting the foliage, which can invite fungal spores. Use a soil moisture meter to verify that the root zone is hydrated at a depth of 6 inches. For pruning, use sharp bypass pruners to make clean cuts that heal quickly; ragged tears are entry points for pathogens. A hori-hori knife is the ideal tool for weeding near the base of the plant, as its serrated edge can cut through tough roots without disturbing the primary root system of your crop. Check the Cation Exchange Capacity of your soil annually to adjust your fertilization schedule.
The Yield:
Harvesting is a matter of cellular timing. For leafy greens, harvest in the early morning when turgor pressure is at its peak. This prevents wilting and preserves the crisp texture. For fruiting bodies, wait for the "ground spot" to change color or for the fruit to reach its specific Brix level (sugar content). Use a sharp knife to sever the pedicel; pulling the fruit can damage the vascular tissue of the main stem. Post-harvest, rapidly cool the produce to slow down senescence and respiration. This "field cooling" preserves the nutrient density and ensures "day-one" freshness for the consumer.
FAQ:
How do I disinfect seedling trays without bleach?
Use a solution of 3 percent hydrogen peroxide or a commercial peroxyacetic acid. Soak the trays for 10 minutes to oxidize organic matter and kill pathogens. Rinse thoroughly with potable water and allow to air dry in direct sunlight for UV sterilization.
Why is my potting mix repelling water?
Peat-based mixes can become hydrophobic when completely dry. This is due to organic waxes coating the fibers. Use a surfactant or "wetting agent" and warm water to rehydrate the medium. Ensure the mix is moist before sowing seeds to ensure contact.
What is the best NPK ratio for new seedlings?
A 1-2-1 ratio, such as 5-10-5, is ideal. Higher phosphorus levels support rapid root expansion and cellular division. Avoid high nitrogen levels initially, as this can cause excessive, weak vegetative growth that is susceptible to insect pressure and lodging.
How often should I clean my seedling trays?
Trays must be scrubbed and sanitized after every single use. Pathogens and mineral salts accumulate over a single growing cycle. Reusing trays without cleaning leads to a cumulative increase in disease pressure, eventually resulting in total crop loss during germination.