8 Clear Ways How to Clean Greenhouse Glass
The scent of damp, anaerobic algae clinging to aluminum frames signals a decline in photosynthetic efficiency. When light transmission drops by even 10 percent, turgor pressure in the lower canopy falters as plants struggle to maintain metabolic rates. Learning how to clean greenhouse glass is not an aesthetic choice; it is a fundamental requirement for maintaining the solar gain necessary for carbohydrate synthesis. Accumulated soot and mineral deposits act as a physical barrier to the full spectrum of light. This interference disrupts the delicate balance of the rhizosphere by limiting the energy available for root exudates. A clean pane ensures that every photon reaches the chlorophyll molecules within the leaf tissue. Without this clarity, plants enter a state of forced senescence or become susceptible to etiolation. Professional growers prioritize this maintenance during the shoulder seasons to maximize light during the shortest photoperiods of the year.
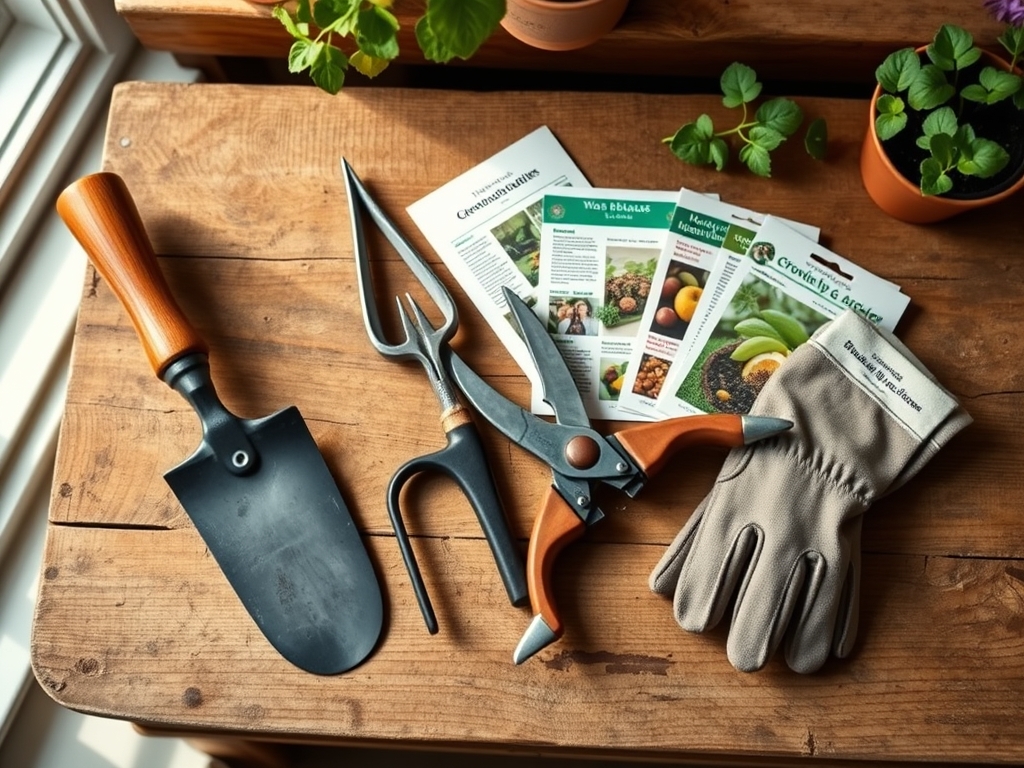
Materials:
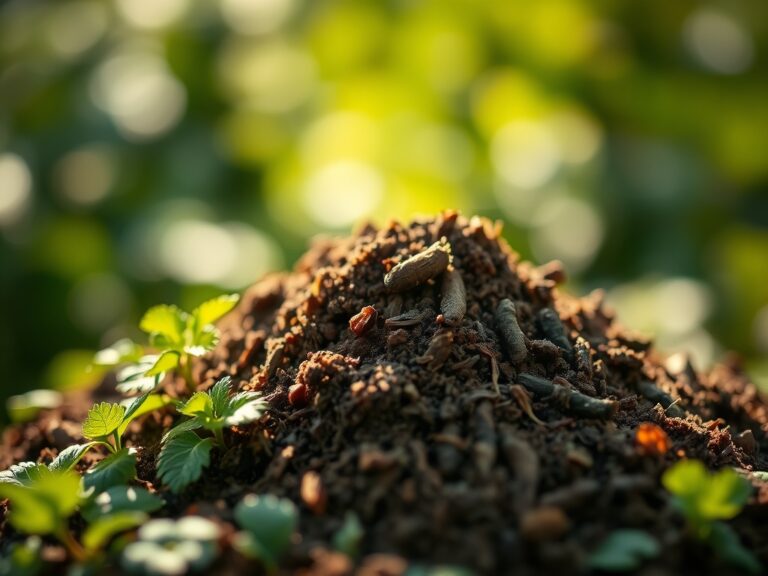
The success of the surrounding perimeter plants depends on a **friable loam** with a **pH between 6.0 and 6.8**. When cleaning, ensure runoff does not alter the **Cation Exchange Capacity (CEC)** of the soil. Use a specialized glass cleaner or a diluted solution of acetic acid. Avoid heavy surfactants that might leach into the substrate and disrupt the **NPK ratio of 10-10-10** required for general vegetative maintenance. The physical texture of the soil should be crumbly and porous to allow for rapid drainage of cleaning fluids. If the greenhouse floor is dirt or gravel, cover the **rhizosphere** of nearby specimens with heavy-duty plastic to prevent chemical contamination. A **soil moisture meter** should be used post-cleaning to ensure that the increased light levels do not lead to rapid desiccation of the growing medium.
Timing:
Hardiness Zones 4 through 7 require glass maintenance before the first hard frost, typically between late September and early November. In warmer zones 8 through 10, the window extends into mid-winter. Cleaning must occur when the biological clock of the crop transitions from the vegetative to the reproductive stage. During this shift, the demand for light increases significantly. Perform the cleaning on an overcast day with temperatures between 50 and 65 degrees Fahrenheit. High heat causes cleaning solutions to evaporate too quickly, leaving behind mineral streaks that refract light away from the plants. This timing prevents thermal shock to the glass and ensures the applicator can work without inducing heat stress on the internal microclimate.
Phases:

Preparation and Sowing
Remove all external debris using a soft-bristled brush. Start at the peak and work downward to prevent re-contaminating lower panes. This initial dry-brushing removes organic matter that could harbor fungal spores.
Pro-Tip: Removing debris prevents the colonization of pathogenic fungi. This is critical because fungal spores utilize thigmotropism to sense surface textures and anchor themselves to the glass or frame.
Application and Scrubbing
Apply a solution of one part white vinegar to four parts water. Use a telescopic squeegee to reach the highest points of the structure. For stubborn lichen or moss, a plastic scraper is necessary to avoid scratching the tempered surface. Scrubbing should be firm but controlled to maintain the structural integrity of the glazing clips.
Pro-Tip: Increasing light penetration via cleaning directly influences auxin suppression in the apical meristem. This encourages lateral branching and a more robust plant architecture.
Rinsing and Establishing
Rinse the glass with deionized water if possible to prevent "hard water" spotting. Dry the frames thoroughly with a microfiber cloth to prevent oxidation of the metal components. Check the seals for any gaps where moisture could collect and breed bacteria.
Pro-Tip: Clear glass optimizes phototropism, the process by which plants grow toward a light source. Uniform light distribution prevents the plant from wasting energy on elongated, weak stems.
The Clinic:
Symptom: Interveinal chlorosis on lower leaves.
Solution: This often indicates Nitrogen deficiency. Apply a water-soluble fertilizer with a high first number in the NPK ratio.
Symptom: Brittle, distorted new growth.
Solution: This suggests Calcium deficiency or low humidity. Increase airflow and check the pH levels to ensure Calcium is bioavailable.
Symptom: White, powdery residue on leaves.
Solution: Powdery mildew. Improve ventilation and reduce humidity levels below 60 percent.
Fix-It: For Nitrogen chlorosis, use a 5-1-1 fish emulsion to provide immediate bioavailability to the root system. Ensure the soil temperature is above 55 degrees Fahrenheit for optimal uptake.
Maintenance:
Consistent hydration is the cornerstone of greenhouse health. Provide 1.5 inches of water per week at the drip line for all perimeter plantings. Use a hori-hori knife to remove weeds that compete for nutrients in the soil. Prune dead or diseased tissue with bypass pruners to maintain airflow. Every two weeks, use a soil moisture meter to calibrate your irrigation schedule. If the glass becomes clouded between deep cleans, a quick spray with a hose can remove temporary dust buildup. Monitor the cation exchange by testing the soil twice a year to ensure that cleaning runoff has not stripped essential minerals like Magnesium or Potassium from the substrate.
The Yield:
Harvesting in a clean greenhouse results in higher nutrient density and better shelf life. For leafy greens, harvest in the early morning when turgor pressure is at its peak. Use a sharp, sterilized blade to make clean cuts, which allows the parent plant to heal quickly. For fruiting crops, wait until the fruit reaches full color saturation, indicating peak sugar content. Post-harvest, move produce immediately to a cool, shaded area to slow the rate of respiration. This preserves the "day-one" crispness and prevents the rapid breakdown of cellular structures. A clean greenhouse environment reduces the presence of surface pathogens on the harvest, extending its viability for storage.
FAQ:
How often should I clean my greenhouse glass?
Clean the glass at least twice a year. Perform one deep clean in late autumn to maximize winter light and one in early spring to remove winter soot before the primary growing season begins.
Can I use power washers on greenhouse glass?
Power washers are generally discouraged. High pressure can dislodge glazing beads, break seals, or shatter older glass panes. Use a low-pressure hose and a soft-bristled brush to ensure the structural integrity of the house.
What is the best solution for removing algae?
A solution of 10 percent oxygen bleach or white vinegar is effective. These substances kill the algae cells without leaving toxic residues that could harm the rhizosphere or alter the soil pH significantly.
Does dirty glass really affect plant growth?
Yes. Even a thin layer of dust can reduce light transmission by 20 percent. This reduction limits the plant's ability to perform photosynthesis, leading to weakened immune systems and lower overall yields.
Should I clean the inside of the glass too?
Internal cleaning is vital for removing dust and condensation marks. These deposits can harbor pests and pathogens. Use a dry microfiber cloth or a mild vinegar solution to maintain internal clarity without dripping chemicals onto the plants.