9 Best Soaps for Garden Hygiene
The scent of damp earth and the firm turgor of a hydrated leaf signify a garden in peak physiological health. Maintaining this state requires more than water and light; it demands rigorous sanitation of tools, hands, and surfaces to prevent the spread of pathogens like Fusarium or Botrytis. Selecting the best soaps for garden hygiene involves understanding surfactant chemistry and its impact on the rhizosphere. Proper hygiene ensures that the high Cation Exchange Capacity of your soil remains untainted by external contaminants.
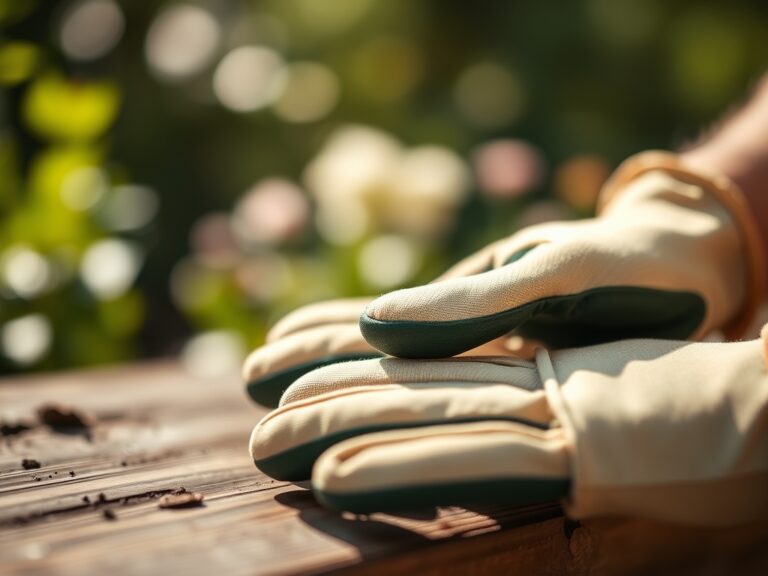
Gardeners must prioritize biodegradable, potassium-based soaps that do not disrupt the delicate osmotic balance of plant cells. A clean environment prevents the accumulation of biofilm on irrigation lines and ensures that bypass pruners do not vector viral infections between specimens. Data shows that sanitizing tools reduces the transmission of soil-borne pathogens by up to 94 percent in controlled greenhouse environments. Every movement in the garden should be calculated to preserve the integrity of the plant's cuticle and the microbial diversity of the soil.
Materials:
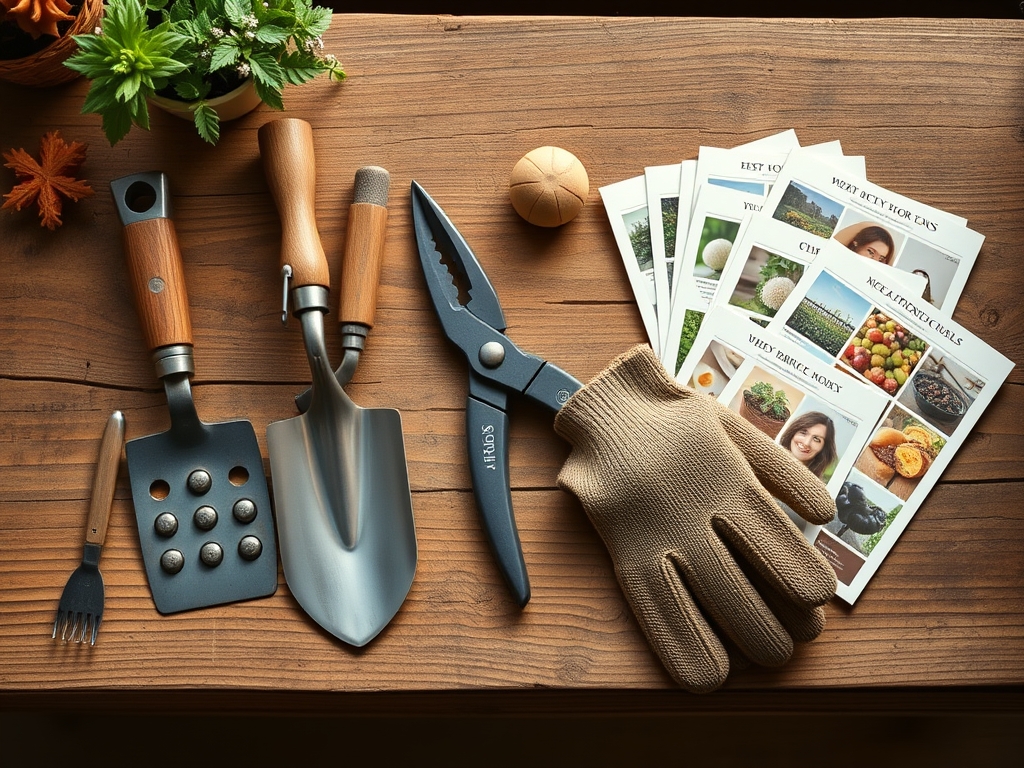
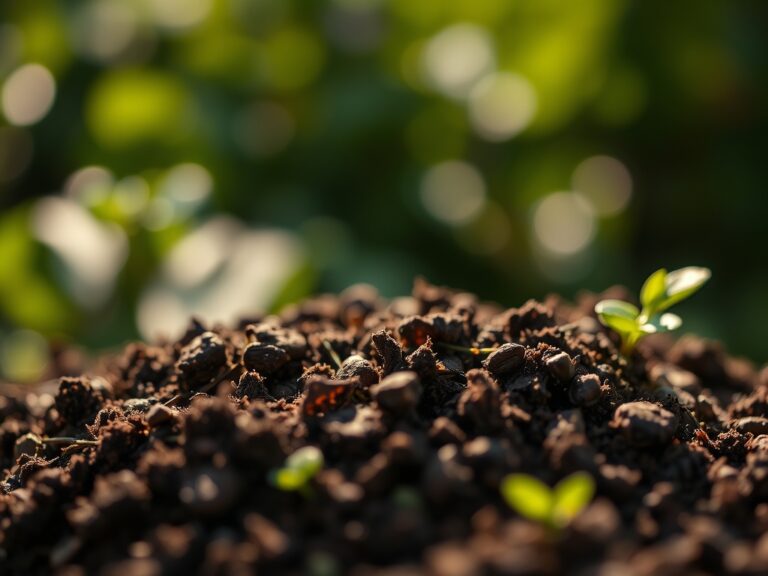
The foundation of a successful garden is a **friable loam** with a **pH range of 6.2 to 6.8**. This texture allows for optimal root penetration and oxygen exchange. When selecting hygiene products, they must be compatible with the specific NPK ratios of your fertilization program. For vegetative growth, a **10-5-5 NPK ratio** is standard, while the reproductive stage requires a shift to **5-10-10** to support flower and fruit development.
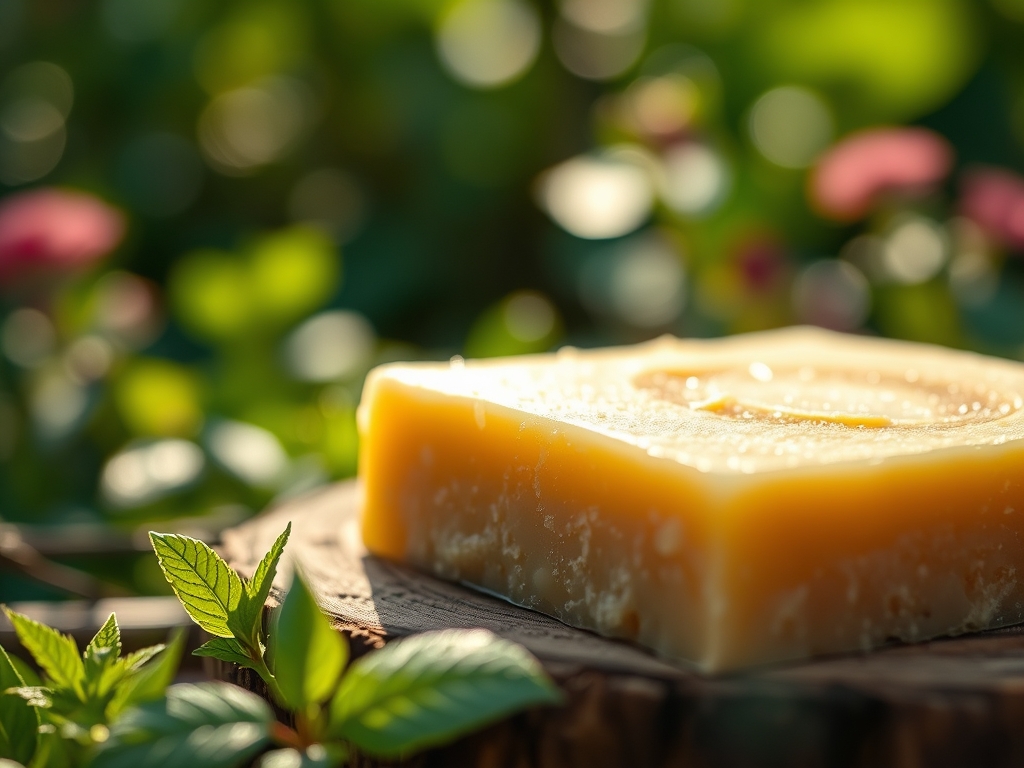
The best soaps for garden hygiene are those that utilize potassium salts of fatty acids. Unlike sodium-based detergents, which can lead to soil salinity and decreased water infiltration, potassium-based soaps break down into micronutrients that plants can actually utilize. Ensure your soil has a Cation Exchange Capacity (CEC) above 15 milliequivalents per 100 grams to effectively hold onto these beneficial ions while flushing out unwanted surfactants.
Timing:
Successful gardening follows the "Biological Clock," a strict progression from vegetative expansion to reproductive senescence. In Hardiness Zones 5 through 7, the window for spring planting opens when soil temperatures consistently reach 55 degrees Fahrenheit. Hygiene practices must be intensified during the transition from the vegetative stage to the reproductive stage, as the plant diverts energy away from immune response and toward seed production.
Monitor the photoperiod closely; as daylight exceeds 14 hours, many species enter a rapid growth phase where tissue is soft and susceptible to mechanical injury. Sanitation of hands and tools must occur before the first frost-date window, typically between October 15 and November 1 in temperate zones. This prevents the overwintering of fungal spores in the garden debris.
Phases:
Sowing
Begin with sterile seed trays and a high-porosity starting mix. Ensure that all containers have been scrubbed with a 10 percent bleach solution or a specialized horticultural soap to eliminate damping-off pathogens like Pythium. Maintain a consistent temperature of 70 degrees Fahrenheit for optimal germination rates.
Pro-Tip: Maintaining sterility during sowing prevents the disruption of mycorrhizal symbiosis. If pathogenic fungi establish themselves first, they outcompete beneficial fungi that assist in phosphorus uptake and water absorption.
Transplanting
When seedlings develop their first set of true leaves, they are ready for the field. Dig a hole twice the width of the root ball to encourage lateral root expansion. Use a hori-hori knife to slice through any circling roots, ensuring the plant can establish a robust architecture in the new substrate.
Pro-Tip: Minimize root disturbance to maintain turgor pressure. Sudden loss of root-to-soil contact causes a spike in abscisic acid, leading to stomatal closure and a total halt in photosynthesis, commonly known as transplant shock.
Establishing
During the first 21 days, the plant focuses on root architecture over apical growth. Apply a liquid seaweed extract with a 0-0-1 NPK to provide trace minerals without forcing excessive nitrogen-driven foliage. Hygiene remains critical here to prevent the introduction of soil-borne bacteria to young, vulnerable stems.
Pro-Tip: Use clean stakes to manage phototropism. Proper orientation to the light source prevents the overproduction of auxins on the shaded side of the stem, which can lead to leggy, weak structural development.
The Clinic:
Physiological disorders often mimic infectious diseases. Accurate diagnosis is required before intervention.
Symptom: Interveinal chlorosis on young leaves.
Solution: This indicates an Iron (Fe) deficiency. Check soil pH immediately; if it is above 7.0, iron becomes insoluble. Lower the pH using elemental sulfur.
Symptom: Blossom end rot in solanaceous crops.
Solution: This is caused by a Calcium (Ca) deficiency, often triggered by inconsistent moisture levels rather than a lack of calcium in the soil. Maintain steady irrigation to ensure calcium transport via the xylem.
Symptom: Purpling of older foliage.
Solution: This is a classic sign of Phosphorus (P) deficiency. Apply a high-phosphate fertilizer or bone meal to the root zone to restore ATP production within the plant cells.
Fix-It for Nitrogen Chlorosis: If older leaves turn uniform pale yellow, apply a quick-release high-nitrogen fertilizer (20-0-0). Nitrogen is mobile within the plant, so the organism sacrifices old growth to sustain new meristems.
Maintenance:
Precision is the hallmark of a master horticulturist. Deliver exactly 1.5 inches of water per week at the drip line, rather than the base of the stem, to encourage a wide root radius. Use a soil moisture meter daily to ensure the substrate remains at 60 percent field capacity.
Pruning must be performed with sterilized bypass pruners to ensure clean cuts that callose quickly. Ragged tears from dull tools create entry points for pathogens. Remove any necrotic tissue immediately and dispose of it away from the compost pile to break the disease cycle.
The Yield:
Harvesting is a race against senescence. For leafy greens, harvest in the pre-dawn hours when turgor pressure is at its maximum. For fruiting bodies, wait for the "ground color" to shift from green to the characteristic hue of the cultivar.
Post-harvest, submerge produce in 40-degree Fahrenheit water to remove field heat. This rapid cooling slows the respiration rate, preserving cellular sugars and maintaining "day-one" freshness. Use a clean, sharp blade to minimize tissue trauma during the cut.
FAQ:
What are the best soaps for garden hygiene?
The best soaps are potassium-based horticultural soaps. They effectively remove debris and pathogens from tools and hands without introducing harmful sodium or synthetic fragrances into the sensitive rhizosphere or damaging the protective waxy cuticle of the plants.
Can I use dish soap in the garden?
Most household dish soaps are detergents containing sodium lauryl sulfate, which can be phytotoxic. These chemicals strip the protective oils from leaf surfaces and can lead to soil structure collapse. Stick to soaps specifically labeled for horticultural or organic use.
How often should I clean my garden tools?
Sanitize tools after every use and between different plants if disease is suspected. Use a solution of 70 percent isopropyl alcohol or a specialized horticultural soap to prevent the cross-contamination of viral and fungal pathogens across your various garden beds.
Does soap affect soil pH levels?
Potassium-based soaps are generally pH-neutral to slightly alkaline. When used in moderation for cleaning, they have a negligible effect on soil pH. However, excessive runoff into the soil should be avoided to prevent any localized fluctuations in the Cation Exchange Capacity.