9 Vital Steps to Turn Spring Soil
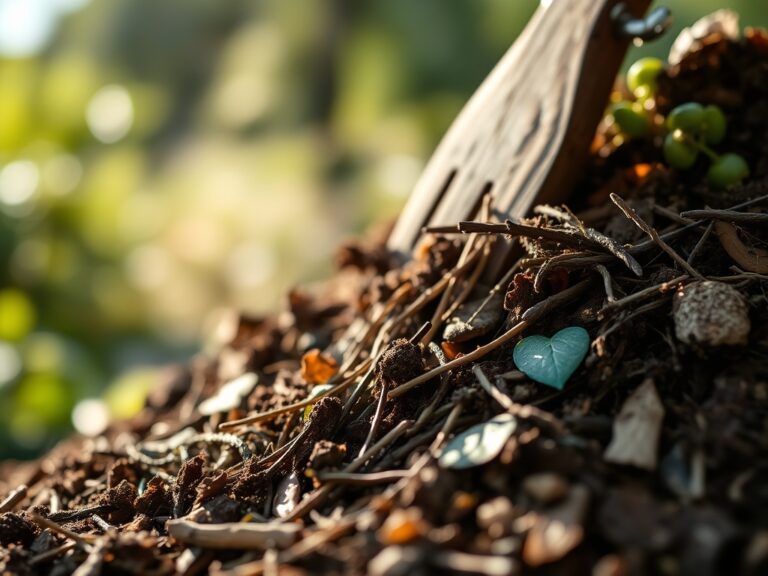
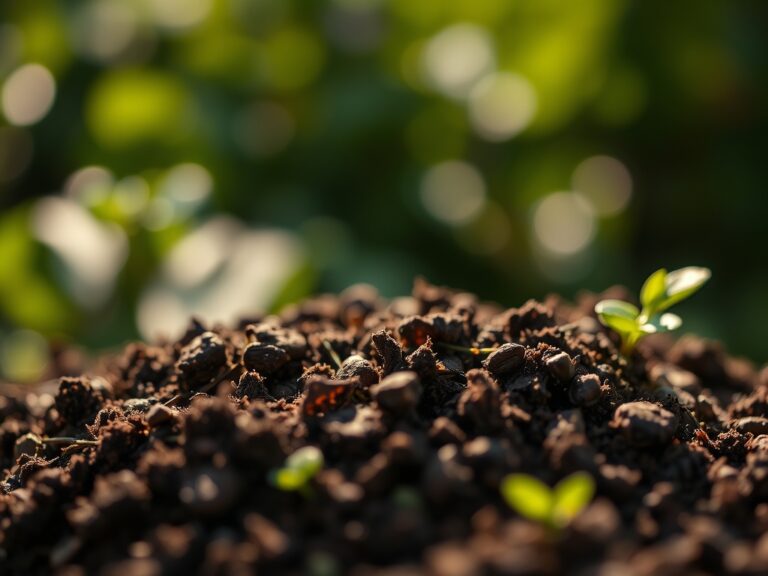
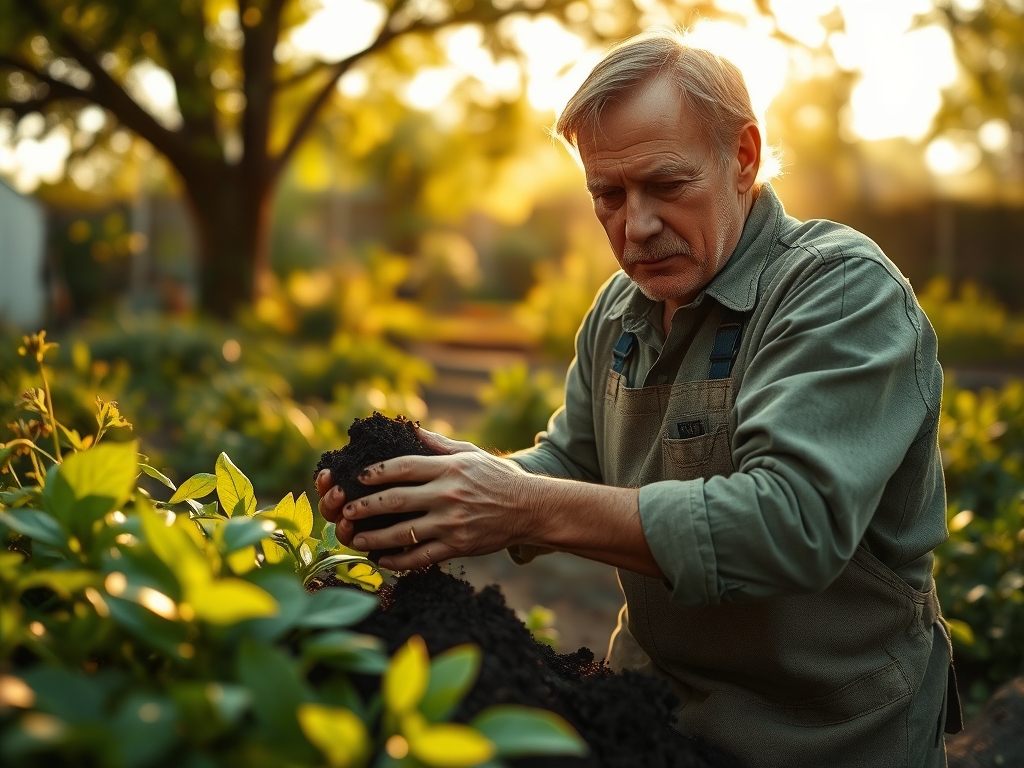
Damp earth emits a sharp, geosmin-heavy scent as the frost line recedes and soil pores begin to breathe. This olfactory signal marks the moment when turgor pressure returns to dormant perennials and the rhizosphere wakes from its winter stasis. Successful cultivation depends on the physical structure of your substrate and the timing of your manual intervention. You must follow precise steps to turn spring soil to ensure optimal aeration and nutrient availability for the coming season. If you turn the earth too early, you risk destroying the soil structure through compaction; if you wait too long, you miss the window for early root development. The goal is to transform a dense, cold mass into a friable medium capable of supporting high-intensity growth. This process requires an understanding of soil physics and biochemistry. You are not just digging; you are managing a complex biological reactor. The following technical protocol outlines the necessary actions to prepare your beds for maximum productivity and health.
Materials:
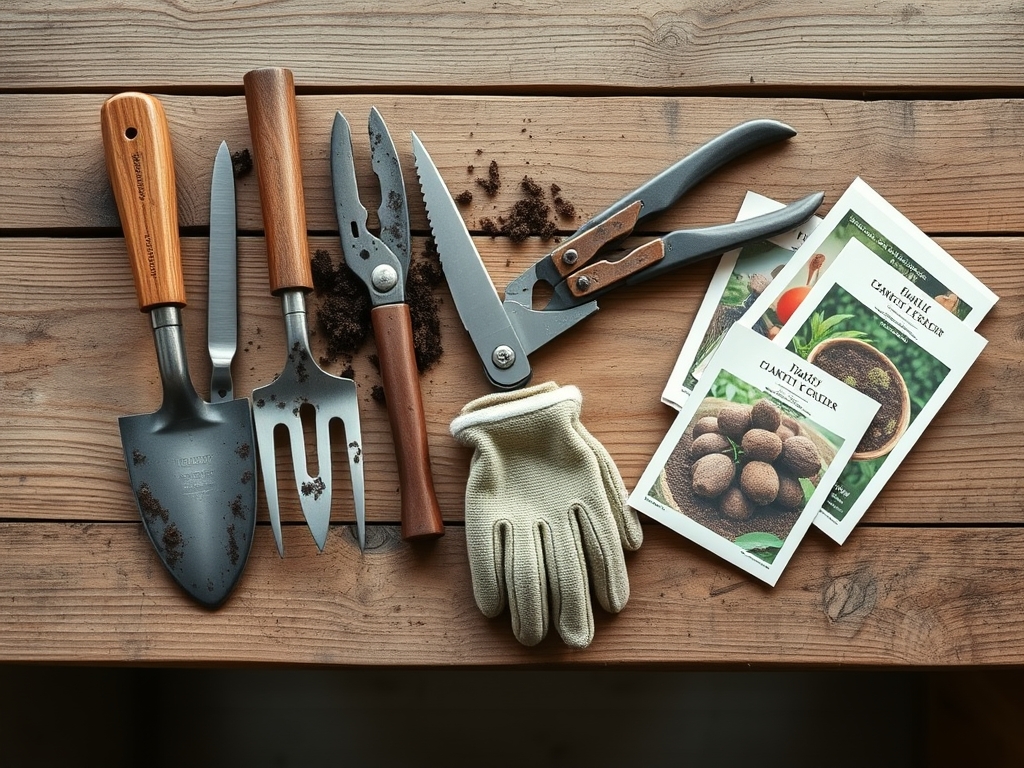
The ideal substrate for most temperate garden crops is a friable loam consisting of roughly 40 percent sand, 40 percent silt, and 20 percent clay. This balance ensures a high Cation Exchange Capacity (CEC), allowing the soil to retain essential nutrients like potassium and magnesium while providing adequate drainage. Before you begin the steps to turn spring soil, gather the following amendments based on a professional soil test:
- Nitrogen (N): Blood meal or feather meal for a slow-release 12-0-0 ratio.
- Phosphorus (P): Bone meal or rock phosphate to maintain a 0-10-0 ratio for root development.
- Potassium (K): Sulfate of potash (0-0-50) to regulate osmotic pressure within plant cells.
- pH Adjusters: Elemental sulfur to lower pH or calcitic lime to raise it toward the target range of 6.2 to 6.8.
- Organic Matter: Well-aged compost with a Carbon-to-Nitrogen (C:N) ratio of 25:1 to 30:1.
Timing:
Timing is dictated by your specific USDA Hardiness Zone and the moisture content of the earth. In Zones 5 through 7, the window typically opens between late March and mid-April. You must monitor the soil temperature; most beneficial microbial activity begins when the soil consistently reaches 50 degrees Fahrenheit (10 degrees Celsius).
The biological clock of your garden transitions from a dormant state to a vegetative state as the photoperiod increases. Do not turn the soil if it is saturated. Perform the "Squeeze Test": take a handful of soil and compress it. If it forms a solid, muddy ball, it is too wet. If it crumbles under slight pressure from your thumb, the pore space is ready for aeration. Turning wet soil collapses the macro-pores, leading to anaerobic conditions that can trigger root rot and stunt the "Biological Clock" of your seedlings.
Phases:
Sowing
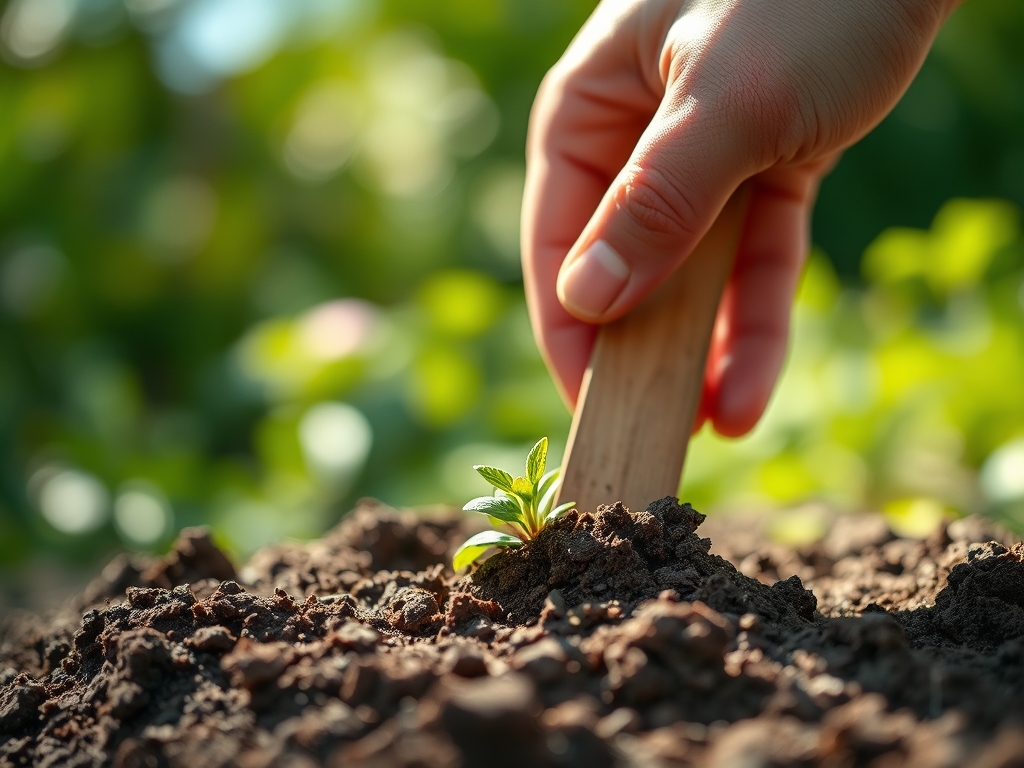
Direct sowing requires a fine-textured seedbed. After the initial turn, use a steel rake to break down clods until the surface particles are no larger than 0.25 inches. This ensures maximum seed-to-soil contact, which is vital for imbibition, the process where the seed absorbs water to trigger germination.
Pro-Tip: Maintain consistent moisture during the first 14 days. The biological why involves turgor pressure; emerging radicles lack a developed cuticle and will desiccate rapidly if the water potential in the surrounding soil drops too low.
Transplanting
When moving starts from the greenhouse to the field, dig a hole twice the width of the root ball. Position the plant so the crown sits exactly at the soil line. Use a hori-hori knife to loosen any circling roots to prevent girdling.
Pro-Tip: Inoculate the planting hole with endomycorrhizal fungi. The biological why is mycorrhizal symbiosis; these fungi extend the reach of the root system by up to 100 times, significantly increasing the uptake of immobile nutrients like phosphorus.
Establishing
The establishment phase focuses on root expansion rather than top growth. Avoid high-nitrogen fertilizers during the first two weeks post-transplant to prevent "salt burn" on tender new root hairs.
Pro-Tip: Pinch off early flower buds on young transplants. The biological why is auxin suppression and energy redirection; by removing reproductive structures, you force the plant to redirect its carbohydrates toward root and leaf development, ensuring a stronger scaffold for later production.
The Clinic:
Physiological disorders often mimic infectious diseases but are rooted in environmental stress or nutrient imbalances.
- Symptom: Interveinal Chlorosis. The leaves turn yellow while the veins remain dark green.
Solution: This indicates a Magnesium deficiency or high pH locking out micronutrients. Apply Epsom salts (magnesium sulfate) at a rate of 1 tablespoon per gallon of water. - Symptom: Blossom End Rot. A dark, leathery spot appears on the bottom of fruit.
Solution: This is caused by a Calcium transport issue, often due to inconsistent watering. Maintain steady soil moisture to ensure calcium moves through the xylem. - Symptom: Purpling of Lower Leaves. Older foliage develops a dark purple or reddish tint.
Solution: This is a classic Phosphorus deficiency, common in cold spring soils. Apply a water-soluble high-phosphate starter fertilizer. - Symptom: Leaf Curl without Pests. New leaves are distorted or curled inward.
Solution: This often results from Calcium deficiency or extreme temperature fluctuations. Ensure the soil pH is above 6.0 to maximize calcium availability.
Maintenance:
Precision maintenance prevents the degradation of the work performed during the steps to turn spring soil. Use a soil moisture meter to ensure the root zone stays within the "moist but not saturated" range. Most crops require 1.5 inches of water per week, delivered directly to the drip line to minimize evaporation and prevent foliar diseases.
Keep your bypass pruners sharp and disinfected with 70 percent isopropyl alcohol between plants to prevent the spread of pathogens. Use a hori-hori knife for deep-rooted weed extraction to avoid disturbing the root systems of your primary crops. Mulch with 2 to 3 inches of organic straw or wood chips to regulate soil temperature and suppress weed seed germination via light exclusion.
The Yield:
Harvesting is the final stage of the seasonal cycle. For leafy greens, harvest in the early morning when turgor pressure is at its peak; this ensures the crispest texture. Use a sharp blade to make clean cuts, which allows the plant to seal the wound quickly and reduces the risk of infection.
For fruiting crops, monitor the "ground spot" or color change indicative of physiological maturity. Post-harvest, many crops benefit from immediate "field cooling" to slow down senescence. Submerge greens in cold water or move fruits to a shaded, ventilated area to preserve "day-one" freshness and nutrient density.
FAQ:
How deep should I turn my spring soil?
Turn the soil to a depth of 8 to 12 inches. This accommodates the primary root zone for most annuals and ensures deep aeration without disrupting the lower subsoil layers or bringing dormant weed seeds to the surface.
Can I use fresh manure when turning soil?
No. Fresh manure contains high levels of ammonia and pathogens. Only use manure that has been composted for at least six months to ensure a stable C:N ratio and to prevent nitrogen burn on young roots.
What is the best way to fix compacted soil?
Incorporate coarse organic matter and use a broadfork rather than a motorized tiller. This fractures the soil deep down while preserving the existing soil horizons and protecting the delicate networks of beneficial fungal hyphae.
How do I know if my soil pH is wrong?
Observe your plants for stunted growth or specific nutrient deficiencies despite regular feeding. A professional lab test is the only way to get an accurate reading of pH and Cation Exchange Capacity for precise adjustment.