7 Easy Ways How to Remove Winter Mulch
Damp earth emits a sharp, geosmin-heavy scent as the frost line recedes and the soil profile awakens. For a perennial bed to thrive, the gardener must monitor the turgor pressure of emerging shoots as they press against the heavy insulating layers of straw or wood chips. Knowing exactly how to remove winter mulch prevents the premature stimulation of tender crown tissue while ensuring the rhizosphere does not remain oversaturated during the spring thaw. Success depends on the precise timing of this physical intervention to balance soil temperature with atmospheric light levels.
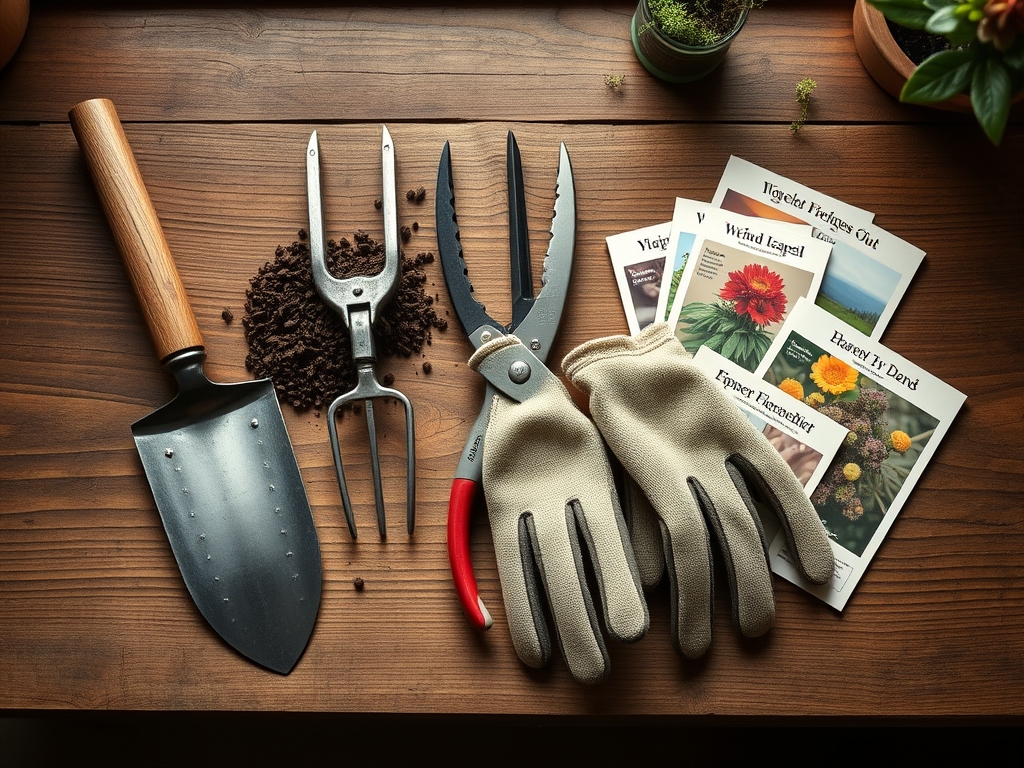
Materials:
The removal process requires a focused assessment of the underlying substrate. A friable loam with a high Cation Exchange Capacity (CEC) will respond differently to moisture shifts than heavy clay. Before clearing the surface, prepare the following inputs to stabilize the soil chemistry once exposed:
- Nitrogen-Heavy Supplement (NPK 10-0-0): Blood meal or feather meal compensates for the nitrogen drawdown caused by the decomposition of carbon-heavy mulches.
- Balanced Fertilizer (NPK 5-5-5): Used for established perennials to support initial vegetative growth.
- pH Adjusters: Elemental sulfur for alkaline soils or calcitic lime for acidic profiles; maintain a pH between 6.0 and 7.0 for optimal nutrient bioavailability.
- Hardwood Rake: To pull back material without disrupting the delicate fungal hyphae near the surface.
Timing:
Timing is governed by USDA Hardiness Zones and the local frost-date window. In Zones 5 and 6, the window typically opens between late March and mid-April. Do not remove mulch until the soil temperature consistently reaches 45 to 50 degrees Fahrenheit.
The biological clock of the plant dictates this transition. As the photoperiod lengthens, plants move from dormancy to the vegetative stage. Removing mulch too early exposes the crown to desiccation from cold winds; removing it too late triggers etiolation, where shoots become pale and weak due to a lack of light. Monitor the phenological indicators such as the swelling of forsythia buds to determine the ideal start date.
Phases:

Sowing and Clearing
Begin by thinning the mulch layer in increments. Remove the top two inches of organic matter, leaving a thin half-inch layer to protect against late-season temperature fluctuations. This gradual exposure allows the soil to warm slowly, preventing a sudden shock to the microbial population.
Pro-Tip: Gradual removal prevents photomorphogenesis shock. By slowly increasing light exposure, you regulate the plant's internal clock and prevent the sudden degradation of chlorophyll-producing cells.
Transplanting and Soil Integration
Once the threat of a hard freeze (below 28 degrees Fahrenheit) has passed, clear the mulch entirely from the base of the plants. If transplanting new specimens, ensure the root ball is level with the soil surface. Incorporate well-rotted compost into the top three inches of the soil to improve the structure of the rhizosphere.
Pro-Tip: Maintaining soil contact during transplanting encourages mycorrhizal symbiosis. These beneficial fungi extend the root system's reach, increasing the uptake of phosphorus and water by up to 200 percent.
Establishing the Growing Zone
Finalize the removal by raking the old mulch into compost piles. Inspect the crowns for signs of auxin suppression, where the weight of the mulch has physically inhibited upward growth. Use a hori-hori knife to gently loosen any compacted soil around the plant base to improve oxygen diffusion to the roots.
Pro-Tip: Aerating the soil surface immediately after mulch removal prevents anaerobic conditions. Increased oxygen levels at the root zone stimulate the production of adenosine triphosphate (ATP), fueling rapid spring growth.
The Clinic:
Physiological disorders often appear immediately after the winter cover is lifted. Identify these symptoms to implement corrective measures:
- Symptom: Nitrogen Chlorosis. Yellowing of older leaves while veins remain green.
- Solution: Apply a quick-release liquid fertilizer with a high N-value.
- Fix-It: Incorporate 0.5 pounds of actual nitrogen per 1,000 square feet to restore protein synthesis.
- Symptom: Crown Rot (Phytophthora). Mushy, brown tissue at the soil line caused by excessive moisture.
- Solution: Improve drainage and ensure no mulch touches the plant stem.
- Fix-It: Apply a copper-based fungicidal drench if the infection is localized.
- Symptom: Frost Heaving. Roots exposed above the soil line due to freeze-thaw cycles.
- Solution: Gently press the plant back into the soil and add a thin layer of friable loam.
- Fix-It: Mulch more deeply next winter with straw to stabilize soil temperatures.
Maintenance:
Post-removal care requires precision. Provide 1.5 inches of water per week delivered at the drip line to ensure deep root penetration. Use a soil moisture meter to check the top six inches of the profile; if the meter reads below 30 percent capacity, initiate irrigation.
Keep a hori-hori knife sharpened for weeding, as the exposed soil will host early-season pioneers. Use bypass pruners to remove any dead or senescent tissue from the previous year. This clean-up reduces the habitat for pathogens and allows for better airflow through the canopy.
The Yield:
For those growing spring-flowering bulbs or early greens, harvest timing is critical. Harvest greens when they reach four to six inches in height for maximum nutrient density. Use a sharp blade to cut the foliage, leaving the basal plate intact for a second flush.
To maintain "day-one" freshness, immediately submerge harvested greens in 40-degree Fahrenheit water to remove field heat and maintain turgor pressure. For flowers, cut stems at a 45-degree angle and place them in a solution with a pH of 3.5 to 4.5 to facilitate rapid water uptake through the xylem.
FAQ:
When is it safe to remove winter mulch?
Remove mulch when the soil temperature consistently stays above 45 degrees Fahrenheit and the threat of a hard freeze has passed. Monitor your local USDA Hardiness Zone for specific frost-free dates to avoid damaging new growth.
Should I remove all the mulch at once?
No. Remove mulch in stages over 7 to 10 days. This gradual process prevents temperature shock to the soil microbes and allows emerging shoots to acclimate to increasing light levels and wind exposure.
What do I do with the old mulch?
If the mulch is free of pathogens, move it to a compost pile. If you notice signs of fungal blight or pests, dispose of the material away from the garden to prevent the reinfection of the rhizosphere.
How do I tell if I waited too long?
Look for etiolation, characterized by pale, spindly, or yellowed shoots. If the plant has begun growing under the mulch, it is consuming stored carbohydrates without the benefit of photosynthesis, which weakens the overall structure of the plant.