8 Simple Ways How to Apply Early Compost
The smell of damp earth after a spring thaw signals the reactivation of microbial life within the rhizosphere. When you grasp a handful of mature humus, it should crumble with minimal resistance; this physical state, known as friable loam, indicates optimal aeration for root respiration. Learning how to apply early compost allows a gardener to front-load the soil with stable organic matter before the primary growing season begins. This early intervention ensures that the Cation Exchange Capacity (CEC) is maximized, allowing the soil to hold onto essential nutrients like ammonium and potassium that would otherwise leach away during heavy spring rains. By integrating these amendments early, you synchronize the release of nutrients with the peak metabolic demands of emerging seedlings. This timing is critical because the mineralization of organic nitrogen depends on soil temperatures reaching at least 50 degrees Fahrenheit. If the application is delayed, the plant enters its vegetative stage without the necessary structural support, leading to diminished turgor pressure and stunted growth.
Materials:

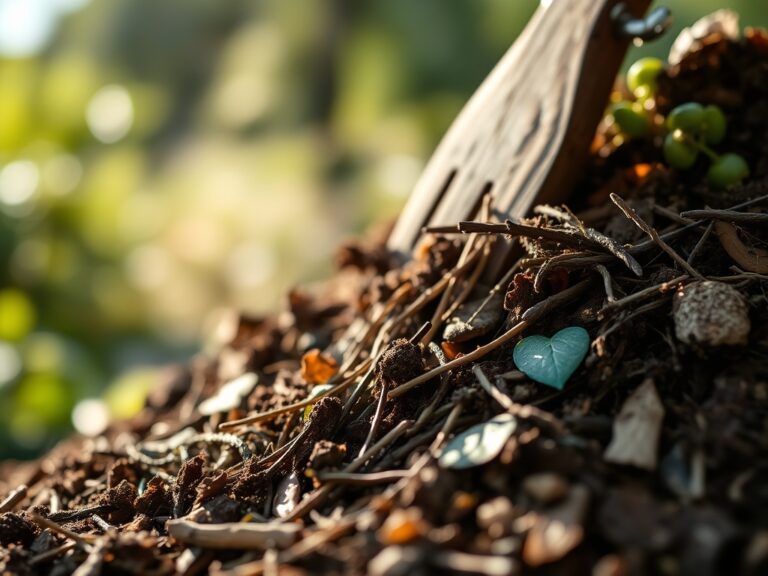
The ideal substrate for early application must be fully thermophilic-processed to ensure the destruction of weed seeds and pathogens. Target a finished compost with a **pH between 6.0 and 7.5** to maintain nutrient availability. High-quality compost typically registers a modest NPK ratio, often around **1-1-1 or 2-1-2**; however, its primary value lies in its organic carbon content rather than raw chemical concentration. The texture must be fine enough to pass through a **half-inch hardware cloth screen**. Coarse materials can tie up nitrogen as they continue to decompose, a process known as “nitrogen robbery.” Ensure the moisture content is approximately **40 percent to 50 percent**; it should feel like a wrung-out sponge. If the material is too dry, it becomes hydrophobic and repels the very irrigation your plants require.
Timing:
In USDA Hardiness Zones 4 through 7, the window for early application opens approximately four to six weeks before the last frost date. This period allows the indigenous soil biota to incorporate the organic matter into the top 2 to 4 inches of the soil profile. Monitoring the "Biological Clock" is essential. You want the compost integrated before the plant transitions from the lag phase of growth into the log phase, where cell division accelerates. For perennial systems, apply as soon as the ground is workable and soil temperatures consistently hit 45 degrees Fahrenheit. This early start provides a buffer, ensuring that by the time the photoperiod extends beyond 12 hours, the soil structure is already optimized for rapid root expansion.
Phases:

Phase 1: Sowing and Surface Integration
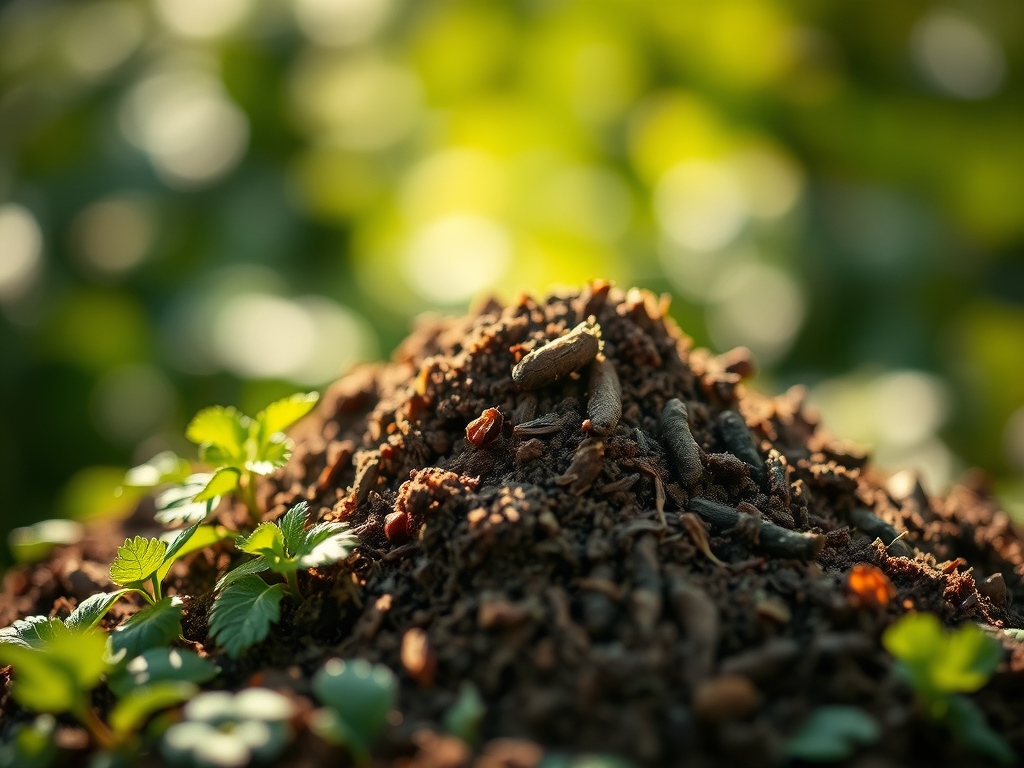
For direct-sown crops, apply a one-inch layer of finely screened compost over the planting bed. Use a rake to incorporate it into the top two inches of soil. This creates a nutrient-rich "starting zone" that supports the high energy demands of germination.
Pro-Tip: Early application encourages mycorrhizal symbiosis. These beneficial fungi colonize the young roots, effectively extending the root system's reach for phosphorus and water by up to 100 times.
Phase 2: Transplanting into Enriched Pockets
When moving starts from the greenhouse to the field, use a hori-hori knife to cut a hole twice the width of the root ball. Mix a handful of compost into the backfill soil. This reduces transplant shock by providing a familiar, carbon-rich environment.
Pro-Tip: Maintaining high organic matter around the transplant site prevents auxin suppression. If a plant is stressed by nutrient-poor soil, it may halt the production of growth hormones, leading to permanent stunting.
Phase 3: Establishing the Buffer Zone
For established perennials or woody shrubs, apply compost in a three-foot radius around the base, keeping the material three inches away from the main stem or trunk to prevent crown rot. This "side-dressing" acts as a slow-release reservoir.
Pro-Tip: This layer moderates soil temperature fluctuations, preventing the plant from "waking up" too early during a mid-winter thaw. This protects the plant from de-acclimation, which can lead to vascular damage during subsequent freezes.
The Clinic:
Physiological disorders often stem from poor soil structure or nutrient imbalances. Observe the root structure in the step-by-step photos above to identify healthy versus compromised systems.
- Symptom: Interveinal chlorosis (yellowing between leaf veins) on older leaves.
- Solution: This indicates Nitrogen deficiency. Apply a compost tea or a thin layer of high-nitrogen vermicompost to the soil surface.
- Fix-It: Scratch 0.5 pounds of blood meal per 100 square feet into the compost layer to provide an immediate nitrogen boost.
- Symptom: Purpling of the underside of leaves or stems.
- Solution: This is a classic sign of Phosphorus deficiency, often caused by cold soils preventing uptake.
- Fix-It: Ensure compost is well-incorporated; the microbial activity will help warm the soil and mineralize locked-up phosphorus.
- Symptom: Blossom end rot in fruiting crops.
- Solution: This is caused by inconsistent Calcium transport, often due to moisture fluctuations.
- Fix-It: Maintain a consistent two-inch mulch layer of compost to regulate soil moisture and provide a steady calcium supply.
Maintenance:
Post-application maintenance requires precision. Use a soil moisture meter to ensure the root zone stays between 60 percent and 80 percent field capacity. Typically, this requires 1.5 inches of water per week delivered at the drip line. Avoid overhead watering to prevent the splash-back of soil-borne pathogens onto the foliage. Use bypass pruners to remove any lower leaves that touch the compost mulch; this creates a "sanitary gap" that prevents fungal spores from climbing the plant. Check the soil pH every six months; if the compost was high in woody debris, you may see a slight acidification that requires a light application of pelletized lime to correct.
The Yield:
When harvesting, timing is everything. For leafy greens, harvest in the early morning when turgor pressure is at its highest. This ensures the cells are fully hydrated, preventing wilting. Use a sharp, sterilized blade to make clean cuts, which allows the plant to seal the wound quickly and prevents senescence of the remaining tissue. For fruiting bodies, wait until the abscission layer has fully formed at the base of the fruit. Post-harvest, immediately move the produce to a cool, shaded area to remove field heat. This slows down the respiration rate, preserving the sugars and nutrients accumulated through your early compost program.
FAQ:
Can I apply compost if the ground is still frozen?
No. Applying compost to frozen ground leads to runoff during the thaw. Wait until the soil is workable and reaches at least 40 degrees Fahrenheit to ensure the microbial community can begin the integration process effectively.
How much compost is too much for early application?
Exceeding a three-inch layer can lead to oxygen deprivation in the soil. Excessive organic matter may also cause nutrient leaching or phosphorus buildup, which can interfere with the uptake of essential micronutrients like zinc and iron.
Does early compost application replace the need for fertilizer?
Not necessarily. Compost is a soil conditioner that improves Cation Exchange Capacity and structure. While it provides micronutrients, heavy feeders may still require supplemental NPK during their peak reproductive phases to achieve maximum yield and vigor.
Should I dig the compost into the soil or leave it on top?
Minimal disturbance is best. For early application, scratch it into the top two inches. This preserves the existing soil structure and prevents the disruption of established fungal networks while still placing nutrients within reach of young, developing roots.