7 Best Soil Testing Kits DIY
The scent of geosmin rising from damp, disturbed earth signals a complex chemical theater occurring beneath the surface. When a leaf maintains its turgor pressure, it is a direct result of osmotic balance maintained by the root system. Achieving this level of plant health requires more than observation; it demands precise data on the rhizosphere. Utilizing the best soil testing kits DIY allows a grower to quantify the exact concentrations of nitrogen, phosphorus, and potassium available for uptake. Without these metrics, any amendment strategy is merely guesswork. A professional horticulturist understands that soil is a living matrix where cation exchange capacity determines the efficiency of nutrient delivery. By measuring the pH and macronutrient levels, you transition from a casual observer to a biological manager. This guide provides the technical framework to analyze your substrate and optimize the metabolic pathways of your crops through rigorous testing and data-driven soil management.
Materials:
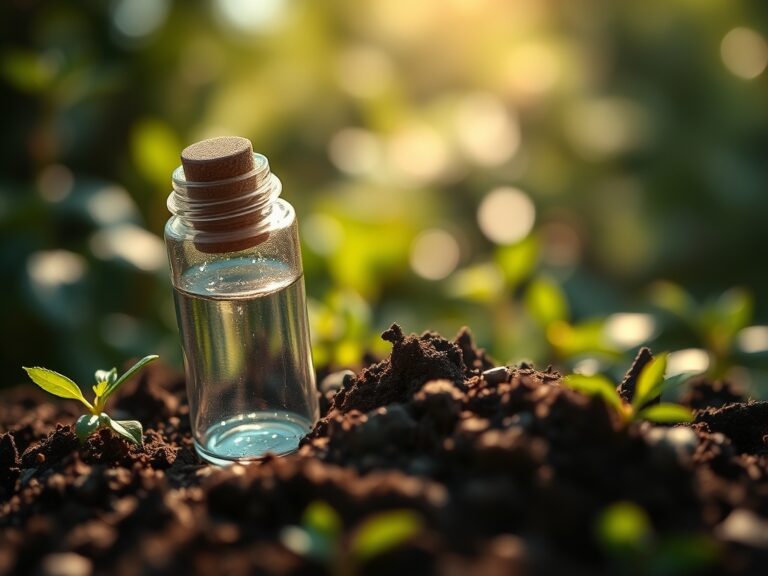
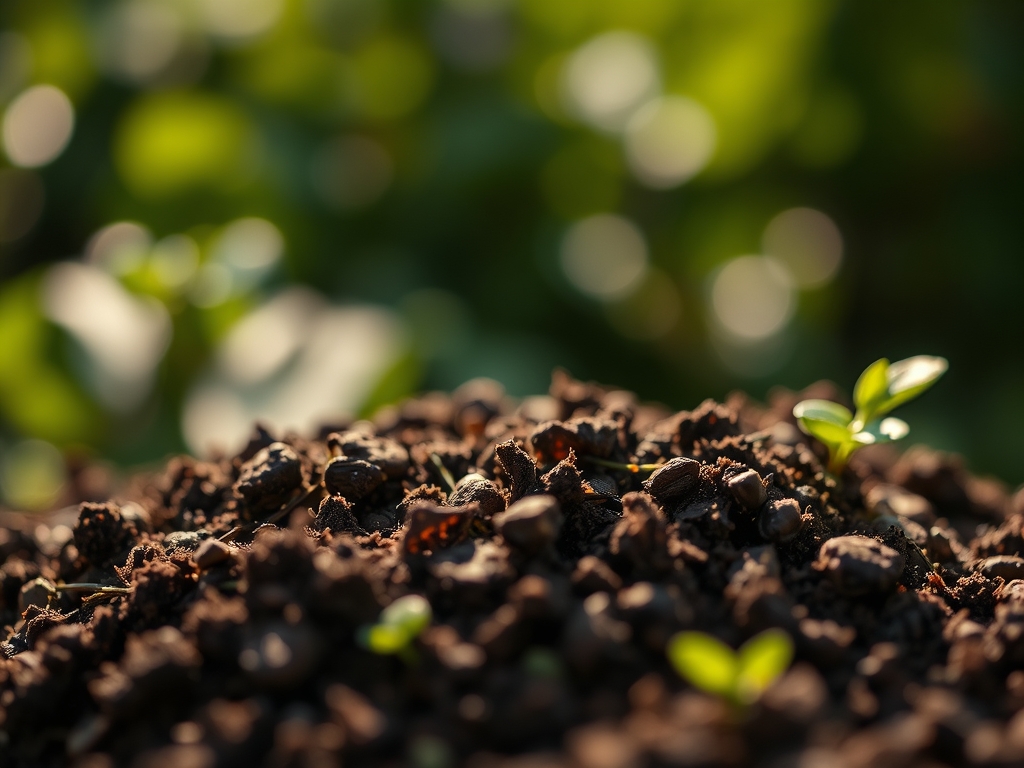
Selecting the appropriate medium begins with identifying a **friable loam**. This ideal substrate consists of roughly **40 percent sand, 40 percent silt, and 20 percent clay**. This balance ensures adequate macropores for oxygen diffusion and micropores for water retention. When using the best soil testing kits DIY, you are looking for specific chemical thresholds. For most deciduous and herbaceous plants, a **pH range of 6.2 to 6.8** is the target. This range ensures that micronutrients like iron and manganese remain bioavailable rather than becoming chemically locked in the soil.
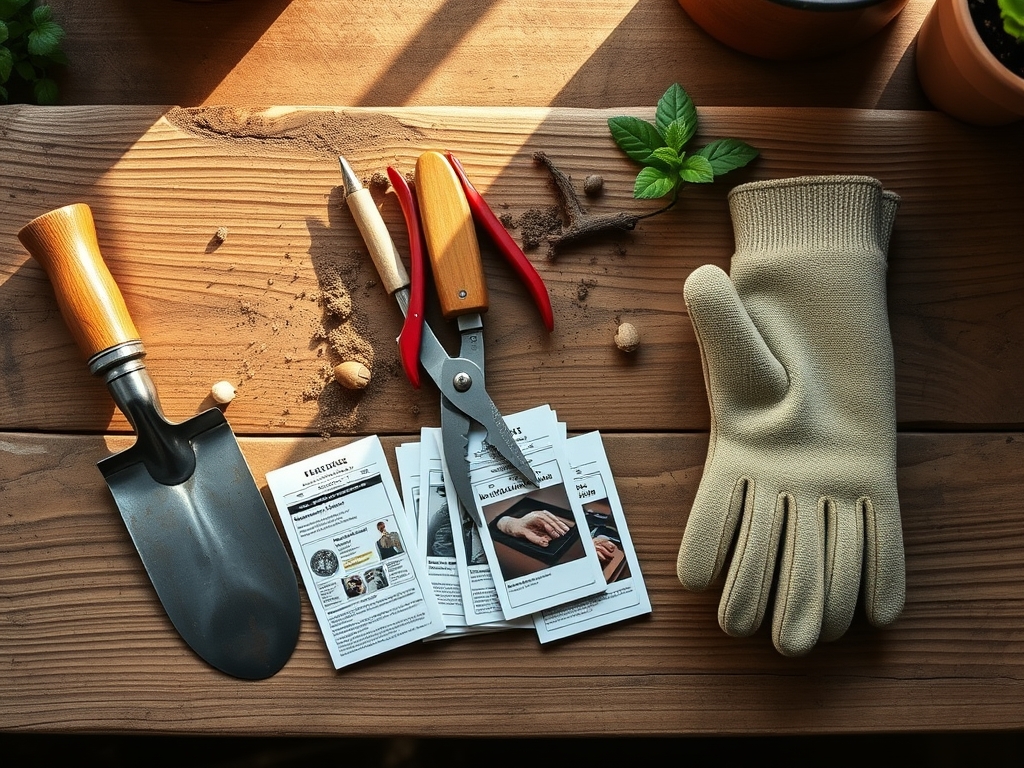
Specific NPK ratios vary by growth stage. A vegetative-heavy substrate requires a ratio of 3-1-2 to support chlorophyll production. For flowering or fruiting stages, the ratio should shift toward 1-2-2 to support reproductive development. The testing kit must be capable of detecting nitrate nitrogen (NO3-N), phosphorus as P2O5, and potassium as K2O. Digital testers provide rapid results, while liquid reagent kits offer higher precision for colorimetric analysis. Ensure your kit includes a clean sampling tube to avoid cross-contamination of the core samples.
Timing:
The biological clock of a plant is governed by the photoperiod and soil temperature. In Hardiness Zones 5 through 7, the window for initial soil testing opens as soon as the ground thaws, typically when soil temperatures reach a consistent 45 degrees Fahrenheit. Testing should occur at least four weeks prior to the last frost date to allow for the slow integration of lime or sulfur.
The transition from the vegetative stage to the reproductive stage is a critical metabolic pivot. As day length shifts, the plant redirects energy from foliar expansion to seed or fruit production. Testing during this transition allows for "spoon-feeding" nutrients to prevent senescence. In Zones 8 through 10, where the growing season is extended, a second test in mid-summer is necessary to account for nutrient leaching caused by heavy irrigation or rainfall. Always sample during the morning hours when soil moisture is at field capacity to ensure accurate ion concentration readings.
Phases:

Sowing
Begin by clearing the surface of organic debris to reach the mineral soil. Seeds require a firm seedbed to ensure seed-to-soil contact, which facilitates the imbibition of water. Maintain a consistent temperature of 65 to 75 degrees Fahrenheit for optimal germination rates.
Pro-Tip: Proper sowing depth is critical because of skotomorphogenesis, the developmental stage of a seedling in the dark. If buried too deep, the seedling exhausts its endosperm energy reserves before the hypocotyl can reach the surface to begin photosynthesis.
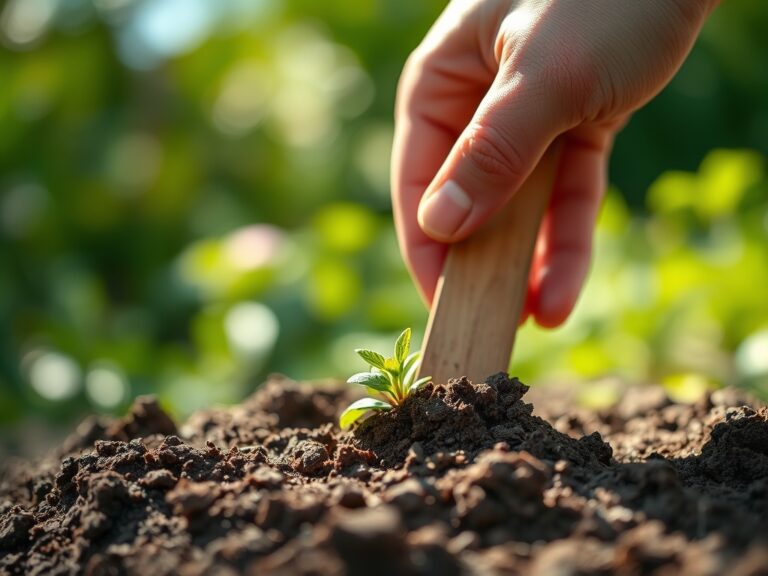
Transplanting
When moving a specimen from a container to the field, ensure the root ball is thoroughly hydrated. Dig a hole twice the width of the root system but no deeper than the original container. This prevents the crown from sinking, which can lead to fungal pathogens in the stem tissue.
Pro-Tip: Minimize root disturbance to protect the mycorrhizal symbiosis. These beneficial fungal networks extend the reach of the root system by up to 1,000 percent, significantly increasing the uptake of immobile phosphorus and water.
Establishing
During the first 14 to 21 days post-transplant, the plant focuses on root architecture rather than top growth. Maintain consistent moisture levels to prevent wilting, which can cause permanent vascular damage.
Pro-Tip: Avoid heavy nitrogen fertilization during this phase to prevent auxin suppression. High nitrogen levels can signal the plant to prioritize leaf growth over root development, resulting in a weak structural foundation that cannot support future fruit loads.
The Clinic:
Physiological disorders often mimic pathogen attacks but are frequently rooted in nutrient imbalances.
Symptom: Interveinal chlorosis on young leaves.
Solution: This indicates an iron deficiency, often caused by a pH above 7.2. Apply chelated iron or lower the pH using elemental sulfur to increase bioavailability.
Symptom: Blossom end rot in Solanaceous crops.
Solution: This is a calcium transport issue. It is rarely a lack of calcium in the soil but rather inconsistent moisture. Ensure 1.5 inches of water per week to facilitate the movement of calcium through the xylem.
Symptom: Purpling of older foliage.
Solution: This signifies a phosphorus deficiency. Phosphorus is immobile in the soil; if the soil temperature is below 55 degrees Fahrenheit, the plant cannot take it up. Use a water-soluble high-phosphorus starter fertilizer if the soil is cold.
Fix-It: Nitrogen Chlorosis
If the entire plant appears pale green or yellow, starting with the oldest leaves, the nitrogen levels are depleted. Apply a quick-release nitrate-based fertilizer at a rate of 0.5 pounds of actual nitrogen per 1,000 square feet to restore chlorophyll density.
Maintenance:
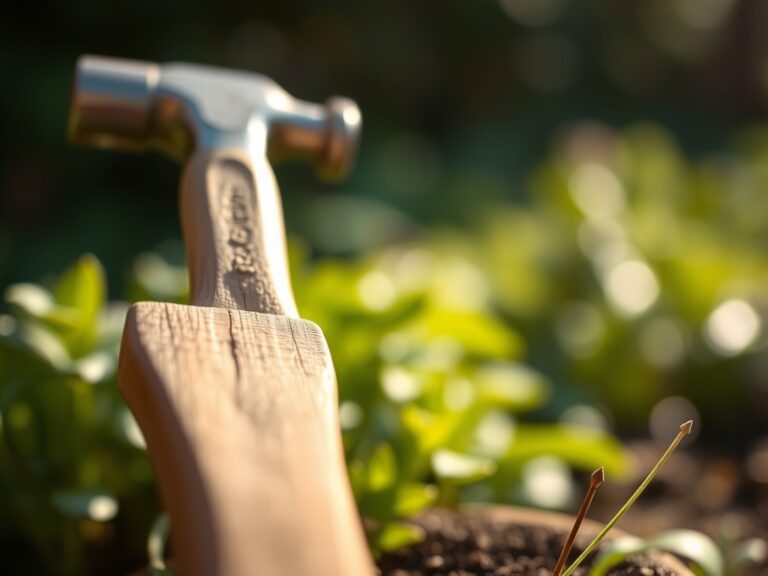
Precision maintenance requires the right tools and a strict schedule. Use a soil moisture meter daily to check the hydration levels at a depth of 6 inches. Most established plants require 1.5 inches of water per week delivered at the drip line to encourage outward root expansion. For pruning, use sharpened bypass pruners to make clean, slanted cuts that allow water to run off the wound, preventing rot.
A hori-hori knife is essential for deep weeding and checking soil compaction. If the blade cannot penetrate the soil with moderate pressure, the bulk density is too high, and aeration is required. Apply a 2-inch layer of organic mulch to the soil surface to regulate temperature and suppress weed germination. This mulch layer also feeds the soil biology as it decomposes, slowly releasing organic acids that improve the cation exchange capacity over time.
The Yield:
Harvesting is the culmination of the plant's metabolic cycle. For most fruiting crops, harvest when the fruit reaches its "ripe" color and separates easily from the pedicel with a slight twist. For leafy greens, harvest in the early morning when turgor pressure is at its peak. This ensures the cells are fully hydrated, providing the crispest texture.
Post-harvest handling is vital for maintaining "day-one" freshness. Immediately remove the field heat by submerging the produce in cool water or placing it in a shaded, ventilated area. For flowers, cut stems at a 45-degree angle under water to prevent air embolisms in the xylem, which can lead to premature wilting. Store harvested goods at 35 to 40 degrees Fahrenheit with high humidity to slow the rate of respiration and senescence.
FAQ:
How often should I use a soil test kit?
Perform a comprehensive test once every two to three years for established gardens. For new plots or areas with poor performance, test annually in the spring to monitor the effectiveness of your amendments and nutrient levels.
Can I test soil when it is wet?
No. Excessive moisture interferes with the chemical reagents and provides inaccurate pH readings. Wait until the soil is at field capacity, meaning it is moist but crumbles easily when squeezed in your hand.
What is the most accurate DIY soil test?
Liquid reagent kits are generally more accurate than test strips or inexpensive analog probes. They provide a more precise color match for NPK levels and pH, allowing for finer adjustments to the rhizosphere chemistry.
Why is soil pH so important?
Soil pH controls the solubility of nutrients. If the pH is too high or too low, essential elements like phosphorus and iron become chemically bonded to soil particles, making them unavailable for plant uptake regardless of how much fertilizer you add.