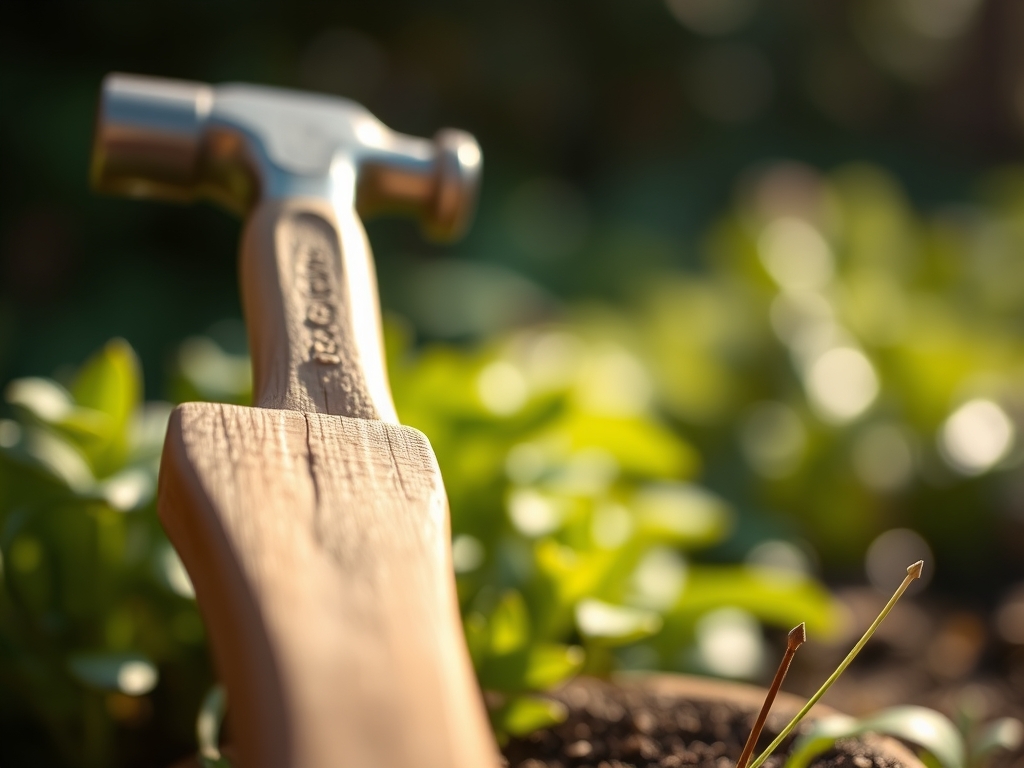
5 Best Hammers for Edging Stakes
The scent of damp, disturbed earth signals the start of a structural intervention in the garden. When the turgor pressure of the surrounding turf is at its peak, the resistance of the soil profile requires specific mechanical force to install borders effectively. Selecting the best hammers for edging stakes is not merely a matter of weight; it is a calculation of kinetic energy and surface area. A miscalculation leads to shattered timber or bent steel, disrupting the rhizosphere and causing unnecessary compaction. Success depends on delivering a clean, vertical strike that drives the stake through the O-horizon and into the mineral layers without compromising the structural integrity of the material or the surrounding soil structure.
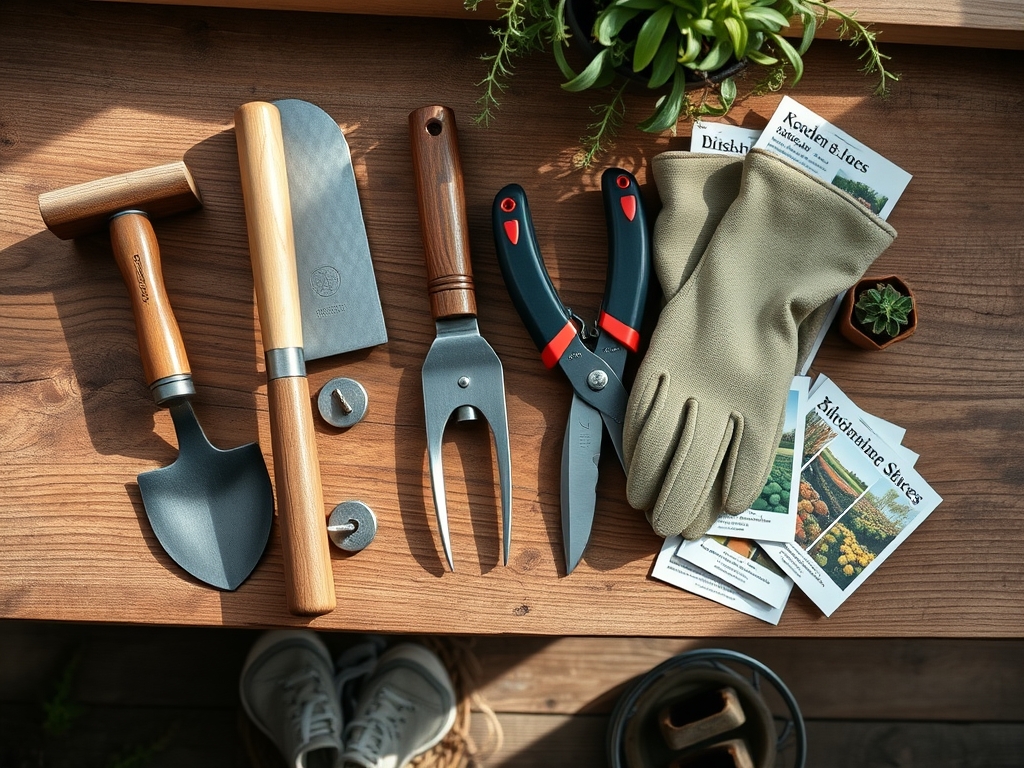
Materials:
The substrate dictates the tool. In a friable loam with a **pH of 6.5**, a standard three pound sledge is often sufficient. However, in heavy clay soils where the Cation Exchange Capacity (CEC) is high, the density of the earth requires a hammer with a larger striking face to distribute force. For organic-rich soils with high nitrogen levels (an NPK ratio of **4-1-2** in the top six inches), the stakes must be driven deep to reach the more stable subsoil. If the soil is alkaline, exceeding a **pH of 7.5**, it often contains calcium carbonate deposits that act as physical barriers. In these conditions, a dead-blow hammer with a steel shot core is the superior choice. It prevents the rebound that occurs when hitting high-density obstructions, ensuring that 100 percent of the energy is transferred into the stake.
Timing:
The biological clock of the garden determines the window for installation. In Hardiness Zones 5 through 7, the ideal time for edging is the brief period between the final spring thaw and the onset of rapid vegetative growth. This window usually occurs when soil temperatures reach a consistent 55 degrees Fahrenheit. At this temperature, soil moisture is typically at field capacity, allowing for easier penetration. Once the plant enters the reproductive stage and the ground dries, the soil tension increases significantly. Avoid installation during the peak of summer dormancy or when the ground is frozen. Frozen soil undergoes cryoturbation, which can heave stakes out of the ground regardless of how well they were initially driven.
Phases:

Sowing the Line
Before the first strike, clear a narrow trench using a hori-hori knife. This prevents the compaction of the topsoil and protects the delicate fungal hyphae in the upper two inches of the soil. Use a string line to ensure the stakes follow the correct contour. A 2.5-pound drilling hammer is the best tool for this phase because its short handle allows for precision in tight spaces.
Pro-Tip: Minimizing soil disturbance during this phase protects the mycorrhizal symbiosis occurring underground. Disrupting these fungal networks can temporarily reduce a plant's ability to uptake phosphorus and water.
Transplanting and Placement
Position the stake at a slight inward angle toward the garden bed. This utilizes the soil's natural shear strength to hold the edging in place against the lateral pressure of the lawn. Use a rubber mallet for the initial set to avoid marring the top of the stake. Once the stake is stable, switch to a 4-pound club hammer to drive it to the desired depth.
Pro-Tip: Driving the stake at an angle counteracts auxin suppression in nearby roots. By avoiding direct vertical pressure on the root crown, you prevent the hormonal signals that tell the plant to stop lateral root expansion.
Establishing the Border
The final three inches of the drive are the most critical. The stake must penetrate the transition zone between the topsoil and the subsoil. A dead-blow hammer is the best hammer for edging stakes at this stage because it eliminates the "bounce back" that can loosen the soil-to-stake contact. Ensure the top of the stake sits at least 0.5 inches below the mower blade height to prevent mechanical damage during maintenance.
Pro-Tip: Firm contact between the stake and the soil prevents the creation of air pockets. Air pockets lead to root desiccation for any nearby plants, as the roots cannot extract moisture from a void.
The Clinic:
Physiological disorders in the garden often manifest after structural work if the soil is mishandled.
- Symptom: Leaf margins turning yellow (Chlorosis) near the new edge.
Solution: This is likely Nitrogen chlorosis caused by high-carbon mulch leaching nitrogen from the soil. Apply a liquid fertilizer with an NPK ratio of 10-5-5 to compensate. - Symptom: Wilting despite adequate soil moisture (Loss of turgor).
Solution: Check for root severance. If the edging was driven too close to a woody perennial, the roots may have been cut. Use a soil moisture meter to ensure the area stays at 25 percent moisture to encourage root regeneration. - Symptom: Stake heaving or leaning.
Solution: The stake did not reach the subsoil. Use a 10-pound sledge hammer to drive a longer stake at least 12 inches into the ground.
Fix-It: If you notice stunted growth, the soil may be compacted. Use a garden fork to aerate the soil 6 inches away from the stakes, being careful not to disturb the newly established border.
Maintenance:
A successful edge requires ongoing observation. Monitor the moisture levels at the drip line of adjacent plants; they require approximately 1.5 inches of water per week. Use bypass pruners to trim any turf that attempts to bridge the gap over the edging. Every spring, check the stakes for stability. If a stake has loosened due to the freeze-thaw cycle, use a 3-pound blacksmith hammer to reset it. Periodically check the soil pH near the edging. Some treated wood or metal stakes can slightly alter the local chemistry, necessitating a small application of elemental sulfur or lime to maintain the 6.0 to 7.0 pH range.
The Yield:
While edging is a structural task, the yield is measured in the health of the botanical specimens it protects. A clean edge prevents the encroachment of invasive rhizomes, allowing your primary crops or flowers to utilize the full nutrient profile of the bed. For edible crops, the yield is improved by the thermal mass of the edging, which can keep the soil 2 to 3 degrees warmer during cool spring nights. Harvest your crops when they reach peak physiological maturity, typically indicated by specific color changes or brix levels. Handle all produce with care to maintain the cuticle and prevent rapid senescence.
FAQ:
What is the best hammer weight for wooden stakes?
A 3-pound club hammer is ideal. It provides enough kinetic energy to penetrate the soil without the excessive force that causes the cellular structure of the wood to collapse or splinter during the drive.
Can I use a standard claw hammer for edging?
No. A claw hammer lacks the necessary mass and striking surface area. Using one increases the risk of glancing blows and provides insufficient force to penetrate compacted soil layers or heavy clay.
Why do stakes bounce back when I hit them?
This occurs in high-density soils or when hitting a rock. Switch to a dead-blow hammer. The internal steel shot moves forward on impact, dampening the rebound and transferring more energy into the stake.
How deep should edging stakes be driven?
Drive stakes at least 8 to 12 inches deep. This ensures they pass through the friable topsoil and anchor into the denser subsoil, preventing movement caused by soil expansion, contraction, or hydrostatic pressure.