10 Basic Steps to Test Soil pH
Damp earth releases a sharp, geosmin-rich scent when the spade breaks the surface; this is the smell of microbial activity in a functioning rhizosphere. A healthy plant maintains high turgor pressure, keeping leaves rigid and efficient for photosynthesis. When the soil chemistry fails, the plant wilts despite adequate hydration. Understanding the steps to test soil pH is the only way to ensure nutrient bioavailability. Soil pH dictates the solubility of minerals; if the level is too high or too low, nutrients like phosphorus and iron become chemically locked, regardless of how much fertilizer is applied. Most garden crops thrive in a range between 6.0 and 7.0. Outside this window, the cation exchange capacity (CEC) of the soil is compromised, leading to stunted growth or chlorosis. Precision in testing prevents the waste of amendments and protects the delicate balance of the soil ecosystem. You cannot guess the acidity of a substrate by sight. You must measure the hydrogen ion concentration to manage the chemical environment where roots forage for survival.
Materials:

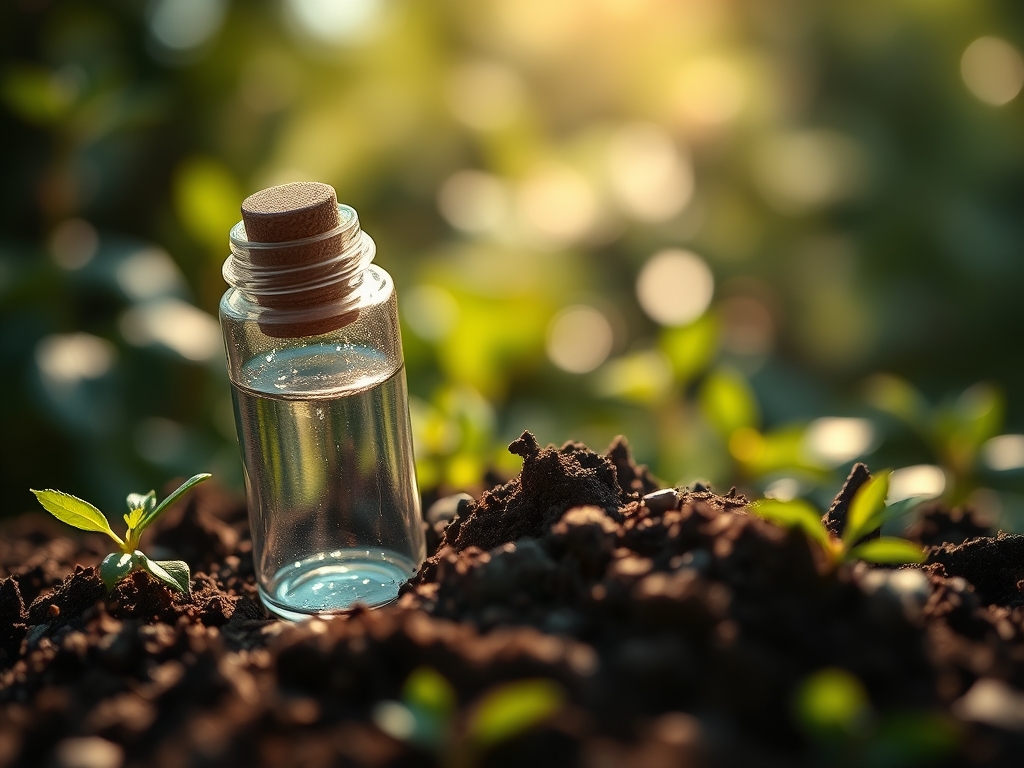
To execute the steps to test soil pH, gather a clean plastic bucket, a stainless steel trowel, and distilled water. Avoid galvanized or rusted tools, as they introduce zinc or iron particulates that skew results. The ideal substrate for testing is a **friable loam**, which consists of roughly 40% sand, 40% silt, and 20% clay. This texture allows for proper drainage while maintaining a high CEC.
For specific nutrient management, keep standard NPK amendments on hand. A 10-10-10 balanced fertilizer is standard for general maintenance, while a 5-10-10 ratio supports root development and flowering without over-stimulating vegetative growth. If the pH test reveals high acidity (below 5.5), you will need dolomitic lime to raise the level. If the soil is too alkaline (above 7.5), elemental sulfur or aluminum sulfate is required to lower it. Always use distilled water for the slurry; tap water often contains calcium carbonate or chlorine that will provide a false reading.
Timing:
The biological clock of a plant dictates its nutrient needs. Most temperate crops transition from the vegetative stage to the reproductive stage as the photoperiod shifts. In Hardiness Zones 5 through 7, the primary testing window occurs in early spring, at least four weeks before the last frost date. This allows time for amendments like lime to react chemically with the soil.
Testing should also occur in late autumn after the first killing frost. During this period, the plant enters senescence, and the soil enters a dormant phase. Measuring pH now allows you to apply slow-acting sulfur or organic matter that will break down over winter. Avoid testing during extreme saturation or drought. Soil moisture levels significantly impact the concentration of hydrogen ions; testing a muddy field will produce an inaccurate, diluted reading.
Phases:

Sowing and Sampling
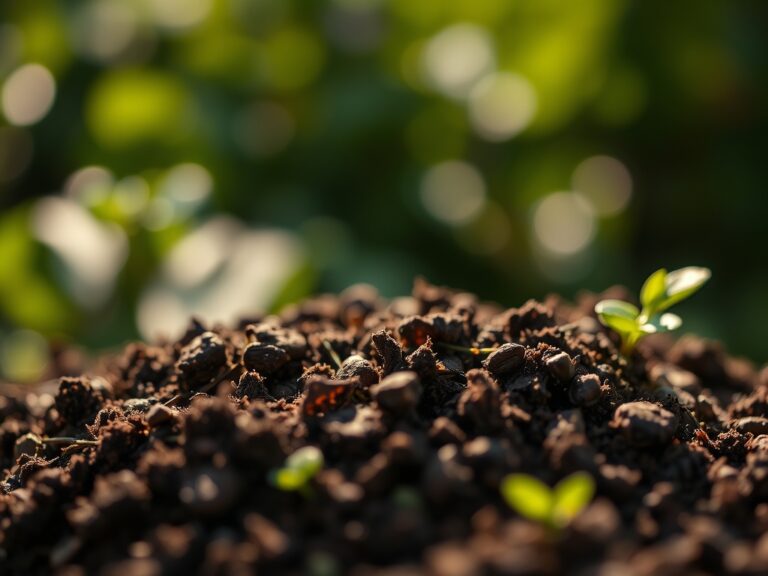
The first step in the steps to test soil pH involves collecting samples from the top 6 to 8 inches of the soil profile. This is where the highest concentration of feeder roots resides. Take 10 to 15 sub-samples from different areas of the plot and mix them in a clean bucket to create a composite sample. Remove all rocks, twigs, and undecomposed mulch.
Pro-Tip: Mycorrhizal symbiosis relies on a specific pH range to thrive. These beneficial fungi extend the root system's reach, but they are sensitive to high phosphorus levels and extreme acidity. Testing ensures you create a hospitable environment for these microbes to assist in nutrient uptake.
Transplanting and Testing
Once the composite sample is dry, mix one part soil with one part distilled water. Stir vigorously and let it sit for 30 minutes. Use a calibrated digital pH meter or high-quality reagent strips to measure the liquid. If using a digital meter, ensure the probe is cleaned with deionized water between every reading to prevent cross-contamination.
Pro-Tip: High turgor pressure in transplants depends on potassium availability. Potassium regulates the opening and closing of stomata. If the pH is below 6.0, potassium uptake is restricted, leading to rapid wilting during the heat of the day even if the soil is moist.
Establishing and Amending
After obtaining the reading, calculate the necessary amendments. To raise the pH of sandy soil by one point, apply 3 to 4 pounds of lime per 100 square feet. For clay-heavy soils, double that amount due to the higher buffering capacity. Incorporate amendments into the top 4 inches of soil using a hori-hori knife or tiller for immediate integration.
Pro-Tip: Auxin suppression occurs when soil conditions are stressful. Auxins are hormones that drive apical dominance and root elongation. By stabilizing the pH, you prevent the plant from entering a "survival mode" that halts growth and fruit production.
The Clinic:
Physiological disorders often mimic disease but are actually rooted in soil chemistry.
- Symptom: Interveinal Chlorosis. Yellowing between leaf veins while veins remain green.
- Solution: This is typically an iron or magnesium deficiency caused by high pH (alkalinity). Lower the pH to 6.5 using chelated iron or sulfur.
- Symptom: Blossom End Rot. Dark, sunken leathery spots on the bottom of fruit.
- Solution: This indicates a calcium deficiency. While the soil may have calcium, a pH below 6.0 prevents the plant from absorbing it. Raise the pH with lime and ensure consistent watering.
- Symptom: Purpling of Lower Leaves. Older leaves turn dark purple or blue-green.
- Solution: Phosphorus deficiency. This occurs frequently in cold, acidic soils. Warm the soil with mulch and adjust pH to at least 6.2 to unlock phosphorus.
- Symptom: Marginal Leaf Burn. Edges of leaves appear scorched or brown.
- Solution: Often caused by salt accumulation or potassium deficiency. Flush the soil with clean water and adjust pH to improve cation exchange.
Maintenance:
Ongoing care requires precision. Most garden beds require 1.5 inches of water per week delivered at the drip line to avoid foliar diseases. Use a soil moisture meter to verify that water is penetrating at least 6 inches deep. For woody perennials, use bypass pruners to remove dead or crossing branches, which improves airflow and reduces fungal pressure.
Monitor the soil every six months. Heavy rainfall can leach calcium and magnesium, causing the soil to become more acidic over time. Conversely, irrigation with "hard" well water can slowly raise the pH. Keep a log of every test result and amendment application to track the long-term health of the plot.
The Yield:
Harvesting should occur when the plant reaches peak physiological maturity. For leafy greens, harvest in the early morning when turgor pressure is at its highest to ensure "day-one" freshness. Use a sharp knife to make clean cuts, preventing jagged wounds that invite pathogens. For fruiting crops, wait until the color is uniform and the fruit separates easily from the pedicel. Post-harvest, cool the produce immediately to slow down respiration and preserve sugar content.
FAQ:
How often should I test my soil pH?
Test your soil every two to three years for established gardens. If you are starting a new plot or experiencing significant crop failure, test annually in the spring or fall to monitor chemical shifts.
Can I use vinegar to test soil pH?
Vinegar only indicates if soil is highly alkaline by fizzing when it touches carbonates. It does not provide a specific numerical value. For professional results, use a calibrated digital meter or a laboratory soil analysis.
What is the best way to lower soil pH quickly?
Aluminum sulfate works faster than elemental sulfur because it reacts chemically rather than relying on bacterial oxidation. However, apply it sparingly to avoid aluminum toxicity, which can damage sensitive root systems in young plants.
Why does my soil pH keep changing?
Factors such as nitrogen fertilization, rainfall, and decomposition of organic matter produce hydrogen ions, which naturally lower pH over time. Regular testing is required to counteract this natural acidification process in high-production garden beds.