6 Textural Ways How to Landscape with Ornamental Grasses
Crushing a handful of damp, friable loam reveals the earthy scent of geosmin; this is the baseline for a successful garden. A healthy leaf maintains high turgor pressure, standing rigid against the wind rather than wilting under solar stress. When you learn how to landscape with ornamental grasses, you are managing the structural architecture of the rhizosphere and the visual movement of the garden. These plants provide verticality and motion that woody perennials cannot replicate. Success depends on understanding the physiological requirements of C3 and C4 photosynthetic pathways. Cool-season grasses begin active metabolism at 40 degrees Fahrenheit, while warm-season varieties require soil temperatures of 65 degrees Fahrenheit to break dormancy. By integrating these species, you create a resilient ecosystem that manages stormwater runoff and provides a carbon sink within the residential landscape. Precise placement ensures that the inflorescence catches backlighting, highlighting the structural integrity of the plant during late-season senescence.
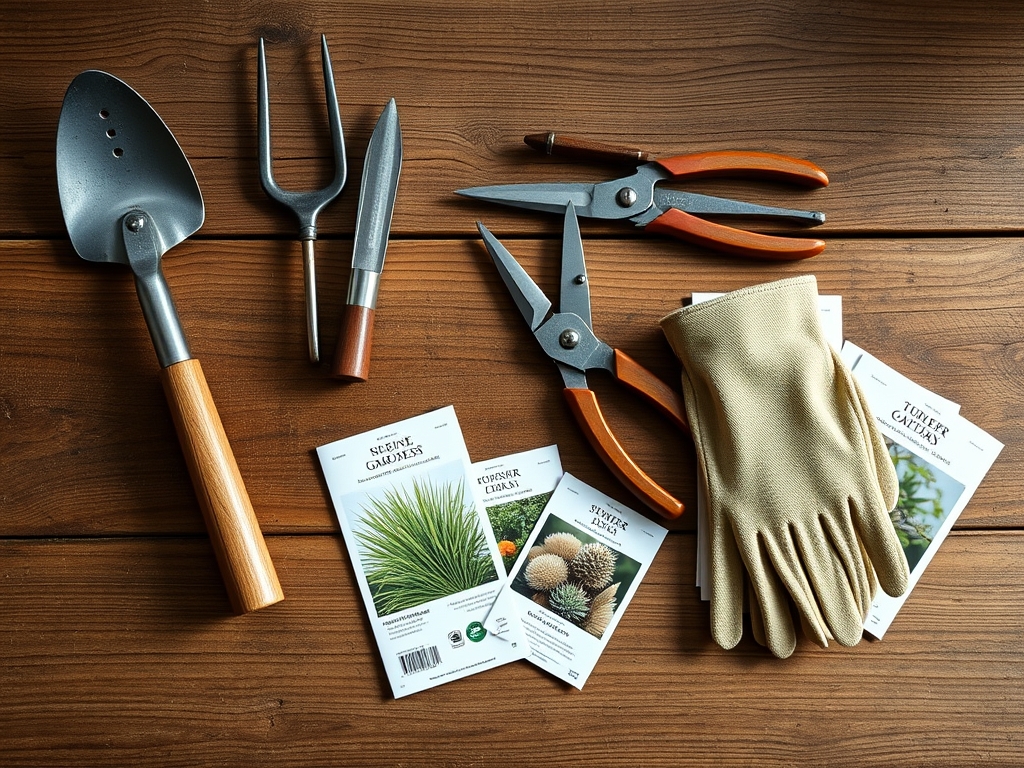
Materials:
The chemical composition of the substrate dictates the health of the crown. Most ornamental grasses thrive in a pH range of 6.0 to 7.0. High Cation Exchange Capacity (CEC) is necessary for nutrient retention, particularly in sandy soils where leaching is common.
- Substrate Texture: Aim for a friable loam consisting of 40 percent sand, 40 percent silt, and 20 percent clay. This balance ensures adequate macropores for oxygen exchange and micropores for water retention.
- Nutrient Ratios: Avoid high-nitrogen fertilizers which cause "lodging" or the collapsing of the stems. Use a slow-release 10-10-10 NPK ratio in early spring. Excessive nitrogen increases vegetative growth at the expense of structural lignin, making the plant floppy.
- Organic Matter: Incorporate 2 inches of well-composted organic matter to increase the microbial activity within the rhizosphere.
Timing:
The biological clock of ornamental grasses is governed by the photoperiod and temperature. In USDA Hardiness Zones 4 through 9, timing the installation is critical to root establishment before the first hard frost.
- Cool-Season Grasses (C3): These species, such as Calamagrostis, experience a growth surge in early spring. Plant these as soon as the soil is workable and temperatures consistently stay above 32 degrees Fahrenheit. They will flower in early summer.
- Warm-Season Grasses (C4): Species like Panicum or Miscanthus utilize a four-carbon acid during photosynthesis, making them highly efficient in heat. Plant these in late spring when the soil reaches 65 degrees Fahrenheit.
- The Reproductive Transition: As day length shortens, the plant shifts energy from leaf production to seed head development. This transition is triggered by phytochrome receptors sensing the change in light quality.
Phases:

Sowing and Germination
Direct sowing requires a finely raked seedbed. Seeds must maintain contact with the soil to ensure hydraulic lift. For many native species, a period of cold stratification at 35 to 40 degrees Fahrenheit for 60 days is required to break physiological dormancy.
Pro-Tip: Ensure proper seed-to-soil contact to facilitate imbibition. This is the biological process where the seed absorbs water, triggering the metabolic enzymes necessary for the embryo to emerge.
Transplanting
When moving container-grown specimens, dig a hole twice as wide as the root ball but no deeper. Use a hori-hori knife to score the sides of the root ball if it is pot-bound. This mechanical disruption encourages new root tips to explore the surrounding soil matrix.
Pro-Tip: Maintain the crown at the same level as the soil surface to prevent crown rot. Proper depth ensures the apical meristem remains aerated and protected from excessive moisture.
Establishing the Stand
During the first growing season, the focus is on root development rather than biomass. Deep, infrequent watering encourages the roots to penetrate lower soil horizons. Monitor the soil with a soil moisture meter to ensure the root zone stays between 20 and 40 percent volumetric water content.
Pro-Tip: Avoid over-fertilizing during the first year to prevent salt buildup in the rhizosphere. High salinity can cause osmotic stress, effectively dehydrating the plant even in moist soil.
The Clinic:
Physiological disorders often mimic pathogen attacks but are frequently rooted in environmental stress or nutrient imbalances.
- Symptom: Interveinal chlorosis (yellowing between green veins) on new growth.
- Solution: This indicates an Iron (Fe) deficiency, often caused by high soil pH. Apply chelated iron or lower the pH using elemental sulfur to a target of 6.5.
- Symptom: Tip burn or necrosis on older leaves.
- Solution: This is often a sign of potassium deficiency or salt burn. Flush the soil with 2 inches of water to leach salts and apply a 0-0-50 potassium sulfate supplement.
- Symptom: Center of the clump dying out.
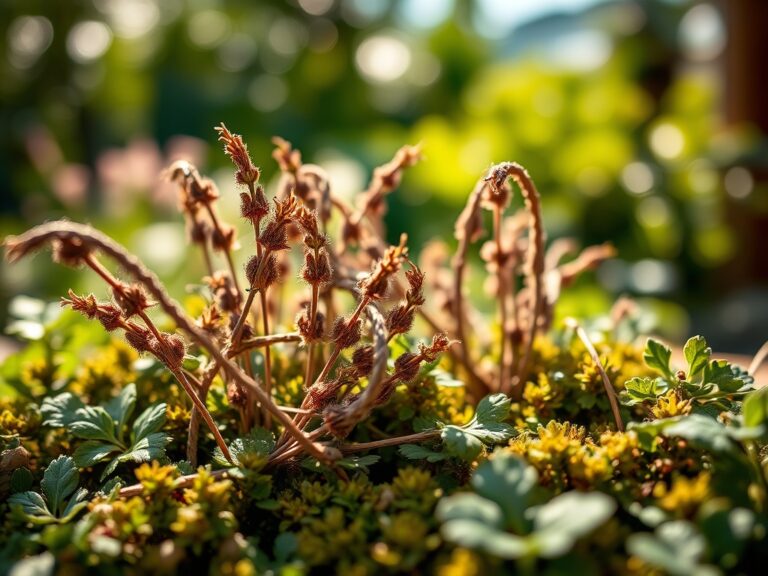
- Solution: This is natural senescence in older plants. The solution is mechanical division using a sharp spade or saw in early spring to rejuvenate the crown.
Maintenance:
Precision maintenance preserves the structural integrity of the landscape. Apply 1.5 inches of water per week at the drip line during periods of drought. Use a soil moisture meter to verify that moisture is reaching a depth of 6 inches.
In late winter or early spring, before new green shoots emerge, cut the previous year's growth back to 3 to 6 inches above the ground. Use bypass pruners for smaller grasses and a power hedge trimmer for large stands of Miscanthus. This removal of dead biomass allows sunlight to reach the crown, stimulating the next growth cycle. Apply a 2-inch layer of wood chip mulch around the base, keeping it 1 inch away from the stems to prevent fungal pathogens from colonizing the base of the plant.
The Yield:
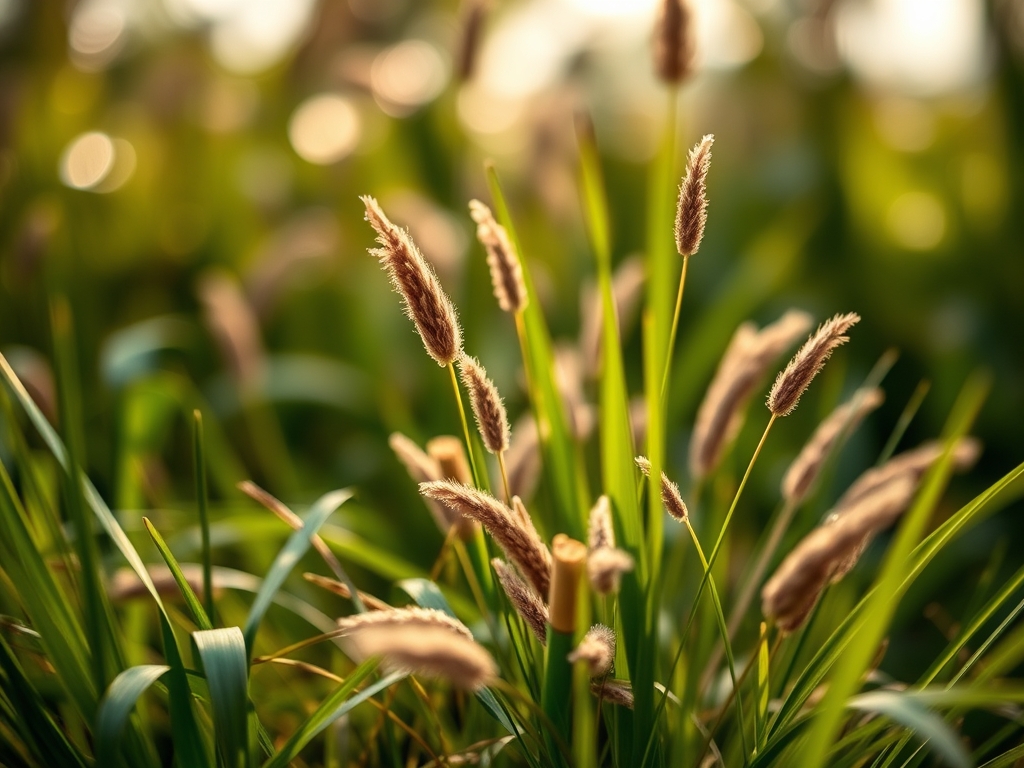
For those using grasses for floral arrangements or dried decor, timing the harvest is essential for longevity. Harvest the plumes just as they emerge from the sheath but before they are fully open. This prevents the seeds from shattering as they dry.
Cut the stems at the base using a sharp hori-hori knife or shears. To maintain "day-one" freshness for fresh arrangements, immediately plunge the stems into 110-degree Fahrenheit water to remove air bubbles from the xylem. For dried use, hang the bundles upside down in a dark, well-ventilated area with a humidity level below 50 percent to prevent mold.
FAQ:
When is the best time to divide ornamental grasses?
Perform divisions in early spring before active growth begins. This allows the root system to recover without the stress of supporting high leaf biomass. Ensure each division has at least three healthy "eyes" or shoots.
How do I stop my grasses from falling over?
Avoid high-nitrogen fertilizers and over-watering. These practices lead to weak cell walls. Ensure the plant receives at least six hours of direct sunlight to promote thick, lignified stems that can support the weight of the inflorescence.
Do ornamental grasses need a lot of water?
Once established, most varieties are drought-tolerant. However, they require 1 inch of water weekly during their first year. Use a soil moisture meter to ensure the top 4 inches of soil do not completely desiccate.
Why is my grass turning brown in the middle?
This is a sign of an aging crown. As the plant expands, the center becomes congested and starves for nutrients and light. Divide the plant every three to five years to maintain vigor and prevent central necrosis.