7 Unique Ways How to Build a Tree Circular Bench
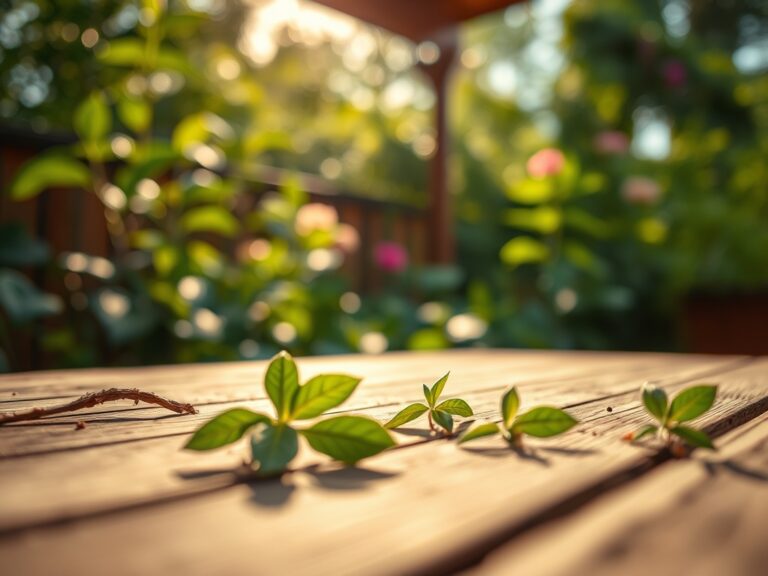
Crushed pine needles release a sharp, resinous scent as the weight of a seasoned gardener settles onto the forest floor. Beneath the surface, the rhizosphere pulses with activity; a complex network of mycorrhizal fungi facilitates nutrient exchange between the soil and the tree's root system. When you learn how to build a tree circular bench, you are not merely constructing furniture; you are integrating a structural element into a living biological system. This project requires an understanding of cambium protection and soil compaction risks. A poorly executed bench can lead to bark necrosis or restricted secondary growth. By elevating the seating surface and utilizing independent footings, you preserve the tree's gas exchange capabilities while creating a functional observation point for your landscape. The goal is a symbiotic placement that respects the tree's drip line and its physiological need for undisturbed soil aeration.
Materials:

The foundation of any structural addition near a tree begins with the substrate. The ideal soil for the surrounding area is a **friable loam** with a **pH range of 6.0 to 7.0**. This texture ensures adequate Cation Exchange Capacity (CEC), allowing the tree to access essential minerals. Before construction, test the soil for specific NPK ratios; a standard maintenance ratio of **10-10-10** is often sufficient, but high-nitrogen fertilizers should be avoided near mature trunks to prevent excessive succulent growth that attracts pathogens.
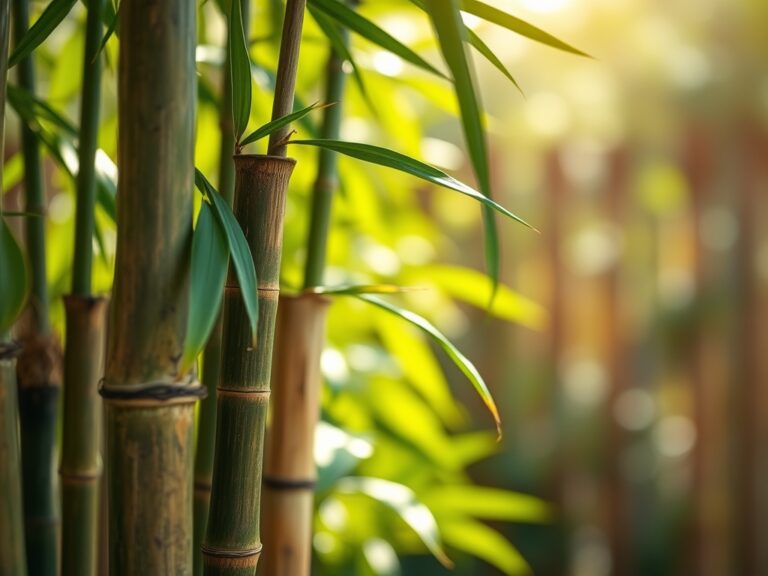
For the bench itself, select rot-resistant timber such as Western Red Cedar or Black Locust. You will need 3-inch stainless steel deck screws, 4×4 pressure-treated posts for the footings, and 2×6 boards for the seating slats. Ensure all lumber is seasoned to a moisture content below 15 percent to prevent warping after installation.
Timing:
Construction should align with the tree's dormancy period to minimize physiological stress. In Hardiness Zones 4 through 7, the optimal window is late autumn or early spring, specifically after the first hard frost but before the soil freezes solid. This timing respects the biological clock of the specimen; the tree has transitioned from its active vegetative stage to a state of senescence. By working during dormancy, you reduce the risk of disrupting the auxin flow that regulates growth. Avoid construction during the "bud break" phase in spring, as the bark is particularly susceptible to mechanical damage and "slipping" during this period of high sap flow.
Phases:

Sowing the Foundation
The first step in how to build a tree circular bench is the layout. Mark a circle at least 12 inches away from the trunk to allow for future girth expansion. Use a string line to plot six or eight equidistant points for the support posts. Excavate holes to a depth of 18 inches, ensuring you do not sever any structural roots larger than 2 inches in diameter.
Pro-Tip: If you encounter a significant root, shift the post location. Severing primary roots disrupts turgor pressure and can lead to localized canopy dieback because the xylem's upward transport of water is compromised.
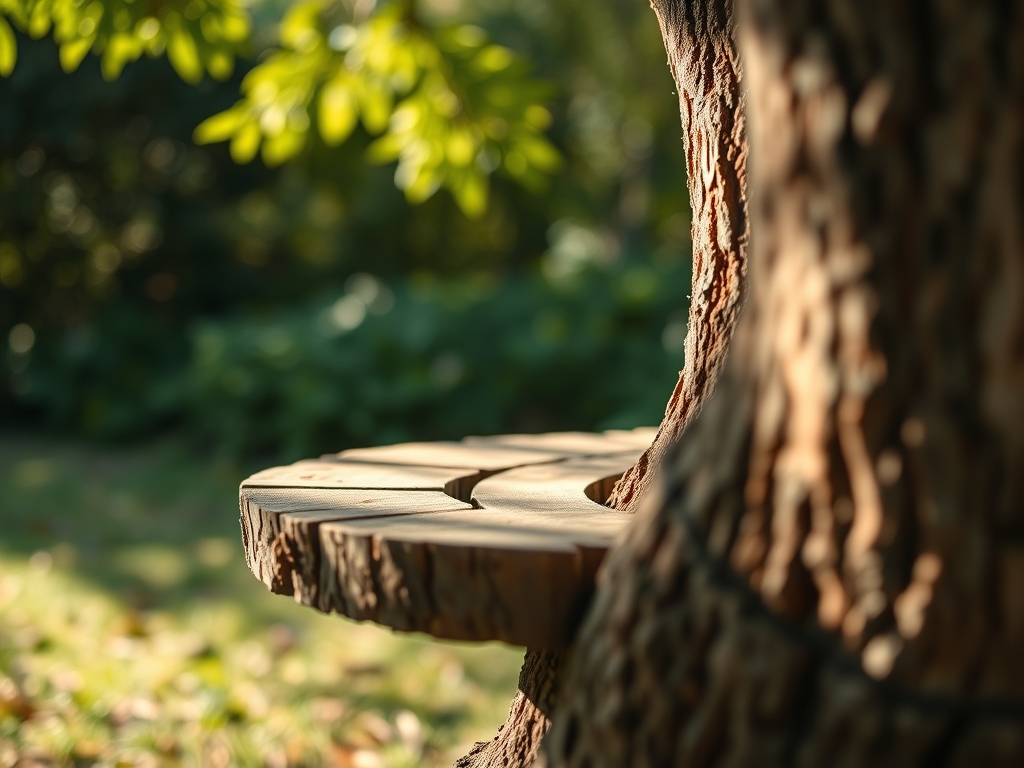
Transplanting the Design
Assemble the inner and outer frames using mitered joints cut at 22.5 degrees for an octagonal bench or 30 degrees for a hexagonal bench. Level each section meticulously. The seating height should be exactly 18 inches above the soil grade to ensure ergonomic comfort and proper air circulation beneath the structure.
Pro-Tip: Maintain a 0.5-inch gap between the seating slats. This gap prevents organic debris buildup and allows sunlight to reach the soil surface, preventing the growth of anaerobic bacteria that could harm the tree's root collar.
Establishing the Structure
Secure the seating slats to the frame, working from the inside out. Use a soil moisture meter to check the hydration levels around the base after construction. The weight of the bench and the footings can slightly alter localized drainage patterns, so monitoring the percolation rate is essential during the first season.
Pro-Tip: Apply a breathable, UV-resistant sealant to the wood. Avoid creosote or heavy chemical stains that could leach into the soil and disrupt the mycorrhizal symbiosis that the tree relies on for phosphorus uptake.
The Clinic:
Monitoring the tree's health post-construction is vital for long-term success.
- Symptom: Yellowing of the inner leaves (Chlorosis).
Solution: This often indicates Nitrogen deficiency or high soil alkalinity. Test the pH and apply a chelated iron supplement if the pH exceeds 7.5. - Symptom: Leaf wilting despite adequate rainfall.
Solution: Check for soil compaction. Use a hori-hori knife to gently probe the soil; if it is impenetrable, use an air spade to aerate the root zone without damaging the bark. - Symptom: Premature leaf drop in a specific quadrant.
Solution: This indicates localized root damage. Inspect the bench footings in that area to ensure they are not compressing a major lateral root. - Fix-It: For Nitrogen chlorosis, apply a slow-release blood meal or a 12-0-0 fertilizer at the drip line. Avoid the area directly under the bench to prevent salt accumulation near the trunk.
Maintenance:
A tree bench requires active management of the surrounding environment. Provide 1.5 inches of water per week at the drip line during the growing season. Use a soil moisture meter to ensure the water is penetrating to a depth of 8 inches. Every spring, use bypass pruners to remove any low-hanging branches that might interfere with seating or restrict airflow. Inspect the wood for signs of fungal growth; if found, clean the area with a mild oxygen bleach solution to prevent spores from migrating to the tree's bark. Check the structural integrity of the joints annually, as the tree's photoperiod-driven growth may eventually necessitate widening the inner diameter of the bench.
The Yield:
While a bench does not produce a caloric harvest, it yields a "psychological harvest" of observation. By sitting at the base of the tree, you can monitor the timing of anthesis (flowering) and the development of fruit or seeds. For nut-bearing trees like Oak or Walnut, the bench provides a platform for sorting the harvest. Collect fallen debris weekly to prevent the harbor of pathogens. If the tree is an edible species, ensure no wood preservatives used on the bench contain heavy metals that could be absorbed by the root system and translocated to the fruit.
FAQ:
How much space should I leave between the tree and the bench?
Leave at least 12 to 18 inches of clearance. This allows for secondary growth in the trunk's diameter and ensures adequate gas exchange at the root flare, preventing moisture entrapment and subsequent fungal rot.
Can I attach the bench directly to the tree trunk?
No. Never bolt or nail structures into the trunk. This creates entry points for pathogens and can girdle the tree as it grows, eventually severing the phloem and killing the specimen.
What is the best wood for a tree bench?
Select woods with high natural tannin content like Cedar, Redwood, or Teak. These species resist decay and insect infestation without the need for heavy chemical treatments that could disrupt the soil chemistry.
How do I prevent soil compaction under the bench?
Spread a 3-inch layer of organic arborist wood chips beneath the bench. This mulch layer cushions foot traffic, retains moisture, and slowly decomposes to improve the soil's organic matter and cation exchange capacity.