9 Easy Steps to Patch Rubber Boots
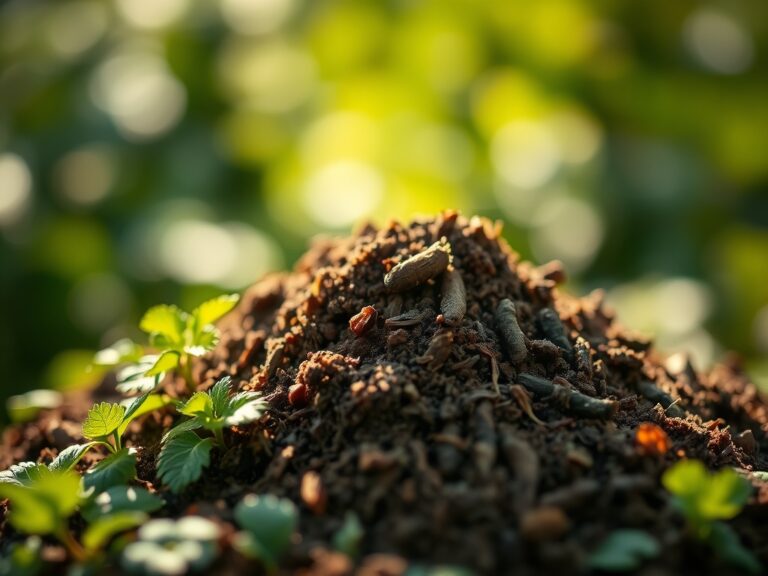
The smell of anaerobic decomposition in waterlogged soil indicates a failure in drainage that often starts at the gardener's feet. When a boot seal fails, the resulting moisture intrusion compromises the thermal regulation of the foot and introduces pathogens to the skin. Precision is required when following the steps to patch rubber boots to ensure a watertight bond that withstands the mechanical stress of walking through heavy clay. Maintaining dry feet is essential for managing a garden where the soil is at peak turgor.
Materials:
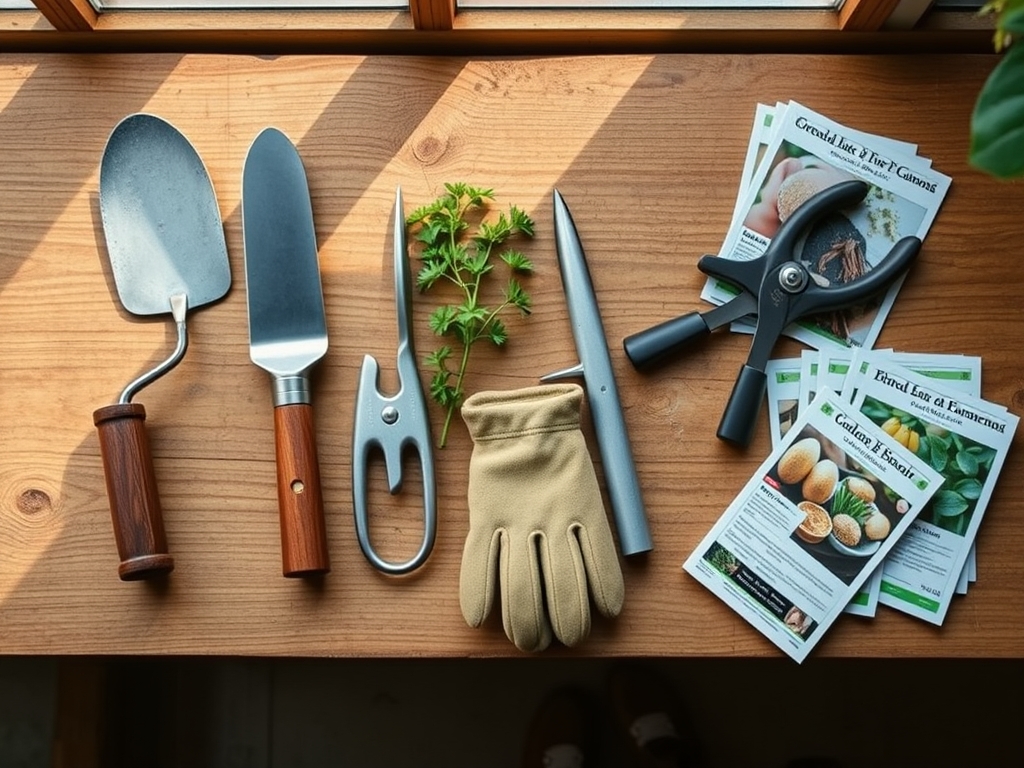
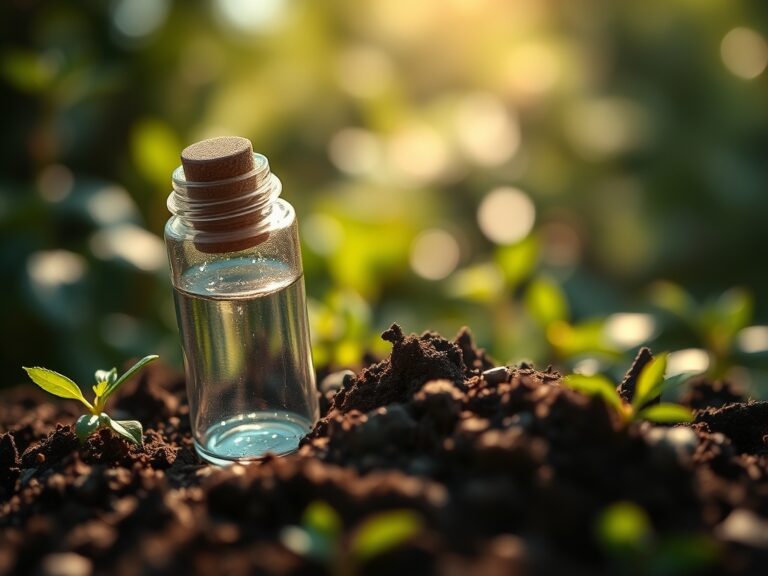
Successful repair requires a substrate preparation similar to preparing a seedbed. The rubber surface must be cleaned of all organic matter and mineral deposits. In the garden, we manage soil with a **pH of 6.5 to 7.0** to optimize nutrient availability, but for boot repair, the surface must be chemically neutral. Use a solvent like isopropyl alcohol to strip oils. The patch kit should include a vulcanizing fluid or a high-grade polyurethane adhesive. If you were amending a **friable loam** with an NPK ratio of **10-10-10**, you would seek balance; here, the balance is between the flexibility of the patch and the rigidity of the boot wall. You will need 120-grit sandpaper, a marine-grade sealant, and a weighted object for compression.
Timing:
The repair must occur during a window of low humidity, ideally below 50 percent, to ensure the adhesive cures without trapping moisture. In Hardiness Zones 5 through 7, this is best done indoors during the dormant winter season or on a dry summer afternoon. Just as a plant follows a "Biological Clock" transitioning from the vegetative stage to the reproductive stage triggered by the photoperiod, the adhesive follows a chemical clock. Most polyurethane sealants require a 24-hour cure time at a temperature of at least 65 degrees Fahrenheit to achieve maximum tensile strength. Do not attempt a field repair in freezing temperatures, as the molecular bonding will fail.
Phases:

Sowing the Patch
Begin by abrading the area around the puncture. This increases the surface area for the chemical bond, much like how root hairs increase the surface area for water absorption in the rhizosphere. Sand a one-inch radius around the hole until the factory sheen is gone and the raw rubber is exposed.
Pro-Tip: Abrasion creates mechanical "teeth" for the glue. This mimics the way a seed coat must sometimes be scarified to allow water imbibition; without surface disruption, the sealant cannot penetrate the polymer chain.
Transplanting the Sealant
Apply a thin, even layer of adhesive to both the boot and the patch. Wait for the solvent to flash off until the surface is tacky but not wet. This is the critical moment of adhesion. Press the patch firmly from the center outward to evacuate all air bubbles.
Pro-Tip: Eliminating air pockets prevents "oxidative delamination." In the same way that mycorrhizal symbiosis requires direct contact between fungal hyphae and root cells, the patch requires total molecular contact to maintain its seal under the pressure of foot flexion.
Establishing the Bond
Secure the patch with a clamp or a heavy weight for the first six hours of the curing process. The boot should be stored in a neutral position so the patch does not dry in a folded or stretched state.
Pro-Tip: Maintaining the boot's natural shape prevents "stress concentration." Just as auxin suppression in a plant lead can redirect growth, uneven pressure during the curing phase will cause the patch to peel at the edges when the boot is finally flexed during heavy labor.
The Clinic:
Physiological failures in gear often mirror those in the field. Use this diagnostic guide to troubleshoot.
- Symptom: Patch edges lifting after one use.
Solution: Insufficient surface preparation. Re-sand the area and use a degreaser to remove residual mold-release agents from the rubber. - Symptom: The sealant remains tacky after 48 hours.
Solution: Temperature was too low or humidity was too high during the cure. Move the boot to a controlled environment at 72 degrees Fahrenheit. - Symptom: New cracks appearing near the repair site.
Solution: Dry rot caused by UV degradation. Apply a silicone-based UV protectant to the entire boot surface.
Fix-It for Material Fatigue: If the rubber appears chalky (blooming), it is losing its plasticizers. This is not a nutrient deficiency like Nitrogen chlorosis, but a chemical depletion. Treat the rubber with a specialized conditioner to restore elasticity and prevent further cracking.
Maintenance:
A repaired boot requires consistent oversight. Inspect the patch site weekly, especially if working in heavy muck or acidic soils with a high Cation Exchange Capacity (CEC) that can be abrasive. Clean your boots after every use using a soft brush and water. Avoid leaving them in direct sunlight, as UV rays accelerate the senescence of the rubber polymers. For precision tasks, use a hori-hori knife to scrape heavy clay from the soles before the mud dries and shrinks, which puts unnecessary tension on the patch. Use a soil moisture meter to determine if you actually need to wear the boots; if the soil is at field capacity, the boots are mandatory, but if it is dry, switch to breathable footwear to extend the life of your rubber gear.
The Yield:
A successful repair yields an extended service life of two to three seasons. To ensure "day-one" performance, the patch must be fully integrated into the boot's structure. Once the 24-hour cure is complete, test the seal by submerging the boot in a bucket of water for ten minutes. If the interior remains dry, the repair is successful. This longevity allows you to focus your financial resources on high-quality inputs like 0-20-0 bone meal or professional-grade bypass pruners rather than replacing disposable gear.
FAQ:
How long does it take to patch a boot?
The active labor takes 15 minutes. However, the chemical curing process requires a full 24 hours in a dry, room-temperature environment to ensure the molecular bond is strong enough to withstand the mechanical stress of walking.
Can I use duct tape for a permanent fix?
No. Duct tape lacks the elasticity and waterproof seal required for rubber. It will fail when exposed to the moisture and friction of the garden. Use a vulcanizing rubber patch or a polyurethane adhesive for a permanent, flexible repair.
What is the best glue for rubber boots?
Use a polyurethane-based adhesive or a specialized marine sealant. These products are designed to remain flexible after curing, allowing the boot to bend without the patch cracking or pulling away from the original rubber substrate.
Why did my patch fail so quickly?
The most common cause is poor surface preparation. If the rubber is not sanded to remove the factory finish and cleaned with a solvent to remove oils, the adhesive cannot form a proper bond at the molecular level.