8 Precise Steps to Hone a Hatchet Edge
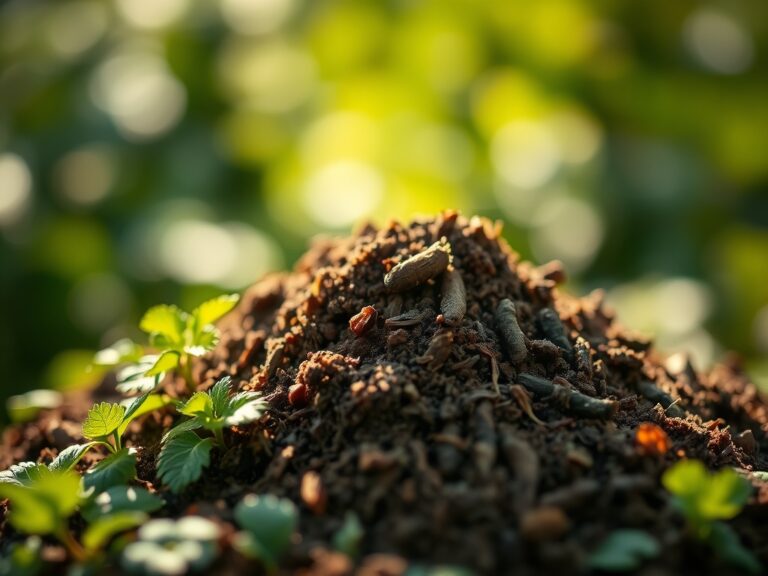
The smell of damp earth after a cold rain signifies a high concentration of geosmin; this organic compound signals a healthy microbial population in the rhizosphere. Maintaining a landscape requires more than just biological knowledge; it demands the mechanical precision of well-maintained tools. Learning the steps to hone a hatchet edge ensures that every strike against woody tissue is clean and minimizes damage to the vascular cambium of your trees. A dull blade crushes cells and invites fungal pathogens. A sharp edge severs fibers instantly.
Success in the orchard or the forest begins with the structural integrity of your equipment. When you understand the cellular structure of the wood you are clearing, you realize that a jagged cut increases the surface area for transpiration and disease. Proper tool maintenance is as critical as monitoring the turgor pressure in a wilting seedling. By following the correct steps to hone a hatchet edge, you treat your tools as extensions of your horticultural practice. This guide provides the technical framework for maintaining that edge while managing the complex biological needs of your soil and plant life.
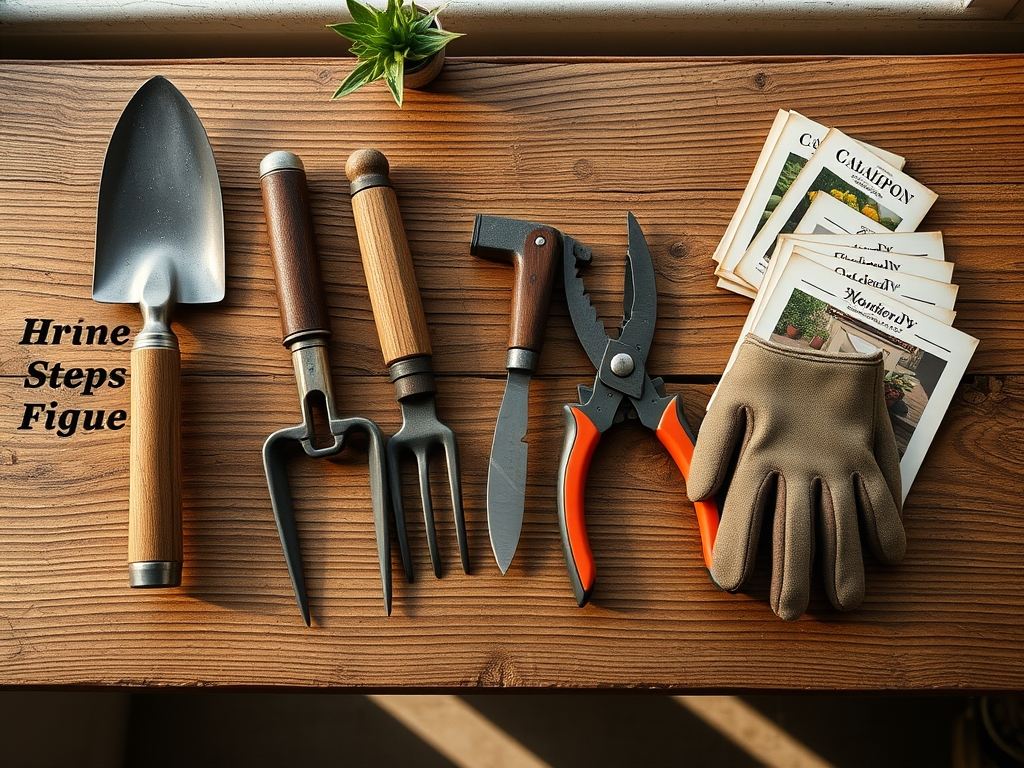
Materials:
Before addressing the metal, assess the substrate where your plants reside. The ideal growing medium is a **friable loam** with a Cation Exchange Capacity (CEC) between **15 and 25 milliequivalents per 100 grams**. This texture allows for optimal pore space, facilitating the movement of oxygen to the root zone.
For heavy feeders, maintain a soil pH between 6.2 and 6.8 to ensure nutrient bioavailability. Use a balanced NPK ratio of 10-10-10 for general maintenance; however, for establishing woody perennials, transition to a 5-10-10 formula to prioritize root development over succulent foliar growth. Your sharpening kit should include a dual-grit whetstone (400/1000 grit), a bastard file, and honing oil to reduce friction and prevent the metal from overheating, which can ruin the temper of the steel.
Timing:
The biological clock of your garden dictates your maintenance schedule. In Hardiness Zones 5 through 7, the primary pruning and clearing window occurs during the dormant season, typically between the first hard frost in late October and the final frost in April. This period of senescence allows you to remove deadwood without triggering premature sap flow or "bleeding" in species like Acer or Betula.
As plants transition from the vegetative stage to the reproductive stage, their energy is diverted to flowering and fruit production. Perform tool sharpening and heavy clearing before the vernal equinox to avoid disrupting the peak auxin production that occurs during the spring flush. Monitoring the Growing Degree Days (GDD) provides a precise metric for when specific pests or physiological changes will occur, allowing you to time your hatchet work to minimize environmental stress on the stand.
Phases:

Sowing and Preparation
Before any seed hits the soil, the ground must be prepared. Use your hatchet to clear stubborn woody stalks or invasive brush that competes for light. Secure the hatchet in a vise at a 25-degree angle. Use the bastard file to remove nicks and establish the primary bevel. Always file away from your body to ensure a consistent stroke.
Pro-Tip: Maintaining a sharp edge prevents "ragged" wounds on brush. This is vital because clean cuts allow the plant to undergo compartmentalization of decay in trees (CODIT) more effectively; this biological process seals off wounded tissue to prevent the spread of decay through the xylem.
Transplanting and Clearing
When moving specimens from a nursery pot to the field, ensure the root ball remains moist to maintain turgor pressure. If you encounter thick, circling roots that require pruning, a honed hatchet can provide a swift, surgical strike. Use the 400-grit side of your whetstone in circular motions along the bevel to refine the edge.
Pro-Tip: Sharp tools are essential for root pruning because they minimize the crushing of the root apical meristem. A clean cut encourages the lateral branching of roots, which increases the surface area for mycorrhizal symbiosis, a symbiotic relationship where fungi assist the plant in phosphorus uptake.
Establishing and Maintenance
Once the plant is established, focus on maintaining the surrounding environment. Use a hori-hori knife for weeding and a honed hatchet for larger suckers or water sprouts. Finish the hatchet edge with the 1000-grit stone and a leather strop to achieve a mirror finish. This level of sharpness allows for precision work without damaging the parent plant.
Pro-Tip: Removing water sprouts early prevents auxin suppression issues. By cleanly removing these non-productive shoots, you redirect the plant's hormonal energy toward the primary leader and fruit-bearing branches, optimizing the overall photosynthetic efficiency of the canopy.
The Clinic:
Physiological disorders often mimic nutrient deficiencies. Use this diagnostic guide to identify and correct common issues in your landscape.
- Nitrogen Chlorosis: Observe the older leaves for a uniform yellowing while the veins remain pale. Solution: Apply a high-nitrogen fertilizer (NPK 21-0-0) to increase chlorophyll production and restore vegetative vigor.
- Blossom End Rot: This is characterized by a dark, sunken leathery spot at the base of the fruit. Symptom: It is caused by a calcium deficiency often triggered by inconsistent moisture levels. Solution: Maintain consistent irrigation and ensure soil pH is above 6.0 to facilitate calcium uptake.
- Iron Chlorosis: Young leaves show yellowing between the veins (interveinal chlorosis) while veins remain green. Fix-It: This often occurs in alkaline soils (pH above 7.5). Apply chelated iron as a foliar spray or soil drench to bypass the pH lock.
- Magnesium Deficiency: Older leaves show interveinal chlorosis, often with a reddish tint. Fix-It: Apply Epsom salts (magnesium sulfate) at a rate of 1 tablespoon per gallon of water to correct the ionic balance.
Maintenance:
Precision is the hallmark of a master horticulturist. Provide exactly 1.5 inches of water per week at the drip line of your trees; use a soil moisture meter to verify that the water is penetrating at least 6 to 8 inches into the soil profile. This depth ensures the entire rhizosphere is hydrated.
Regularly inspect your tools for oxidation. After using your hatchet, wipe the blade with a rag soaked in mineral oil to prevent rust. Use bypass pruners for green wood under 0.5 inches in diameter and your honed hatchet for larger tasks. Always store tools in a low-humidity environment to prevent the wooden handles from shrinking or the steel from pitting.
The Yield:
Harvesting is the culmination of the biological cycle. For woody crops or medicinal bark, timing is dictated by the concentration of secondary metabolites. Harvest during the early morning hours when turgor pressure is at its peak; this ensures the plant tissue is crisp and less prone to wilting.
For edibles, use your sharpened tools to make clean cuts that leave the main stem intact. Post-harvest, immediately move the yield to a cooling area to slow down senescence and respiration. Reducing the field heat of the crop by 10 degrees Fahrenheit can double its shelf life, preserving the "day-one" freshness required for professional standards.
FAQ:
How often should I sharpen my hatchet?
Sharpen your hatchet after every 4 to 6 hours of heavy use or whenever you notice the blade bouncing off the wood rather than biting. A dull blade requires more force and increases the risk of injury.
What is the best angle for a hatchet edge?
A 25 to 30-degree bevel is ideal for general horticultural work. This angle provides a balance between a razor-sharp edge for clean cuts and the structural durability needed to strike hard wood without chipping the steel.
Why does soil pH matter for tool care?
Highly acidic or alkaline soils can accelerate the corrosion of steel tools. Always clean your hatchet and hori-hori knife after contact with soil to remove mineral salts and moisture that trigger the oxidation process.
Can I use a bench grinder to sharpen my hatchet?
Avoid bench grinders unless the blade is severely damaged. The high heat generated by a grinder can ruin the temper of the steel, making the metal brittle or too soft to hold a sharp edge over time.