10 Basic Steps to Install Garden Edging
The smell of damp, anaerobic earth rising from a freshly sliced trench signals the start of a structural overhaul. When the turgor pressure of your perennials is at its peak in the cool morning air, the soil is most receptive to manipulation. Establishing a clean boundary is not merely an aesthetic choice; it is a mechanical barrier against invasive stolons and rhizomatous encroachment. Following the correct steps to install garden edging ensures that the rhizosphere remains contained and the nutrient density of your beds is not diluted by aggressive turfgrass. Precision at this stage prevents the lateral migration of mulch and preserves the integrity of your soil horizons.
Materials:
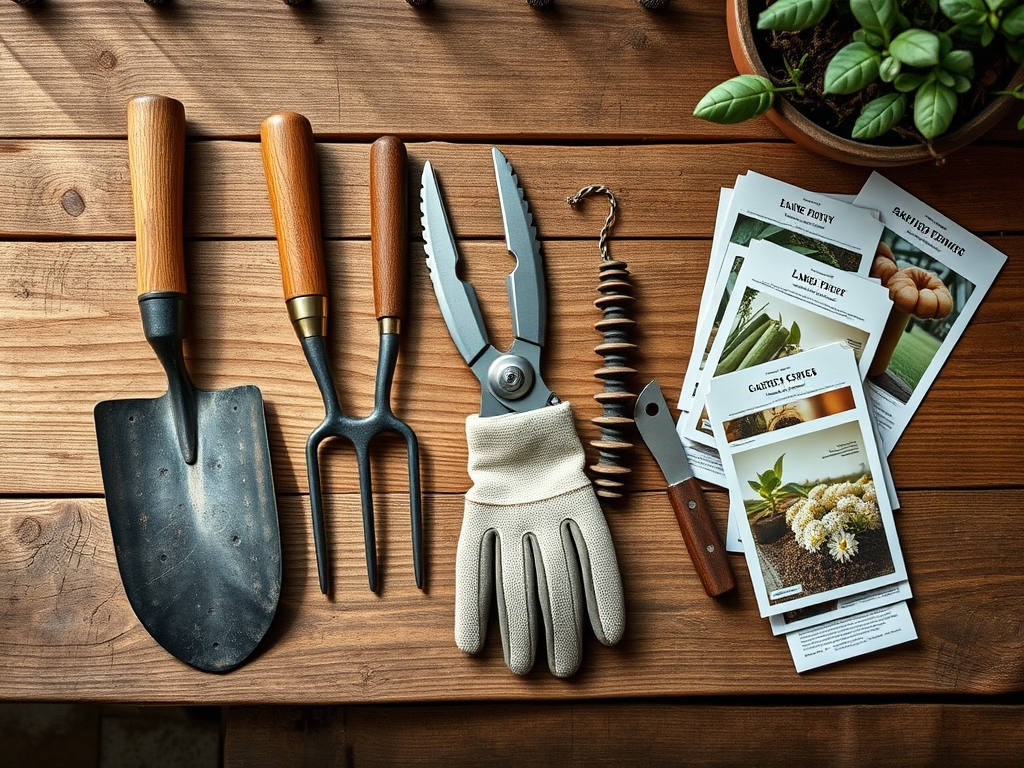
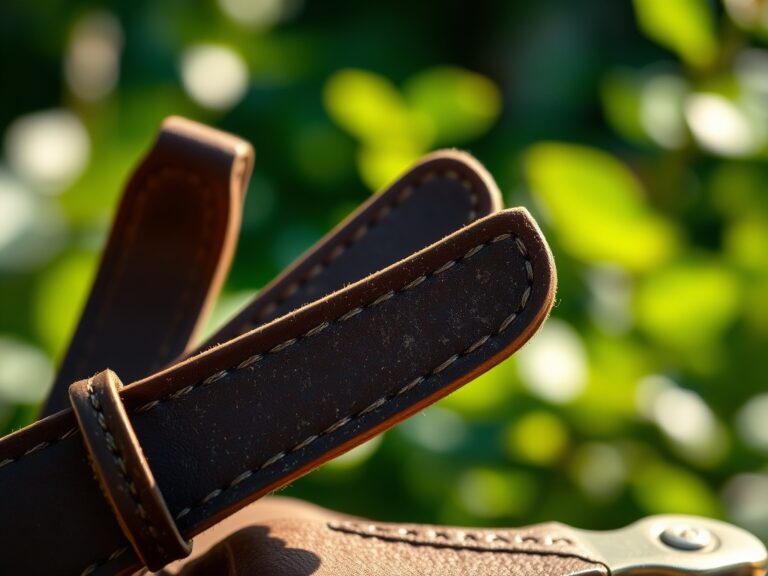
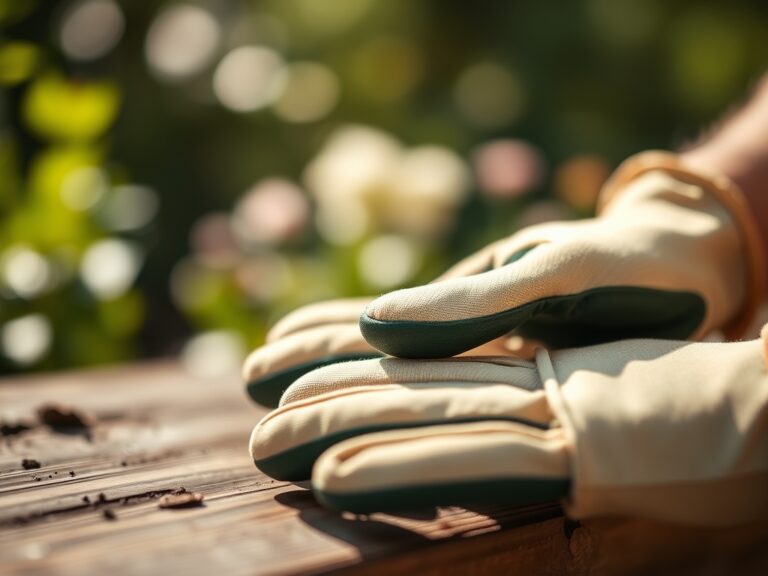
The success of any edging project begins with the substrate. You must work with a **friable loam** that exhibits high porosity and a balanced Cation Exchange Capacity (CEC). Before installation, test your soil pH; most ornamental beds thrive between **6.0 and 7.0 pH**. If your soil is heavy clay, incorporate sharp sand to improve drainage. For the backfill process, prepare a nutrient-dense mixture with an **NPK ratio of 5-10-5** to encourage root development without triggering excessive vegetative surge. You will require a high-carbon steel spade, a string line for linear accuracy, and the edging material of choice: whether it be **14-gauge steel**, UV-stabilized polyethylene, or pressure-treated timber.
Timing:
Timing must align with your local Hardiness Zone. In Zones 5 through 7, the optimal window for installation is early spring, immediately after the ground thaws but before the spring flush of growth. This period coincides with the "Biological Clock" of the plant, specifically the transition from winter dormancy to the early vegetative stage. Avoid installation during the peak of summer when high evapotranspiration rates can cause soil contraction, leading to gaps between the edging and the root zone. Conversely, late autumn installation allows the soil to settle through winter freeze-thaw cycles, though you must complete the work at least four weeks before the first hard frost to prevent heaving.
Phases:

Sowing and Site Preparation
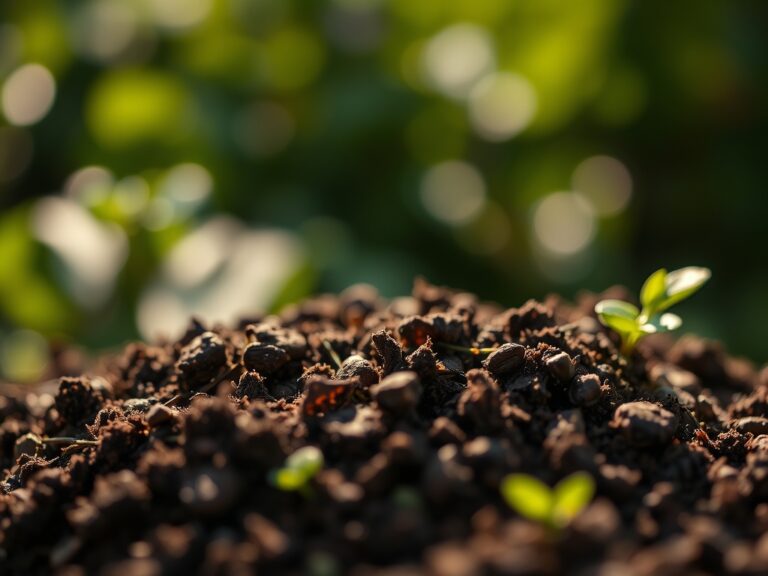
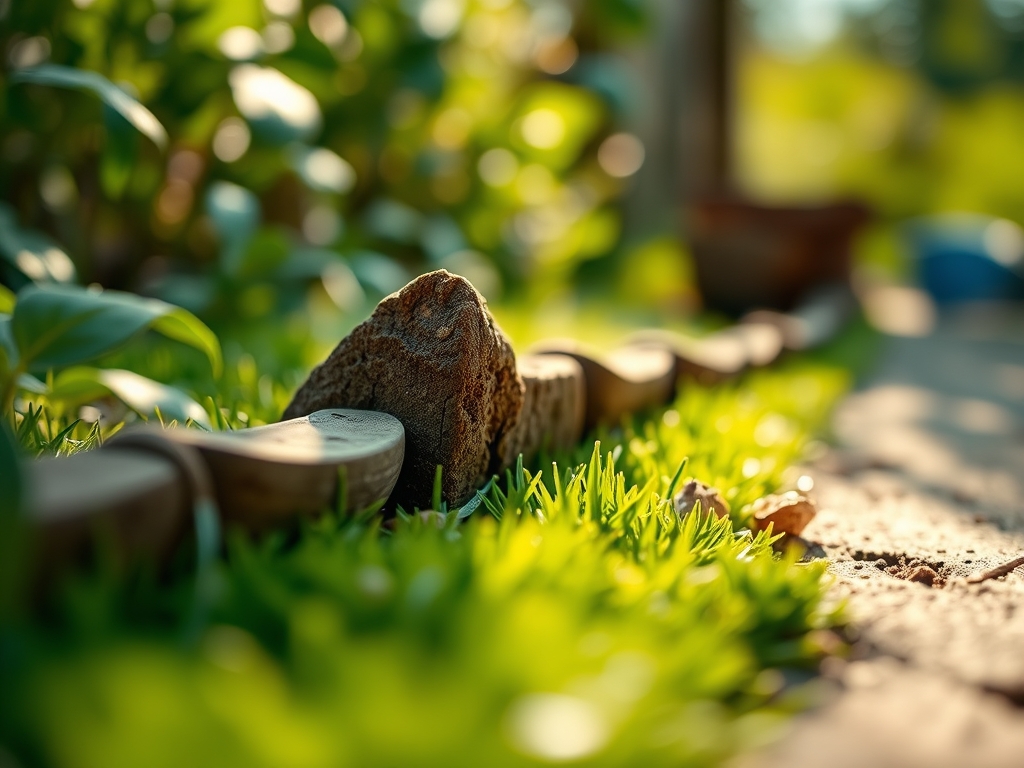
Clear the perimeter of all debris and existing weeds. Use a string line to mark the path. Dig a trench 6 inches deep and 4 inches wide. Ensure the trench floor is compacted to prevent settling.
Pro-Tip: Compacting the trench base limits the oxygen availability to dormant weed seeds in the lower soil profiles, preventing germination via a process known as "light-induced dormancy breaking."
Transplanting and Placement
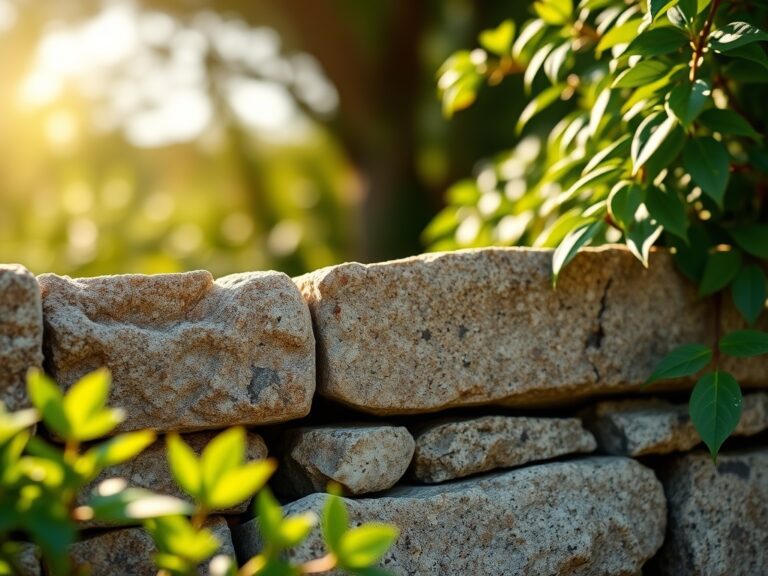
Insert the edging material into the trench. For steel or plastic, ensure at least 2 inches of the material remains above the soil line to deflect grass stolons. If using brick or stone, set them on a 1-inch bed of leveling sand.
Pro-Tip: Maintaining a physical height of 2 inches exploits the biological principle of "apical dominance" in turfgrass; by blocking the horizontal path of stolons, you force the plant to focus energy on vertical growth which is easily managed by mowing.
Establishing and Backfilling
Backfill the trench with your prepared friable loam. Tamp the soil firmly in 2-inch lifts to eliminate air pockets around the roots of adjacent plants. Water the area immediately to settle the particles.
Pro-Tip: Immediate irrigation after backfilling facilitates "mycorrhizal symbiosis." The water acts as a conduit for fungal spores to connect with plant roots, enhancing the uptake of phosphorus and micronutrients in the newly disturbed soil.
The Clinic:
Physiological disorders often manifest at the edge of the bed due to mechanical stress or soil compaction.
- Symptom: Interveinal chlorosis (yellow leaves with green veins).
Solution: This indicates a Manganese or Iron deficiency, often caused by high pH near concrete edging. Apply a chelated micronutrient spray.
2. Symptom: Marginal necrosis (brown, crispy leaf edges).
Solution: This suggests "Salt Burn" or potassium deficiency. Flush the soil with 2 gallons of water per square foot to leach excess salts.
3. Symptom: Stunted growth and purplish stems.
Solution: Nitrogen chlorosis or Phosphorus lock-out. Check soil temperature; if below 55 degrees Fahrenheit, phosphorus uptake is biologically inhibited.
Fix-It Section: For general Nitrogen chlorosis, top-dress with an organic 10-0-0 fertilizer at a rate of 1 pound per 100 square feet. This restores the chlorophyll density required for photosynthesis.
Maintenance:
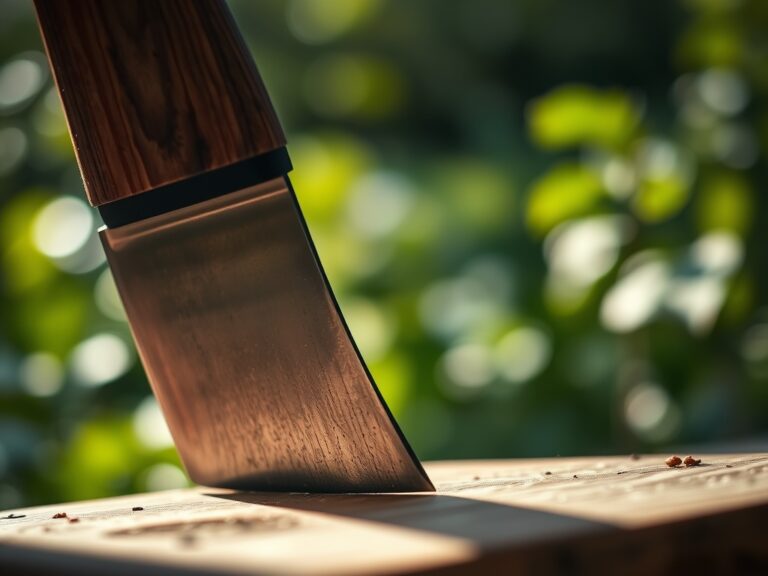
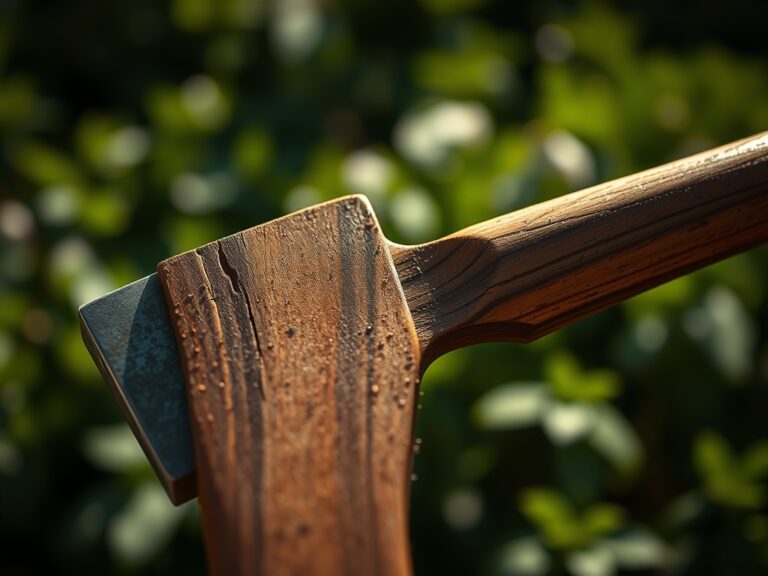
Precision maintenance requires high-quality tools. Use a hori-hori knife to sever any roots that attempt to bridge the edging. Check soil moisture levels weekly using a soil moisture meter; aim for a consistent reading that reflects 1.5 inches of water per week at the drip line. Use bypass pruners to remove any spent foliage or "senescence" that falls against the edging, as decaying organic matter can create a bridge for pests. Inspect the edging after heavy rain events for "frost heave" or "soil slump" and recalibrate the depth as necessary to maintain the structural barrier.
The Yield:
While edging is a structural element, its impact on the yield of neighboring plants is significant. By reducing resource competition from turfgrass, your ornamentals and edibles will reach "physiological maturity" faster. For flowering species, harvest when the "turgor pressure" is highest, typically before 9:00 AM. Use a sharp blade to make a clean 45-degree cut, which maximizes the surface area for water uptake. Place stems immediately into 110-degree Fahrenheit water to bypass the plant's natural "wound response," ensuring day-one freshness and prolonged vascular function.
FAQ:
How deep should I dig for garden edging?
Dig a trench 6 inches deep. This depth is sufficient to intercept the majority of turfgrass roots and stolons while providing a stable foundation for the edging material against soil expansion and contraction cycles.
What is the best material for long-term edging?
14-gauge weathering steel or UV-treated composite materials offer the highest durability. These materials resist the "oxidative stress" of the environment and provide a permanent barrier that does not leach harmful chemicals into the rhizosphere.
Can I install edging in clay soil?
Yes, but you must incorporate sharp sand or perlite into the backfill. Clay soil has high water retention and low oxygen diffusion; amending the backfill improves the "gas exchange" necessary for healthy root respiration.
How do I prevent weeds from growing under the edging?
Ensure the edging is seated on a compacted base. By eliminating the light and space at the bottom of the trench, you prevent the "photoblastic response" required for most weed seeds to terminate their dormancy.