5 Custom Ways How to Mix Cactus Soil Blends
Crushing a handful of dry mineral substrate reveals the gritty reality of xeriscaping; it should feel abrasive and lack the spongy resilience of peat. When a cactus achieves peak turgor pressure, its cellular walls are fully distended with water, creating a rigid, heavy specimen that can withstand months of drought. Achieving this physiological state depends entirely on understanding how to mix cactus soil blends that prioritize rapid drainage over moisture retention. Most commercial mixes fail because they contain excessive organic matter, which collapses the rhizosphere and leads to anaerobic conditions. To grow healthy succulents, you must master the ratio of macropores to micropores in the soil structure.
Materials:

The foundation of any superior blend is a friable loam with a high Cation Exchange Capacity (CEC). This allows the soil to hold onto essential nutrients like potassium and magnesium without becoming waterlogged. Aim for a target pH range of 5.5 to 6.5, as most cacti struggle to uptake micronutrients in alkaline environments.
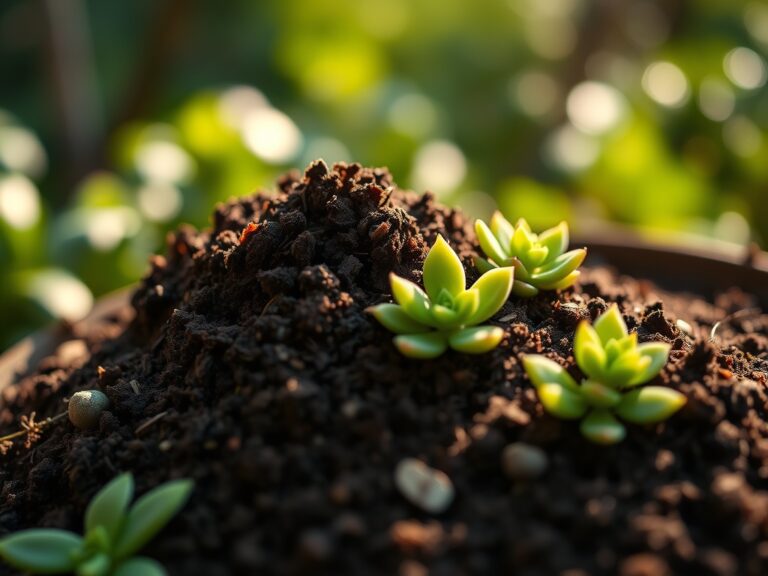
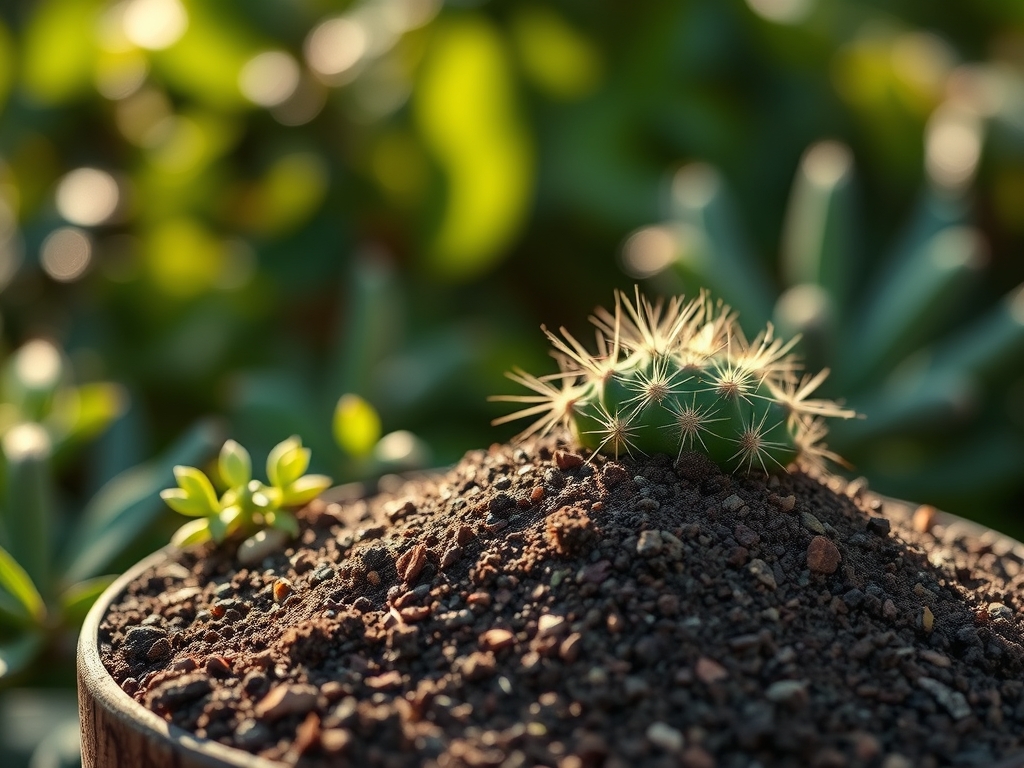
For the mineral component, use 3/8-inch horticultural pumice, calcined clay, or crushed lava rock. These materials provide the physical structure necessary for oxygen to reach the roots. For the organic fraction, use aged pine bark or coconut coir rather than peat moss; peat becomes hydrophobic when dry and can be difficult to re-wet.
When considering NPK ratios for initial mixing, keep nitrogen levels low to prevent weak, etiolated growth. A balanced 5-10-10 slow-release fertilizer incorporated at a rate of 1 tablespoon per gallon of soil provides a steady supply of phosphorus for root development and potassium for cellular thickness. Avoid high-nitrogen fertilizers that force rapid expansion, as this often results in the epidermis splitting.
Timing:
Timing your soil mixing and repotting coincides with the end of the dormant period. In Hardiness Zones 8 through 11, this window typically opens in late February or early March when the threat of frost has passed. If you are in Zones 5 through 7, wait until overnight temperatures consistently remain above 50 degrees Fahrenheit.
The biological clock of a cactus is governed by the photoperiod. As day length increases, the plant transitions from a state of metabolic rest to active vegetative growth. This is the optimal time for root disturbance because the plant is producing auxins, the hormones responsible for root initiation. Repotting during the transition to the reproductive stage (flowering) can cause the plant to abort buds due to the sudden shift in energy expenditure from bloom production to root repair.
Phases:
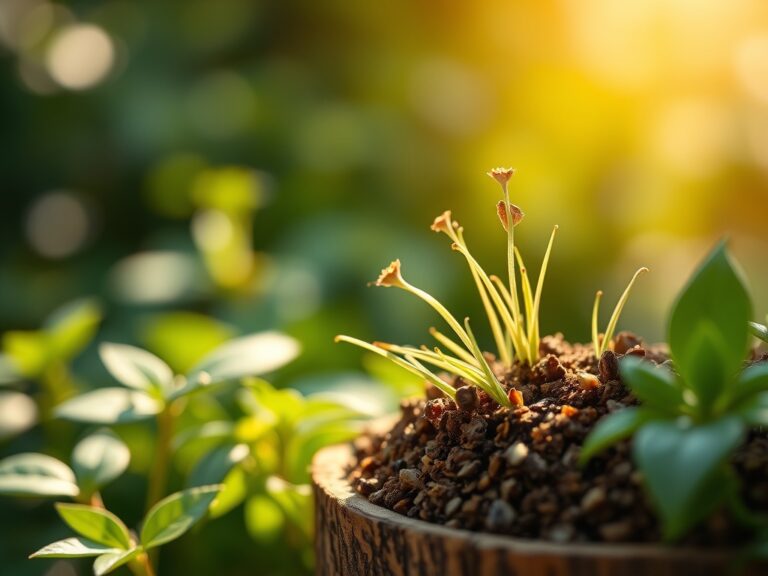
Sowing
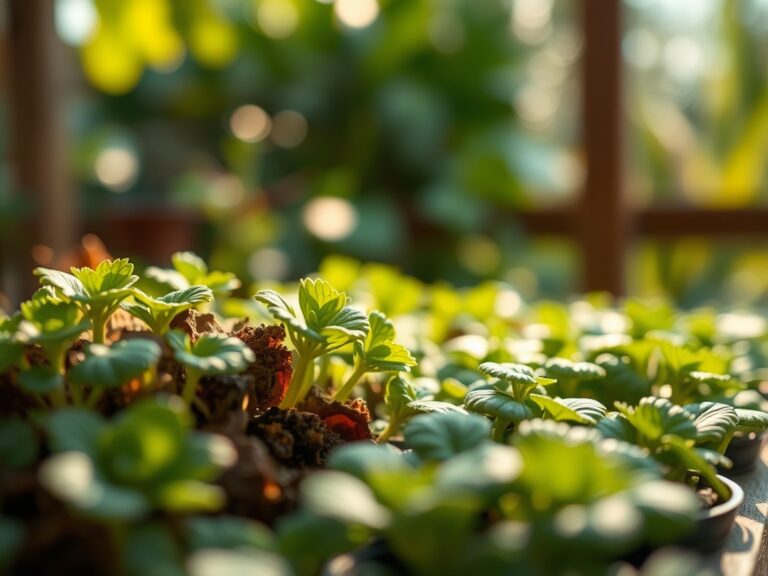
When starting from seed, the substrate must be finer than the adult mix. Combine 50 percent screened pumice with 50 percent coco coir. Sterilize the mix in an oven at 180 degrees Fahrenheit for 30 minutes to eliminate pathogens like Pythium, which causes damping-off.
Pro-Tip: Maintaining high humidity during the first 60 days is vital because seedlings lack the thick waxy cuticle of mature plants. This prevents excessive transpiration and ensures the young cells maintain sufficient turgor for expansion.
Transplanting
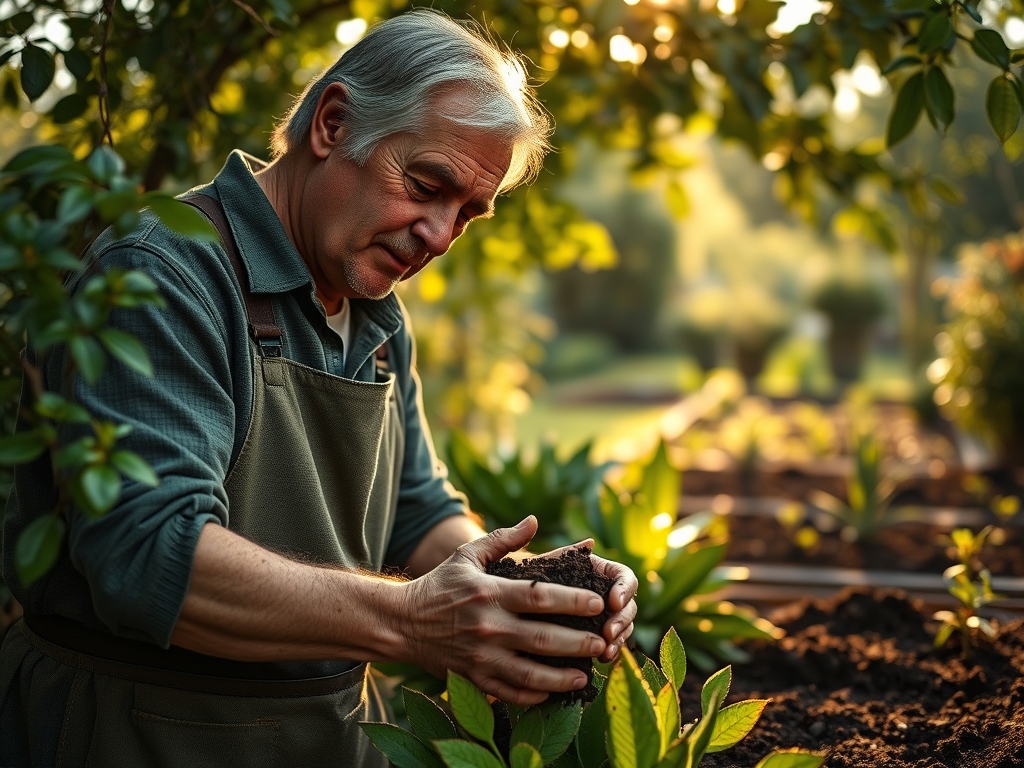
Remove the plant from its old container and use a hori-hori knife to tease out circling roots. If the roots are dry and brittle, prune them back to healthy tissue. When learning how to mix cactus soil blends for transplanting, use a 60 percent mineral to 40 percent organic ratio. Place the plant at the same depth it was previously growing; burying the neck too deep invites rot.
Pro-Tip: Wait five to seven days before watering a newly transplanted cactus. This delay allows for the "callousing" of root micro-fractures, preventing soil-borne fungi from entering the vascular system through open wounds.
Establishing
Once the cactus is in its new medium, place it in a location with bright, indirect light. Monitor the rhizosphere temperature; root growth is most efficient when the soil is between 70 and 85 degrees Fahrenheit. During this phase, the plant establishes a symbiotic relationship with mycorrhizal fungi, which extend the reach of the root system to scavenge for phosphorus.
Pro-Tip: Avoid moving the plant frequently. Cacti exhibit phototropism, and constant reorientation forces the plant to expend metabolic energy realigning its light-harvesting tissues rather than building root mass.
The Clinic:
Symptom: Basal Rot
Description: The base of the cactus becomes soft, discolored, and mushy.
Solution: This is a physiological disorder caused by anaerobic soil conditions.
Fix-It: Immediately remove the plant from the soil. Use a sterilized blade to cut away all necrotic tissue until only healthy, green vascular bundles remain. Dust with sulfur powder and allow to callous for two weeks before placing in a mix with 80 percent mineral content.
Symptom: Nitrogen Chlorosis
Description: The entire plant body turns a pale yellow, starting from the base and moving upward.
Solution: This indicates a lack of chlorophyll production due to nitrogen deficiency.
Fix-It: Apply a water-soluble fertilizer with a 10-5-5 NPK ratio at half strength. Ensure the soil pH is not above 7.0, as high pH can lock out nitrogen even if it is present in the soil.
Symptom: Epidermal Cracking
Description: Vertical splits appear in the skin of the cactus.
Solution: This occurs when the plant takes up water faster than the cells can expand, often after a long dry spell followed by heavy irrigation.
Fix-It: Increase the mineral grit in your soil blend to slow down water retention. Use a soil moisture meter to ensure the substrate is 100 percent dry before watering again.
Maintenance:
Precision is required for long-term health. For outdoor cacti in the ground, provide 1.5 inches of water every 10 to 14 days during the heat of summer. Apply water at the drip line rather than at the base of the plant to encourage lateral root expansion. For container plants, water until it runs freely from the drainage holes, then do not water again until the soil is dry to the touch at a depth of 3 inches.
Use bypass pruners to remove spent blooms or damaged pads. Always clean tools with 70 percent isopropyl alcohol between plants to prevent the spread of systemic pathogens. During the winter months, cease all fertilization and reduce watering to once every six weeks to respect the plant's natural senescence.
The Yield:
For those growing fruiting species like Opuntia (Prickly Pear) or Hylocereus (Dragon Fruit), harvest timing is critical. Fruits should be picked when they reach full color saturation and the small spines (glochids) begin to fall off naturally. Use tongs and a sharp knife to sever the fruit from the pad without tearing the skin. To maintain "day-one" freshness, store the fruit in a cool, dry place at 50 degrees Fahrenheit. Do not wash the fruit until immediately before consumption, as moisture on the skin can accelerate fungal decay.
FAQ:
Can I use playground sand in my cactus mix?
No. Fine sand fills the macropores between larger particles, creating a concrete-like consistency that prevents drainage and suffocates roots. Use coarse horticultural sand or poultry grit instead to maintain the necessary air pockets for root respiration.
How often should I repot my cactus?
Most cacti require new soil every two to three years. Over time, mineral salts from tap water build up in the substrate, and the organic components break down, reducing the oxygen available to the rhizosphere and slowing growth.
What is the best way to test soil drainage?
Fill a pot with your mix and saturate it. The water should disappear from the surface in less than five seconds. If water pools on top, increase the ratio of pumice or perlite to improve the hydraulic conductivity of the blend.
Does the type of pot matter for the soil mix?
Yes. Unglazed terracotta is porous and allows for lateral evaporation, which helps the soil dry faster. If using plastic or glazed ceramic, you must increase the mineral content of your mix by 20 percent to compensate for the lack of evaporation.