7 Simple Steps to Install a Patio Heater
The smell of damp earth and the crisp turgor of a healthy leaf define the transition into the cooler months. As the photoperiod shortens, maintaining a functional outdoor workspace requires thermal management. Understanding the steps to install a patio heater ensures your workstation remains viable for late-season propagation or winter pruning. This process demands the same precision as calibrating a soil moisture meter; it is a technical installation designed to extend the utility of the horticultural environment.
Materials:
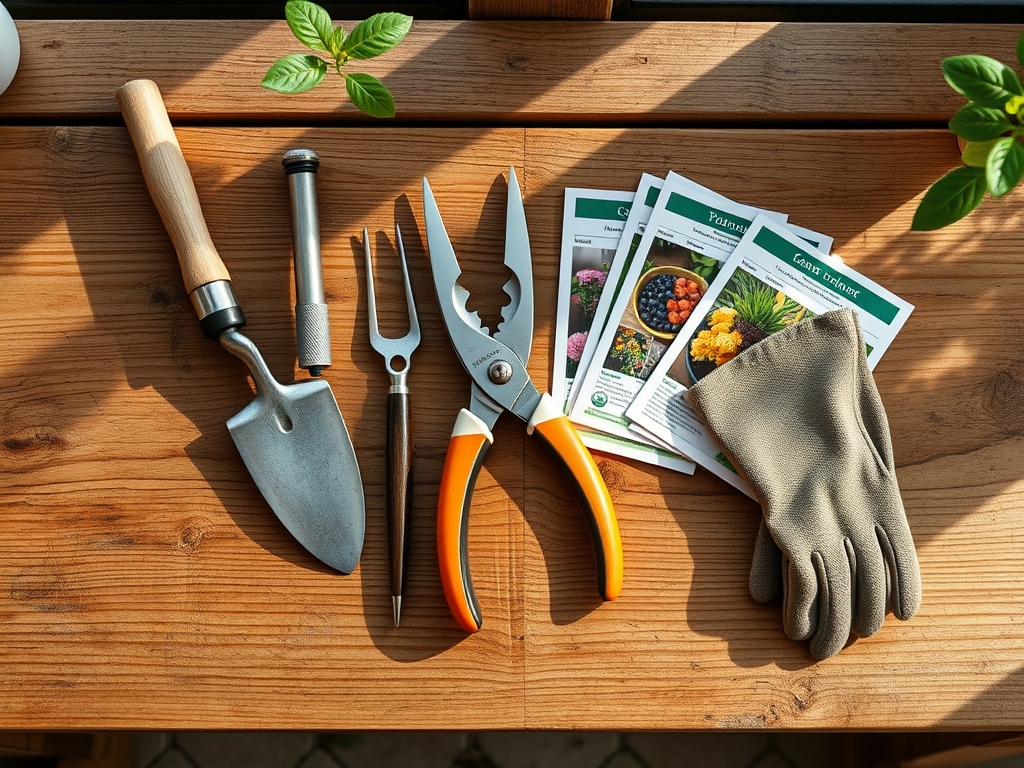
Installation success begins with the substrate. For permanent ground-mounted units, the soil must be a **friable loam** with high structural integrity to prevent tilting. If you are anchoring into a garden bed, ensure the soil pH is between **6.0 and 7.0** to prevent corrosion of metal anchors. A high Cation Exchange Capacity (CEC) in the surrounding soil indicates a density that may require specialized masonry bits for stability. If the area has been recently treated with fertilizers, specifically those with an NPK ratio of **10-10-10**, be aware that high salt concentrations can accelerate the oxidation of base components. Use a **heavy-duty wrench set, a level, and a leak detection solution** (soapy water) for gas connections.
Timing:
Installation should occur before the first hard frost in your specific Hardiness Zone. In Zones 5 through 7, this window typically closes by late October. The biological clock of your garden is shifting; as plants move from vegetative growth to senescence, the reduction in ambient temperature slows metabolic processes. Installing the heater during this transition allows for consistent thermal regulation, preventing sudden drops in temperature that could cause cellular rupture in nearby sensitive perennials. Aim for a day with low wind speeds to ensure the vertical alignment of the reflector shield is precise.
Phases:

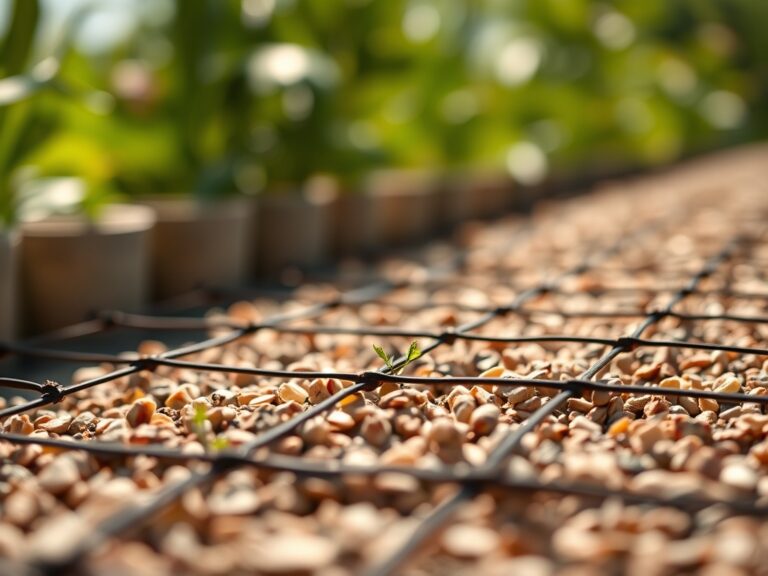
Sowing the Foundation
Clear a circular area with a 36-inch diameter. Remove all organic debris to prevent fire hazards. If the heater is a post-mount style, you must excavate a hole 24 inches deep. Ensure the base is level using a standard carpenter's level.
Pro-Tip: Proper spacing prevents heat stress on nearby foliage. Maintaining a 3-foot clearance from overhanging branches prevents the suppression of auxins, the hormones responsible for apical dominance, which can be damaged by excessive localized infrared radiation.
Transplanting the Components
Assemble the pole and the burner head assembly. Tighten all bolts to the manufacturer's torque specifications. For propane units, the tank must sit securely in the housing. Check the O-ring on the regulator for any signs of degradation or cracking.
Pro-Tip: When positioning the heater, consider the prevailing wind direction to optimize the heat plume. This mimics the microclimate effect found in nature, where topographic features protect delicate species from desiccation.
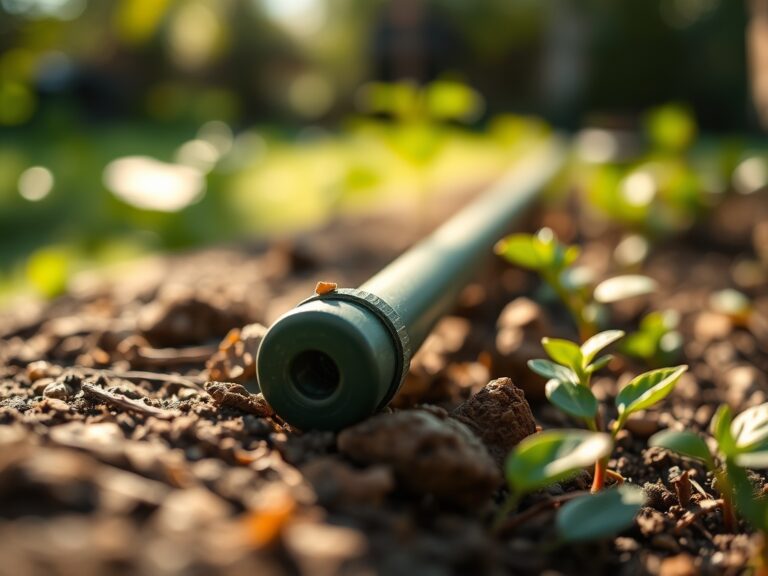
Establishing the Connection
Connect the gas source. If using a natural gas line, ensure the shut-off valve is accessible. Open the valve slowly and apply a leak detection solution to all joints. If bubbles form, immediate tightening is required. Perform a test ignition to verify a consistent blue flame, indicating a proper oxygen-to-fuel ratio.
Pro-Tip: Consistent thermal output supports mycorrhizal symbiosis in nearby potted containers by keeping the soil temperature above 45 degrees Fahrenheit, allowing beneficial fungi to remain active longer into the winter.
The Clinic:
Physiological disorders in the garden often manifest as a result of improper heat distribution.
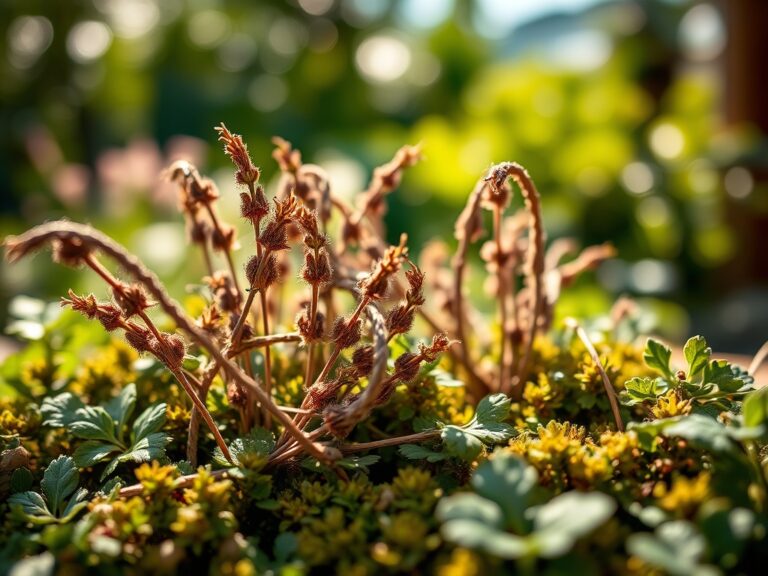
- Symptom: Marginal Leaf Scorch. This occurs when the heater is placed too close to broadleaf evergreens. Solution: Increase the distance between the heater and the plant to at least 5 feet.
- Symptom: Rapid Desiccation. High infrared output increases the rate of transpiration. Solution: Monitor the turgor pressure of nearby plants and increase irrigation frequency to compensate for the dry air.
- Symptom: Ethylene Toxicity. If the burner is inefficient, it may release ethylene gas. Solution: Clean the burner ports with a soft brush to ensure a clean combustion cycle.
Fix-It for Nutrient Issues: If nearby plants show Nitrogen chlorosis (yellowing of older leaves), the heat may be stimulating late-season growth that the soil cannot support. Supplement with a low-nitrogen, high-potassium fertilizer (NPK 5-10-15) to strengthen cell walls without forcing soft, vulnerable new growth.
Maintenance:
Routine inspection is mandatory for safety and performance. Use a hori-hori knife to clear any encroaching weeds or roots from the base of the unit. Inspect the reflector shield for soot accumulation; a clean shield increases heat reflection efficiency by 20 percent. During the winter, provide nearby plants with 1.5 inches of water per week at the drip line to prevent winter burn. Use bypass pruners to remove any deadwood within a 10-foot radius of the heater to reduce fuel load. Check the pilot light assembly every 30 days for spider webs or debris that can obstruct gas flow.
The Yield:
While a heater does not produce a crop, it preserves the "yield" of your outdoor living space. By maintaining an ambient temperature of 65 degrees Fahrenheit in the immediate vicinity, you extend the lifespan of late-blooming species like sasanqua camellias. For those overwintering tender herbs, the heater allows for a "day-one" freshness in harvests of rosemary or thyme by preventing the formation of ice crystals within the plant tissues. Handle all late-season harvests with care; cold-stressed plants have lower turgor pressure and bruise easily.
FAQ:
How far should a patio heater be from plants?
Maintain a minimum distance of 3 to 5 feet from any foliage. High heat levels can cause rapid transpiration and permanent cellular damage to the leaves, leading to localized necrosis or stunted growth patterns.
Can I use a patio heater on a wooden deck?
Yes, provided the unit features a stable, weighted base or is physically anchored. Ensure the model is rated for combustible surfaces and maintain a clearance of at least 3 feet from any wooden railings or siding.
What is the best fuel source for outdoor heaters?
Propane offers high portability and an output of approximately 40,000 BTUs, making it ideal for large gardens. Natural gas is more cost-effective for permanent installations but requires professional plumbing to ensure safety and code compliance.
How do I protect my heater during a storm?
Secure the unit with heavy-duty anchors or move it to a sheltered area. Use a specialized, weather-resistant cover to prevent moisture from entering the burner assembly, which can cause corrosion and ignition failure in the spring.