6 Expert Steps to Plant a Fruit Orchard
Successful orcharding begins with the scent of petrichor and the gritty texture of a well-aggregated loam between your fingers. Establishing a productive grove requires more than digging holes; it demands an understanding of cellular turgor and the metabolic demands of woody perennials. Following precise steps to plant a fruit orchard ensures that young saplings transition from nursery containers to the field without succumbing to transplant shock. This process relies on the synchronization of soil temperature, moisture availability, and the physiological readiness of the rootstock.
A healthy leaf should feel firm and turgid, indicating high internal water pressure and efficient vascular transport. When these biological conditions are met, the orchardist can facilitate a rapid establishment phase. Neglecting the chemical and physical properties of the site leads to stunted growth or premature senescence. By treating the orchard as a complex biological system rather than a collection of individual trees, you maximize the efficiency of nutrient uptake and photosynthetic capacity. The following technical roadmap provides the data-driven framework necessary for professional-grade fruit production.
Materials:
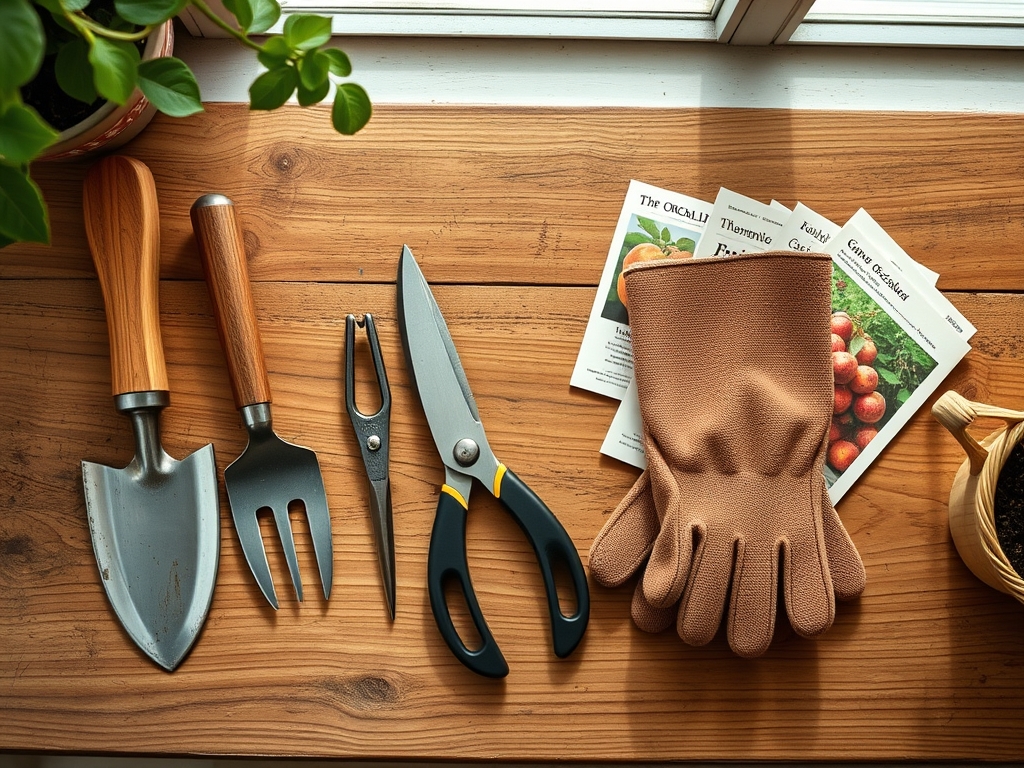
The foundation of any orchard is the substrate. You require a friable loam with a crumbly structure that allows for rapid gas exchange within the rhizosphere. The ideal soil should possess a Cation Exchange Capacity (CEC) between 15 and 25 milliequivalents per 100 grams, ensuring the soil can hold and release essential nutrients like potassium and calcium.
Before planting, verify your soil pH. Most pome and stone fruits thrive in a pH range of 6.0 to 7.0. If the soil is too acidic, incorporate calcitic lime; if too alkaline, use elemental sulfur. Your nutrient kit must include specific NPK ratios tailored to the establishment phase. Use a 10-20-10 starter fertilizer to prioritize root development over vegetative flush. High phosphorus levels at the root zone encourage the ATP production necessary for cellular division in the meristematic tissues. Additionally, ensure you have organic mulch, such as wood chips or straw, to regulate soil temperature and prevent moisture evaporation.
Timing:
Timing is governed by the Hardiness Zones and the specific chilling requirements of your chosen cultivars. In Zones 4 through 8, the primary planting window occurs during late winter or early spring, while the trees are still in endodormancy. This allows the root system to establish before the atmospheric demand for water increases in the summer.
The biological clock of the tree is triggered by the accumulation of Growing Degree Days (GDD). You must plant once the soil temperature consistently reaches 45 degrees Fahrenheit (7 degrees Celsius), but before the buds reach the "green tip" stage. Planting during this window ensures that the tree's energy is directed toward root elongation rather than foliage production. If you plant too late, the high transpiration rates of new leaves will outpace the water-gathering capacity of the unestablished roots, leading to permanent wilting point and vascular collapse.
Phases:
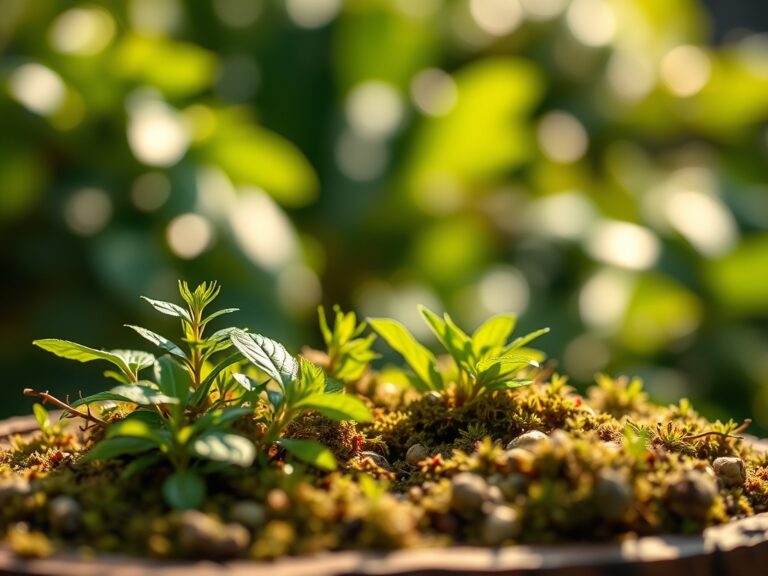
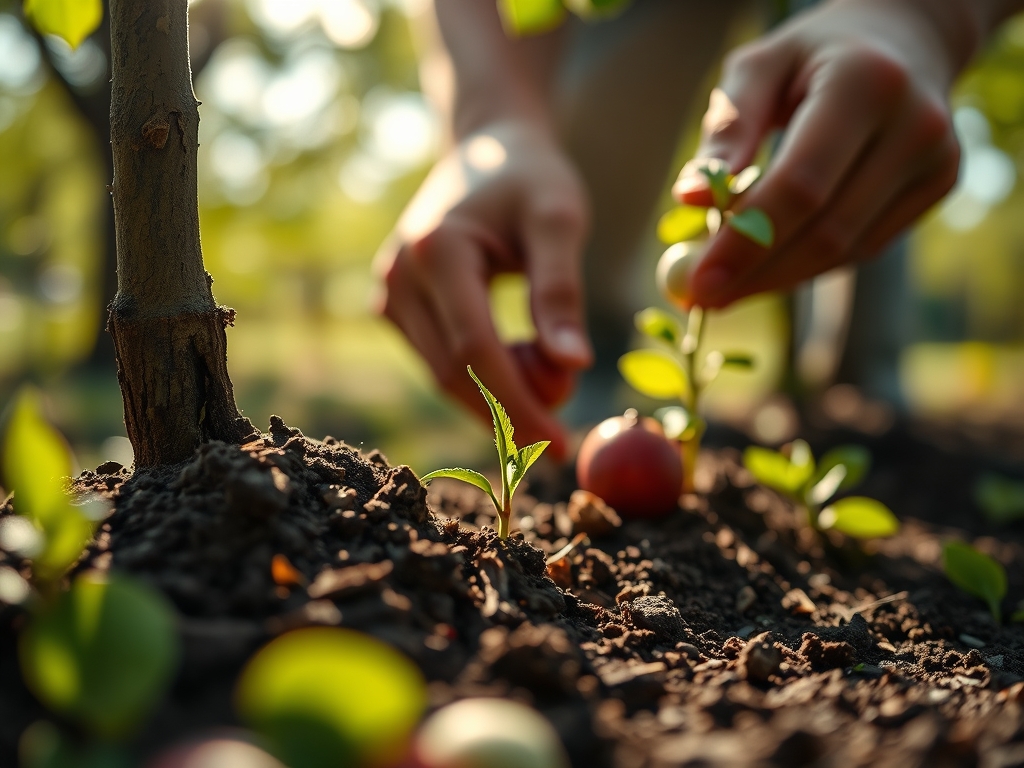
Sowing and Site Preparation
While most orchards start with grafted saplings, site preparation is the "sowing" of the foundation. Excavate a hole two times the width of the root ball but no deeper than the root flare. Use a hori-hori knife to scarify the sides of the hole. This prevents "pot-bound" circling where roots fail to penetrate the native soil interface.
Pro-Tip: Avoid over-amending the planting hole with pure compost. This creates a "bathtub effect" where roots refuse to leave the nutrient-rich pocket. Forcing roots to forage into native soil encourages mycorrhizal symbiosis, where fungal hyphae extend the root's reach for phosphorus and water.
Transplanting
Place the tree so the graft union sits 2 to 3 inches above the soil line. If the graft is buried, the scion may grow its own roots, negating the dwarfing or disease-resistant qualities of the rootstock. Backfill with native soil, tamping lightly to remove air pockets without over-compressing the macropores.
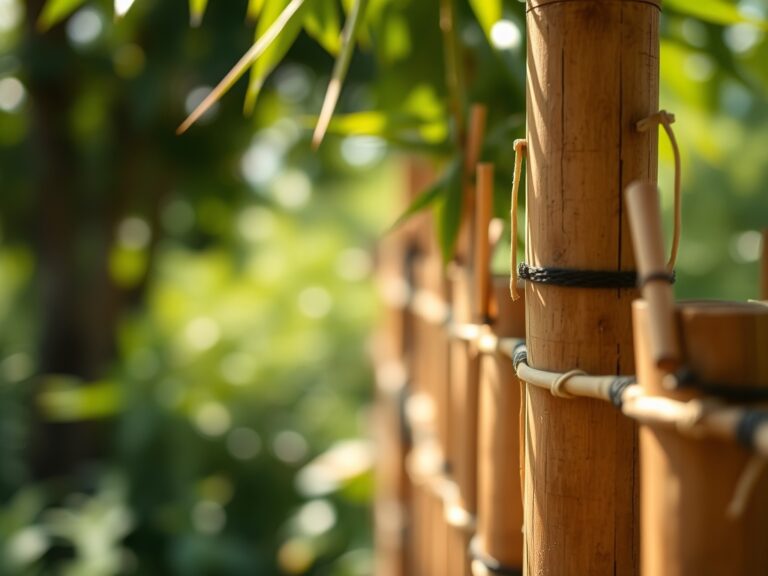
Pro-Tip: Orient the tree so the strongest scaffold branches face the prevailing winds. This utilizes thigmomorphogenesis, a biological process where plants strengthen their tissues in response to mechanical stress, resulting in a sturdier trunk diameter over time.
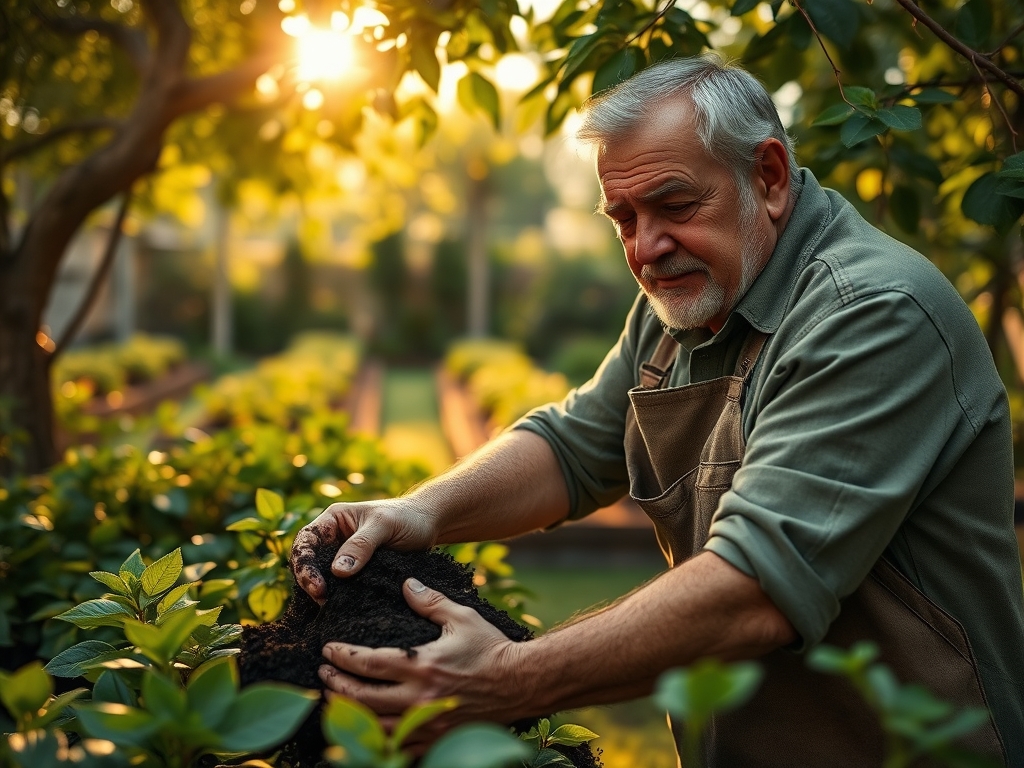
Establishing
Immediately after planting, apply 5 to 10 gallons of water to settle the soil. Apply a 3-inch layer of mulch, keeping it 4 inches away from the trunk to prevent fungal rot at the base. Prune the central leader to approximately 30 inches to balance the top growth with the reduced root system.
Pro-Tip: This initial heading cut triggers auxin suppression. By removing the apical bud, you stop the flow of auxins that inhibit lateral growth, forcing the tree to develop the wide-angled scaffold branches necessary for a strong structural canopy.
The Clinic:
Physiological disorders often mimic infectious diseases but are rooted in environmental or nutritional stress. Use the following diagnostic guide to identify and rectify common orchard issues.
- Symptom: Interveinal chlorosis (yellowing between green veins) on young leaves.
- Solution: This indicates Iron Deficiency, often caused by high soil pH. Apply chelated iron foliar spray or lower soil pH using elemental sulfur.
- Symptom: "Little Leaf" or rosetting of terminal growth.
- Solution: This is a sign of Zinc Deficiency. Apply a zinc sulfate spray during the dormant season to restore normal internode elongation.
- Symptom: Necrotic leaf margins and weak stems.
- Solution: This suggests Potassium Deficiency. Incorporate sulfate of potash into the drip line to improve stomatal control and winter hardiness.
Fix-It for Nitrogen Chlorosis: If the entire leaf turns pale green or yellow, starting with the oldest foliage, the tree lacks nitrogen. Apply a calcium nitrate side-dressing at a rate of 0.5 pounds per year of tree age to restore chlorophyll production and vegetative vigor.
Maintenance:
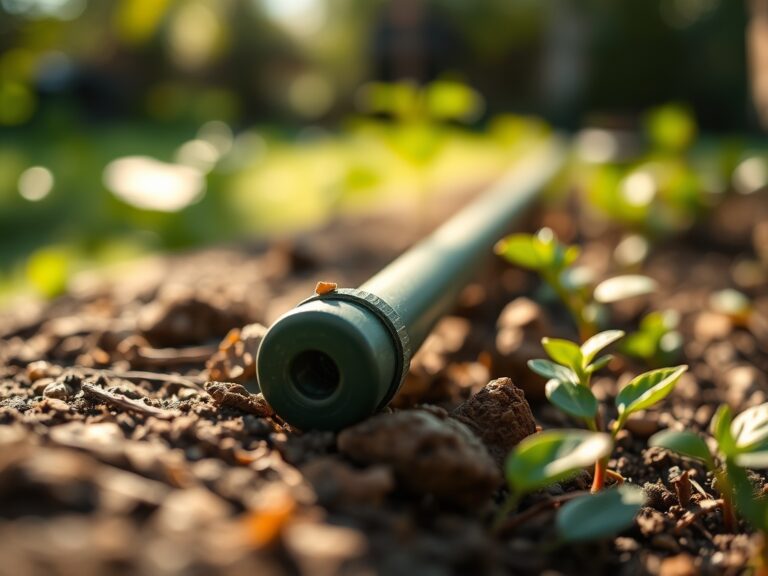
Precision maintenance is the difference between a surviving tree and a thriving orchard. Provide 1.5 inches of water per week delivered at the drip line. Use a soil moisture meter to ensure the water penetrates at least 12 inches deep. Shallow watering encourages surface rooting, which increases vulnerability to drought.
Pruning should be performed annually using sharpened bypass pruners to maintain the "open center" or "central leader" shape. Remove the three Ds: dead, damaged, or diseased wood. Always make cuts at a 45-degree angle just above a lateral bud to facilitate rapid callus formation. Sanitize tools with 70 percent isopropyl alcohol between trees to prevent the mechanical transmission of pathogens. Monitor the trunk for signs of borer activity or sunscald; apply a 50/50 mix of white interior latex paint and water to the trunk in late autumn to reflect winter sun and prevent bark splitting.
The Yield:
Harvesting is the culmination of the orchardist's labor. Determine ripeness by the "ground color" of the fruit rather than the red "blush." For apples and pears, the background skin color should shift from a hard green to a light yellow or cream. Use the "lift and twist" technique; if the fruit is physiologically mature, the abscission layer at the base of the stem will snap cleanly from the spur.
To maintain "day-one" freshness, harvest during the cool morning hours before the fruit absorbs field heat. Immediately move the yield to a cold storage environment maintained at 32 to 36 degrees Fahrenheit with 90 percent relative humidity. This slows the respiration rate and delays the production of ethylene gas, extending the storage life of the fruit for several months.
FAQ:
How deep should I dig the hole for a fruit tree?
Dig the hole only as deep as the root system. The root flare must remain visible at the soil surface. Digging too deep causes the tree to settle, leading to trunk rot and oxygen deprivation in the rhizosphere.
What is the best NPK ratio for new fruit trees?
Use a 10-20-10 or 5-10-5 ratio. High phosphorus (the middle number) is critical for early root establishment and cellular energy transfer. Avoid high-nitrogen fertilizers in the first year to prevent excessive, weak vegetative growth.
When is the best time to prune a young orchard?
Prune during late dormancy, typically February or March. This allows you to see the tree structure clearly and ensures that the resulting pruning wounds heal quickly as the tree enters its spring growth flush.
How much water does a newly planted tree need?
Deliver 10 to 15 gallons of water per week during the first two growing seasons. Use a slow-drip method at the drip line to ensure deep infiltration. Adjust based on rainfall to maintain consistent soil moisture.