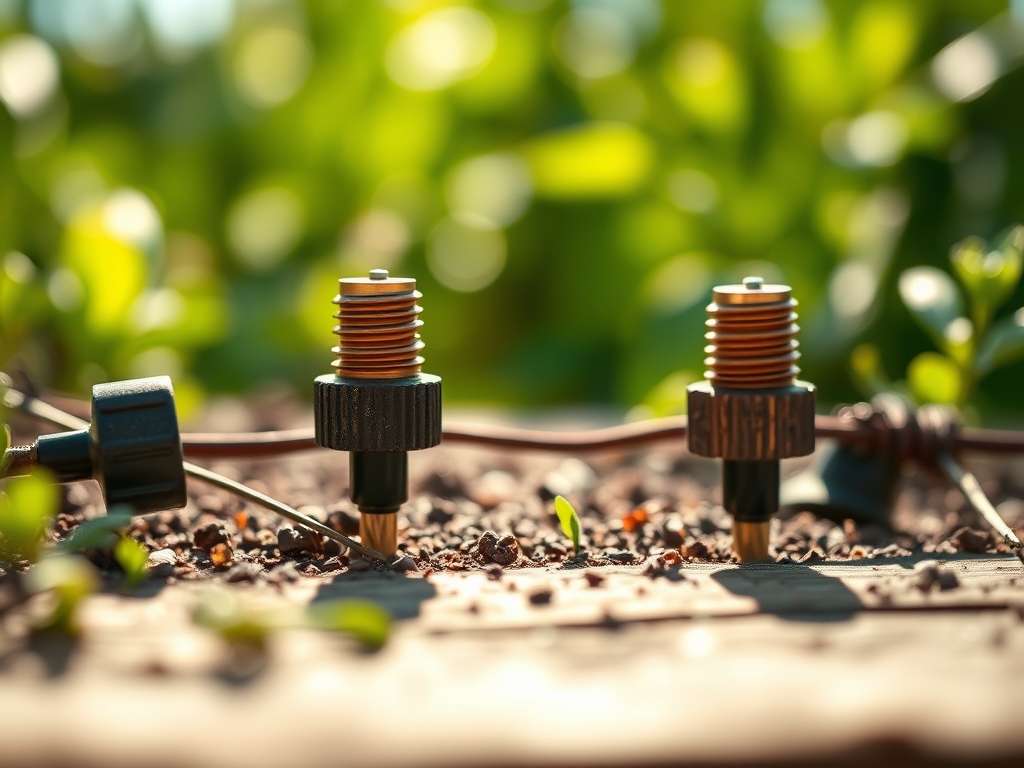
7 Best Emitters for Drip Irrigation
The smell of damp earth after a controlled saturation event is the scent of efficiency. When a leaf maintains maximum turgor pressure, its cells are fully distended with water; this state is the primary indicator of a calibrated hydraulic system. Achieving this requires precision delivery to the rhizosphere. Selecting the best emitters for drip irrigation is not merely a convenience; it is a calculated management of the soil moisture tension. A plant that never wilts never stops photosynthesizing. By delivering water at a rate that matches the soil infiltration capacity, you prevent anaerobic conditions and nutrient leaching. This guide examines the mechanical specifications and horticultural applications of the top seven emitter technologies used to maintain high performance in professional landscapes and production gardens.
Materials:

The success of any irrigation system depends on the substrate. A **friable loam** with a **Cation Exchange Capacity (CEC) between 15 and 25 meq/100g** provides the ideal balance of capillary action and drainage. For heavy feeders, maintain a soil pH of **6.2 to 6.8** to ensure the bioavailability of macronutrients. Nitrogen, Phosphorus, and Potassium (NPK) ratios must be tailored to the growth stage: a **10-10-10** balanced fertilizer is standard for establishment, while a **5-10-15** ratio supports fruit development without triggering excessive vegetative growth. In sandy soils with low CEC, use pressure-compensating (PC) emitters to prevent the rapid vertical percolation of water before the roots can intercept it.
Timing:
Irrigation schedules must align with USDA Hardiness Zones and the specific biological clock of the species. In Zones 5 through 7, the primary irrigation window opens after the last frost, typically between April 15 and May 15. During the vegetative stage, plants require consistent moisture to build biomass. As the photoperiod shifts and the plant enters the reproductive phase, water demand often increases by 30 to 50 percent. Monitor the transition from "sink" to "source" dynamics; the plant shifts energy from root development to seed and fruit production. Irrigation should occur in the pre-dawn hours, specifically between 3:00 AM and 7:00 AM, to minimize evaporative loss and ensure full turgidity before the heat of the day triggers transpiration stress.
Phases:

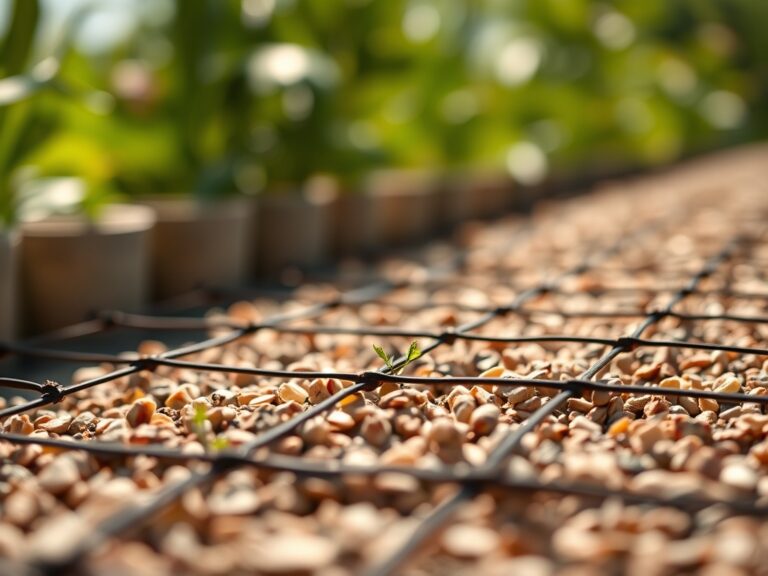
Sowing and Germination
For direct-seeded crops, use 0.5 GPH (gallons per hour) flagship emitters spaced every 6 to 12 inches. The goal is to create a continuous "wetted strip" rather than isolated puddles. Maintain the top 2 inches of soil at field capacity.
Pro-Tip: Keep the seed bed moist to prevent the formation of a soil crust. This facilitates hypocotyl emergence; if the soil surface hardens, the seedling exhausts its endosperm energy before it can reach the light to begin photosynthesis.
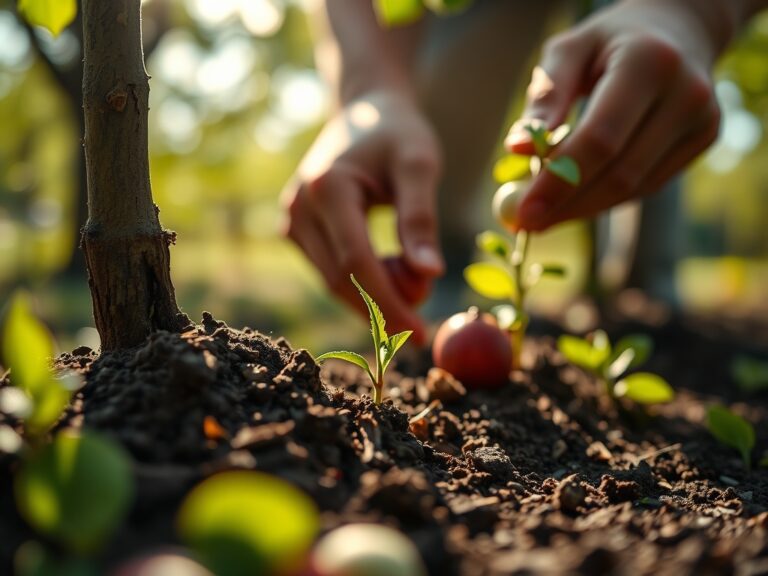
Transplanting
When moving starts from a greenhouse to the field, use 1.0 GPH pressure-compensating emitters placed 2 inches from the stem. This ensures the root ball receives immediate hydration while encouraging roots to grow outward into the native soil.
Pro-Tip: Deep irrigation immediately after transplanting reduces "transplant shock" by maintaining turgor pressure. This prevents the stomata from closing, which allows the plant to continue gas exchange and carbon fixation during the critical first 48 hours.
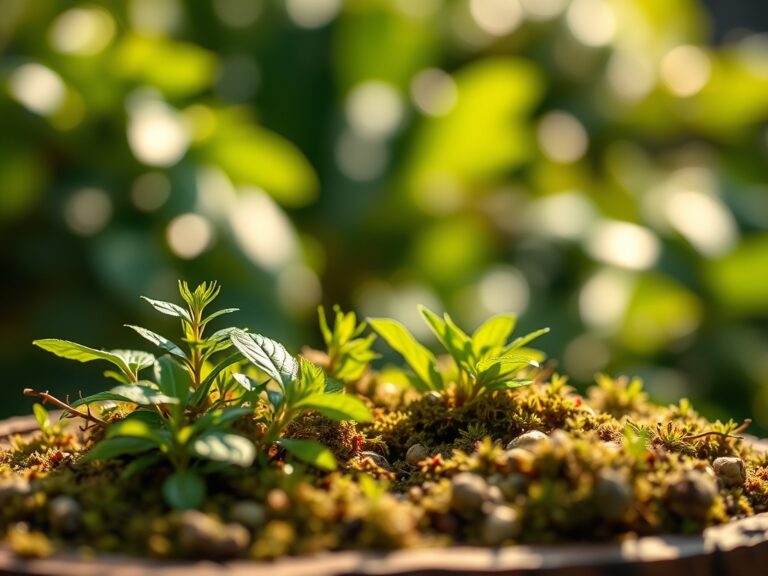
Establishing the Root Architecture
Once the plant is established, move emitters 4 to 6 inches away from the main trunk or stem. This encourages the lateral spread of the root system. For woody perennials, utilize 2.0 GPH bubbler emitters to reach deeper soil strata.
Pro-Tip: Strategic water placement utilizes hydrotropism, where root tips grow toward higher moisture gradients. By placing emitters further out, you expand the volume of the rhizosphere, increasing the plant's ability to forage for mineral nutrients and engage in mycorrhizal symbiosis.
The Clinic:
Physiological disorders often mimic pathogen attacks but are frequently rooted in improper water delivery.
- Symptom: Blossom End Rot in Solanaceous crops (tomatoes, peppers).
- Solution: This is a calcium deficiency caused by inconsistent moisture. Use PC emitters to ensure a steady flow rate, as calcium is immobile and moves only through the transpiration stream.
- Symptom: Interveinal Chlorosis (yellowing between leaf veins).
- Solution: Often indicates Nitrogen or Iron deficiency. Check soil pH; if pH exceeds 7.5, nutrients become "locked." Flush the system and apply a chelated nutrient solution.
- Symptom: Leaf Scorch or Tip Burn.
- Solution: Caused by high salinity in the root zone. Increase irrigation duration by 20 percent once a month to leach accumulated salts below the root zone.
Fix-It: For Nitrogen chlorosis, apply a water-soluble fertilizer with a high Nitrate-N content through a venturi injector. Set the injector to a 1:100 ratio to deliver immediate relief to the foliage.
Maintenance:
A precision system requires rigorous upkeep. Deliver exactly 1.5 inches of water per week at the drip line, adjusting for effective rainfall. Use a soil moisture meter to verify that the moisture has reached a depth of 8 to 12 inches. Every spring, flush the lateral lines to remove biofilm and mineral scale. Use a hori-hori knife to weed around emitter heads, ensuring no organic matter obstructs the flow. If an emitter becomes clogged, use a thin wire or replace the diaphragm. When pruning with bypass pruners, ensure you do not nick the polyethylene tubing; even a small puncture can drop the system pressure below the 15 PSI required for pressure-compensating mechanisms to function.
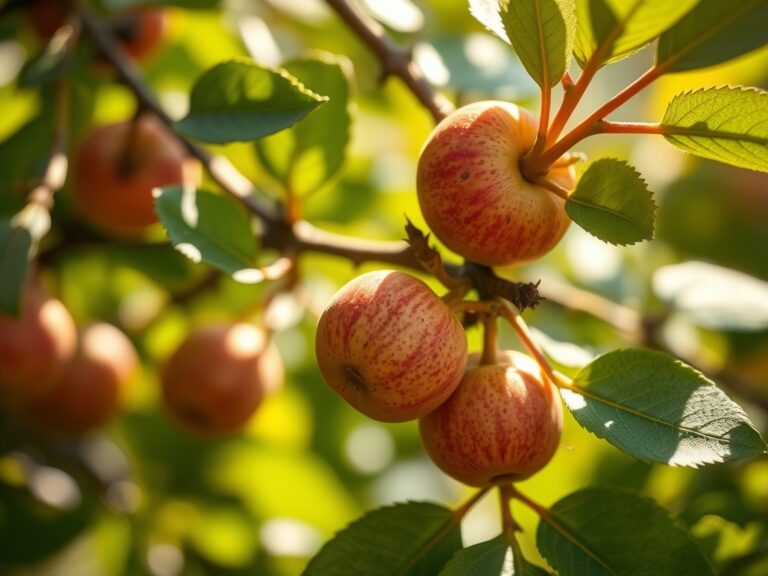
The Yield:
Harvesting is the culmination of hydraulic management. For fruiting plants, reduce water application by 15 percent in the final week before harvest to concentrate sugars and phenols. Harvest during the "cool" of the morning, typically before 9:00 AM, when the plant is at maximum turgidity. For leafy greens, use a sharp blade to make clean cuts, reducing the surface area for moisture loss. Immediately move the harvest to a shaded, high-humidity environment to slow the rate of senescence. Post-harvest, maintain a "maintenance" irrigation level to help perennial plants store carbohydrates in their root systems for the dormant season.
FAQ:
What are the best emitters for uneven terrain?
Pressure-compensating (PC) emitters are the industry standard for slopes. They utilize a silicone diaphragm to maintain a constant flow rate of 0.5 to 2.0 GPH, regardless of inlet pressure fluctuations caused by elevation changes.
How many emitters do I need per plant?
Small vegetables require one 0.5 GPH emitter. Larger shrubs or tomatoes thrive with two 1.0 GPH emitters placed on opposite sides of the root ball. This ensures symmetrical root distribution and prevents "leaning" as the plant matures.
Can I mix different emitter flow rates on one line?
Yes, provided the total GPH does not exceed the capacity of your head assembly or tubing. Mixing 0.5 GPH and 2.0 GPH emitters allows you to customize water delivery for a polyculture with varying water needs.
How do I prevent emitters from clogging?
Install a 150-mesh filter at the main water source. In areas with "hard" water, periodic flushing with a mild acidic solution can dissolve calcium carbonate deposits that obstruct the internal labyrinth of the emitter.
What is the lifespan of a high-quality drip emitter?
Professional grade emitters manufactured from UV-resistant polyethylene typically last 5 to 10 years. Physical damage from garden tools or degradation from extreme thermal expansion and contraction are the primary causes of failure.