6 Basic Steps to Use Hand Cultivators
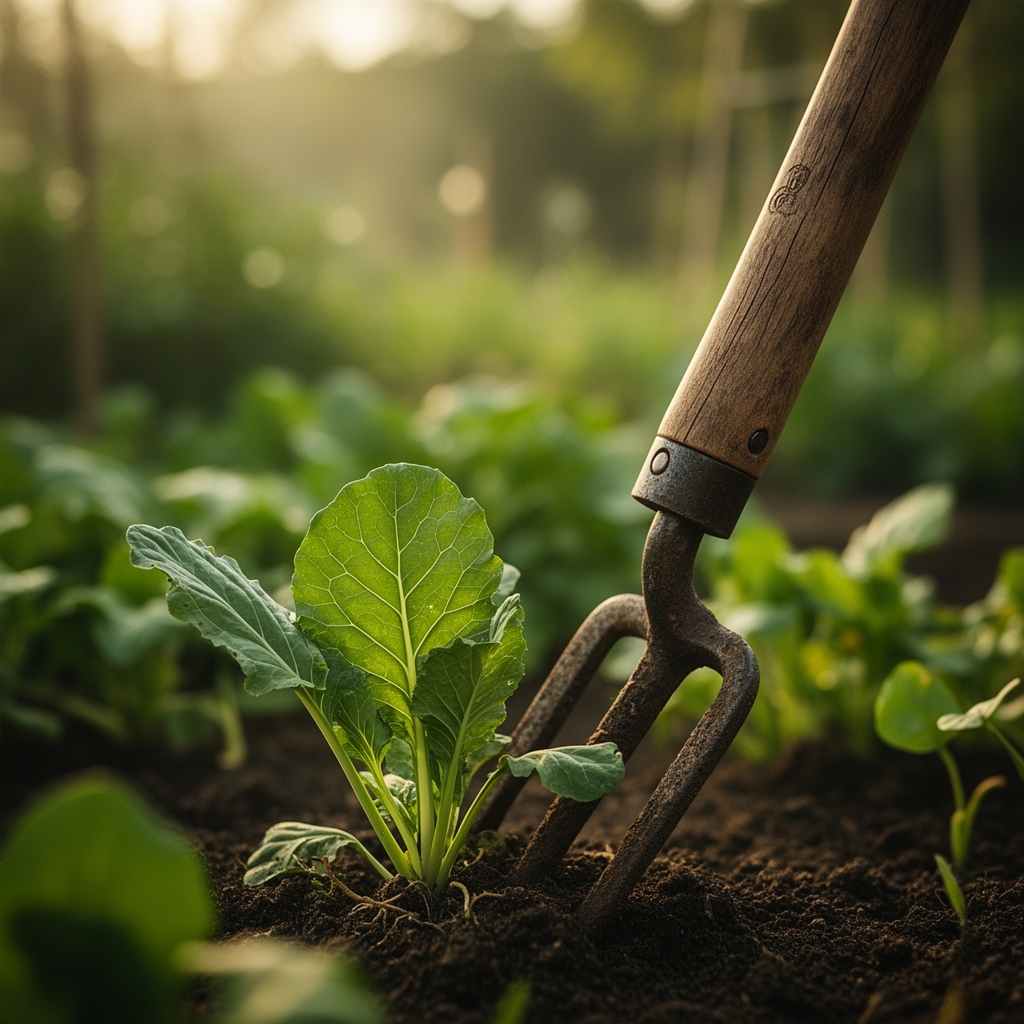
The first pass of a hand cultivator through compacted soil releases a scent of wet minerals and dormant microbes. Three-pronged steel tines slice through the surface crust, creating channels for oxygen diffusion and root penetration. Mastering the steps to use hand cultivators transforms mechanical effort into precise soil architecture, where aggregates crumble to optimal 2-4mm diameter and cation exchange capacity increases by 15-30% in the top 6 inches.
Materials
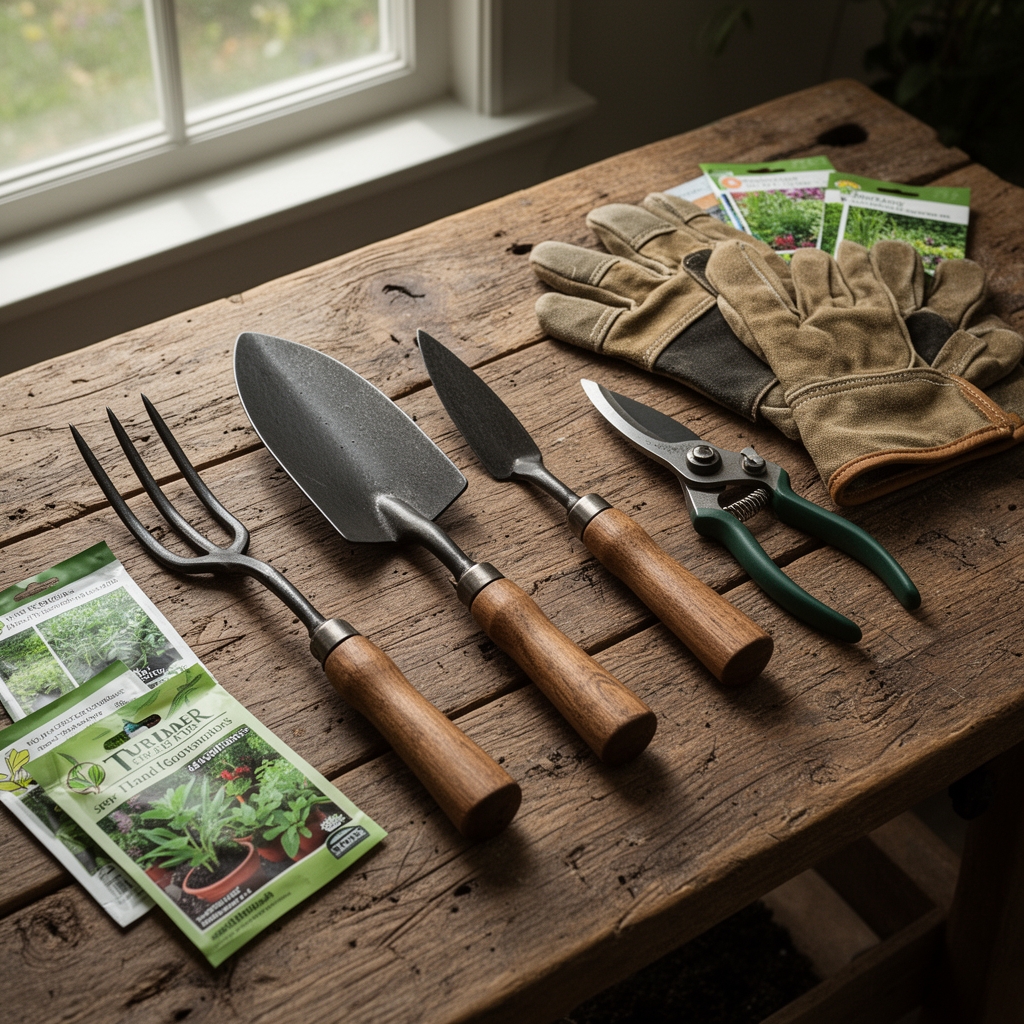
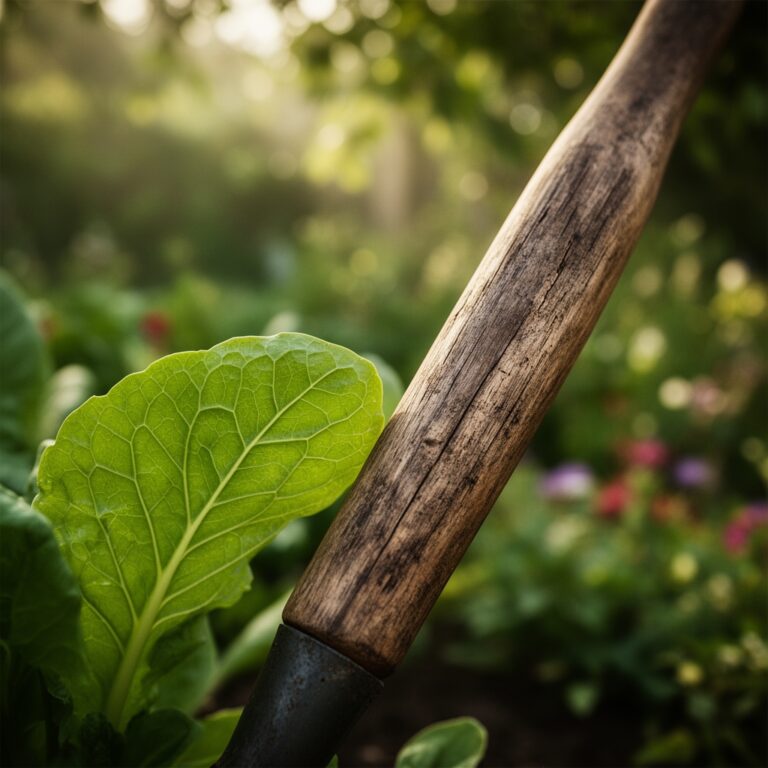
Select a three-tine hand cultivator with 8-10 inch handle length and forged carbon steel construction. Hardwood handles absorb vibration better than synthetic grips during prolonged use. Pair cultivation with amendments matched to soil pH: sulfur reduces alkaline soils at 1 pound per 100 square feet to drop pH by 0.5 units, while dolomitic lime raises acidic substrates at 5 pounds per 100 square feet. Apply balanced organic amendments such as 4-4-4 feather meal or 5-5-5 composted manure before cultivation to incorporate nutrients into the root zone. A soil knife complements the cultivator for severing deep-rooted perennials. Leather gloves prevent blisters during extended sessions exceeding 45 minutes.
Timing
Execute cultivation in USDA Hardiness Zones 3-9 when soil temperature reaches 50-60°F at 4-inch depth, typically 2-3 weeks before the last expected frost date. Spring cultivation coincides with the period when soil moisture content sits at 50-60% field capacity. Squeeze a handful of soil: it should form a loose ball that crumbles under light pressure. Cultivation in overly wet conditions destroys soil structure and creates anaerobic pockets. In zones 8-9, schedule a second cultivation window in early September when summer compaction has reduced macropore space. Autumn cultivation disrupts overwintering pest larvae by exposing pupae to desiccation and predation, reducing next season's population pressure by 40-65%.
Phases

Sowing Preparation
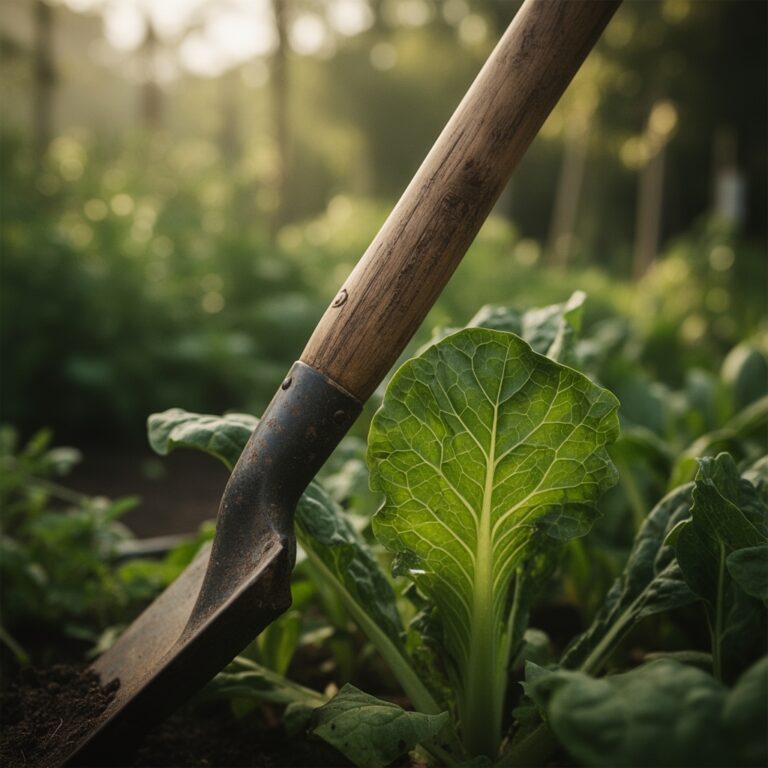
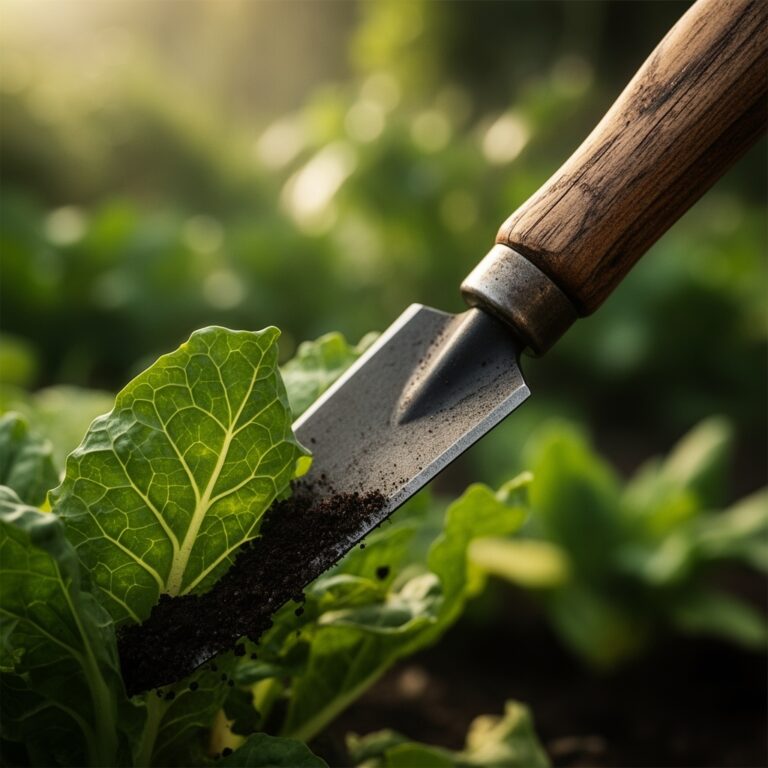
Clear surface debris from the 12-18 inch diameter planting zone. Insert cultivator tines at a 45-degree angle to the soil surface, penetrating 3-4 inches deep. Pull the tool toward your body with steady pressure, breaking crusted layers into 1-2 inch chunks. Make three passes in perpendicular directions to ensure uniform aggregate distribution. Rake out rhizomes of quackgrass or bindweed as they surface. Incorporate amendments during the final pass, blending them into the top 4 inches where 80% of feeder roots will develop.
Pro-Tip: Broadcast mycorrhizal fungi inoculant at 1 teaspoon per square foot during final cultivation. Glomus species colonize root hairs within 7-10 days, extending phosphorus acquisition range by 400%.
Transplanting Integration
Cultivate a 6-inch radius circle around each transplant site to a depth matching the root ball, typically 4-6 inches for cell-grown seedlings. Break up glazed walls of augered holes that restrict lateral root expansion. Backfill with native soil loosened by cultivation rather than imported amendments to avoid moisture differentials at the interface. Firm soil with palms, not feet, to eliminate air pockets while maintaining 40-50% pore space.
Pro-Tip: Prune circling roots at transplant time with cuts angled 30 degrees from vertical. This stimulates auxin distribution to lateral meristems, producing radial root architecture within 3-4 weeks.
Establishing Maintenance
Cultivate between rows or around specimens every 14-21 days during active growth. Shallow cultivation at 1-2 inch depth severs germinating weed seedlings at the hypocotyl, achieving 90% control without herbicide. Avoid cultivation within 8 inches of established plant stems where structural roots occupy the top 6 inches. Cease cultivation 4 weeks before first expected frost to prevent stimulating late-season growth vulnerable to cold damage.
Pro-Tip: Cultivate 24 hours after rainfall of 0.5 inches or more. Soil aggregates separate cleanly at 55% field capacity, requiring 30% less effort than dry cultivation.
Troubleshooting
Symptom: Bent or broken tines after striking subsurface rocks.
Solution: Probe suspicious areas with a soil knife before cultivation. Replace individual tines on modular heads rather than discarding entire tools.
Symptom: White mycelial growth appears in cultivated soil 48-72 hours post-working.
Solution: Beneficial saprophytic fungi colonize disturbed organic matter. Maintain cultivation schedule. Pathogenic species produce colored spores or foul odors.
Symptom: Cultivation exposes thick white grubs in late August.
Solution: Japanese beetle or June beetle larvae. Handpick and destroy. Apply Heterorhabditis bacteriophora nematodes at 25 million per 2,000 square feet within 48 hours for 75-85% reduction.
Symptom: Plants wilt 3-5 days after cultivation despite adequate moisture.
Solution: Root pruning occurred within the critical 6-inch stem radius. Water daily at 0.25 inches for 7 days to support regeneration. Avoid cultivation within drip line perimeter.
Maintenance
Clean tines after each use with a wire brush to remove soil particles that accelerate corrosion. Apply a thin film of linseed oil to carbon steel surfaces every 30 days during active season. Store in a dry location with tines inverted to prevent moisture accumulation. Sharpen beveled edges annually with a 10-inch mill file at 20-degree angle, making 6-8 strokes per tine. Replace wooden handles when cracks extend more than 1 inch from the ferrule.
FAQ
How deep should hand cultivators penetrate?
Maintain 2-4 inch depth for weed control, 4-6 inches for amendment incorporation. Deeper cultivation risks severing established root systems.
Can I cultivate around shallow-rooted perennials?
Limit cultivation to 1 inch depth within 12 inches of azaleas, rhododendrons, or blueberries. Their fibrous roots occupy the top 4-6 inches.
What soil types benefit most from hand cultivation?
Clay and silt loams with bulk density exceeding 1.4 g/cm³ show greatest improvement. Sandy soils require cultivation only for weed control.
How soon after cultivation can I plant seeds?
Wait 48 hours for soil to settle to 1.2-1.3 g/cm³ bulk density. Immediate seeding results in poor seed-to-soil contact and erratic germination.
Does cultivation harm earthworm populations?
Shallow cultivation at 2-3 inches occurs above the 6-12 inch depth where Lumbricus terrestris burrows. Spring populations recover within 21-28 days.