5 Easy Ways How to Use Scuffle Hoes
The blade slices just beneath the soil crust, severing weed roots with a whisper of steel against earth. Learning how to use scuffle hoes transforms back-breaking garden maintenance into an efficient gliding motion that keeps pathways clean and beds productive. The oscillating action cuts on both push and pull strokes, doubling efficiency while you remain upright. Unlike traditional hoes that chop downward, scuffle hoes work horizontally at the root zone where annual weeds are most vulnerable.
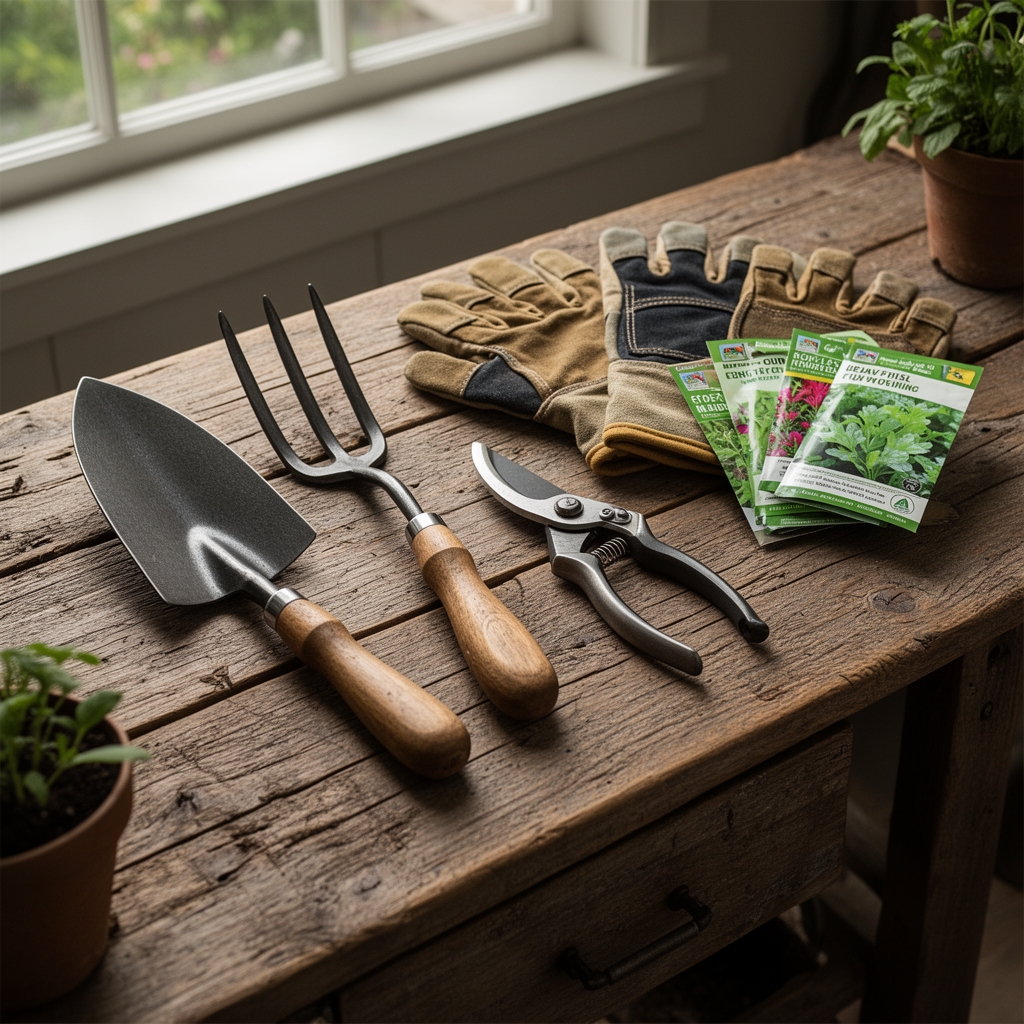
Materials
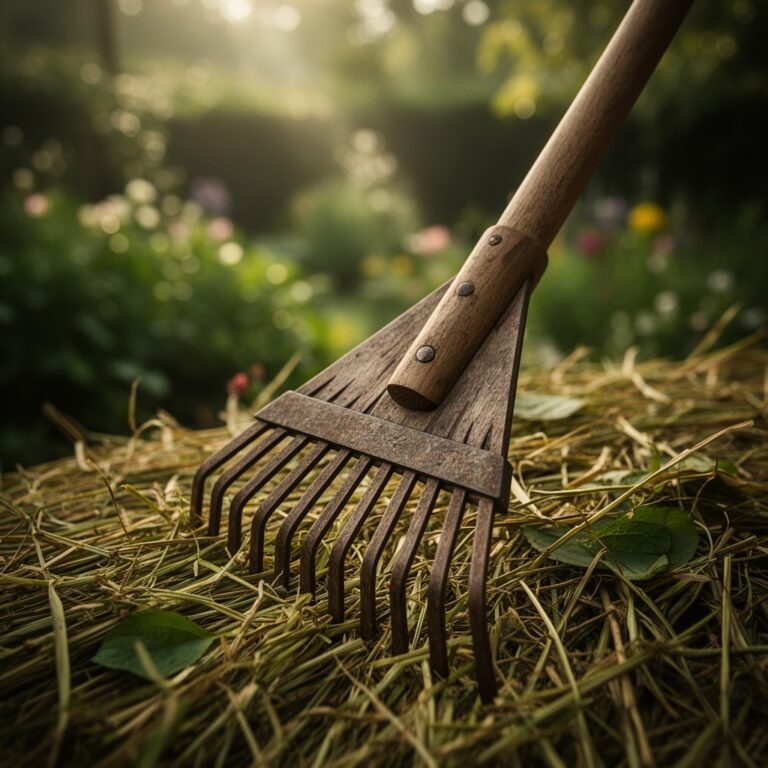
Select a scuffle hoe with a blade width matching your row spacing. Standard models range from 4 to 7 inches wide. The stirrup or loop design allows bi-directional cutting, while the collinear style features a thin, sharp blade parallel to the soil surface.
Handle length determines working posture. Choose 54 to 60 inches for standing work in raised beds or row crops. Shorter 42-inch handles suit container gardens or tight spaces between perennials.
Blade sharpness affects cutting efficiency. Maintain a 20-degree bevel using a mill bastard file. Sharpen every 2 to 3 hours of active use to reduce resistance and improve weed severance.
Soil pH and structure influence blade performance. In alkaline soils above 7.5 pH with high cation exchange capacity, clay particles bind tightly and increase drag. Sandy loams between 6.0 and 6.8 pH offer ideal working conditions with minimal blade friction.
Supplement beds with 4-4-4 organic fertilizer at 2 pounds per 100 square feet before cultivation. This balanced NPK ratio supports mycorrhizal fungi colonization while maintaining moderate nitrogen levels that discourage excessive weed growth.
Timing
Deploy scuffle hoes when annual weeds reach the white thread stage, typically 3 to 7 days after germination. At this point, root systems extend only 0.5 to 1 inch deep, making severance effortless.
In USDA Hardiness Zones 5 through 7, begin weekly cultivation 2 weeks after last frost date. Soil temperatures should reach 50°F for optimal weed seed germination, which concentrates your control efforts.
Southern gardeners in Zones 8 through 10 maintain cultivation schedules year-round, pausing only during winter cover crop establishment from November through January.
Morning cultivation between 8 and 10 a.m. allows severed weeds to desiccate in afternoon sun. Avoid working wet soils, which compact under foot traffic and clog blade slots.
Phases

Initial Bed Preparation
After incorporating amendments, allow 10 days for weed seeds to germinate. The stale seedbed technique concentrates weed emergence before crop planting.
Walk backward while pushing the blade forward at a 30-degree angle to the soil surface. The blade should travel 0.5 inches below grade, skimming just beneath weed root crowns.
Pull the hoe toward you with equal pressure, completing the cutting cycle. Overlap each pass by 1 inch to ensure complete coverage.
Pro-Tip: Apply Trichoderma harzianum fungal inoculum immediately after cultivation. Disturbed soil provides entry points for beneficial organisms that colonize root zones and suppress soilborne pathogens.
In-Season Cultivation
Begin passes 2 inches from crop stems to prevent root damage. Most vegetable crops develop feeder roots extending 6 to 8 inches from the main stem within 4 weeks of transplanting.
Maintain a 1-inch cultivation depth throughout the growing season. Deeper work severs crop roots and brings buried weed seeds into the germination zone where light triggers auxin distribution and sprouting.
Work around established perennials by angling the blade parallel to root flares. Hostas, daylilies, and ornamental grasses tolerate shallow cultivation within their drip lines.
Pro-Tip: Cultivate 24 hours before applying organic mulch. The disturbed soil layer improves moisture penetration and accelerates mulch decomposition at the soil interface.
Late-Season Management
Continue cultivation until 3 weeks before first expected frost date. This timing allows final weed generations to exhaust the seed bank without producing viable seed.
Remove the blade and inspect for wear patterns. Uneven bevels indicate improper angle during use. Restore symmetry with a flat file before winter storage.
Pro-Tip: Coat blades with food-grade mineral oil after final cleaning. This prevents oxidation during storage and maintains sharp edges for spring deployment.
Troubleshooting
Symptom: Blade skips across soil surface without penetrating.
Solution: Sharpen the cutting edge to restore a clean bevel. Increase downward pressure by 2 to 3 pounds while maintaining horizontal motion.
Symptom: Weeds regrow within 48 hours of cultivation.
Solution: You are cutting above the crown meristem. Lower blade depth by 0.25 inches to sever roots below auxin-producing tissues.
Symptom: Crop plants wilt after nearby cultivation.
Solution: Root pruning has occurred. Maintain 3-inch minimum clearance from stems during first 30 days after transplanting.
Symptom: Blade clogs with soil in clay-heavy beds.
Solution: Reduce working speed by 50 percent. Cultivate only when soil moisture reaches 40 to 50 percent of field capacity.
Symptom: Handle vibration causes hand fatigue.
Solution: The blade has developed a convex warp. Replace bent blades immediately. Warped steel transfers shock waves through the handle shaft.
Maintenance
Cultivate every 5 to 7 days during active growth periods from May through September. This interval prevents annual weeds from developing secondary root systems that resist severing.
Clean the blade after each use with a stiff brush to remove soil particles. Organic matter lodged in stirrup joints accelerates corrosion and reduces cutting efficiency.
Apply 1 inch of water within 4 hours after cultivation if no rain is forecast. This settles displaced soil around crop roots and prevents desiccation of shallow feeder roots.
Sharpen blades every 3 hours of contact time using a 10-inch mill file. Maintain the factory bevel angle, typically 15 to 25 degrees depending on manufacturer specifications.
Store hoes in a dry location with blades elevated off concrete floors. Moisture wicking through concrete accelerates oxidation. Hang tools by handle loops or rest blades on wooden blocks.
FAQ
How deep should a scuffle hoe cut?
Maintain 0.5 to 1 inch depth for annual weed control. Deeper cultivation brings dormant weed seeds to the surface and severs crop roots.
Can I use scuffle hoes in established perennial beds?
Yes, but limit depth to 0.5 inches and maintain 4-inch clearance from crown centers. Perennial roots occupy the top 6 inches and suffer damage from aggressive cultivation.
What blade width works best for row crops?
Select blades 2 inches narrower than your row spacing. A 5-inch blade suits 7-inch rows, providing 1-inch clearance on each side.
How often should I sharpen the blade?
Sharpen every 3 hours of active use or when you notice increased resistance during passes. Dull blades push weeds rather than sever roots.
Do scuffle hoes work in rocky soil?
No. Stones chip cutting edges and bend blade necks. Remove rocks larger than 0.5 inches before cultivation or choose a stirrup-style hoe with reinforced joints.