9 Simple Steps to Use Transplanting Tools
The cool metal of a transplant trowel bites into your palm as you approach a leggy tomato seedling, its roots circling the container's bottom in desperate spirals. Mastering the steps to use transplanting tools transforms this moment from gamble to guarantee. A proper dibber creates the exact cavity depth. A root hook teases apart bound fibers without severing feeder roots. The Hori Hori knife slices through compacted potting mix at precise angles, preserving the mycorrhizal network that colonizes healthy root zones. Each tool answers a specific challenge in the transplant sequence.
Materials
![]()
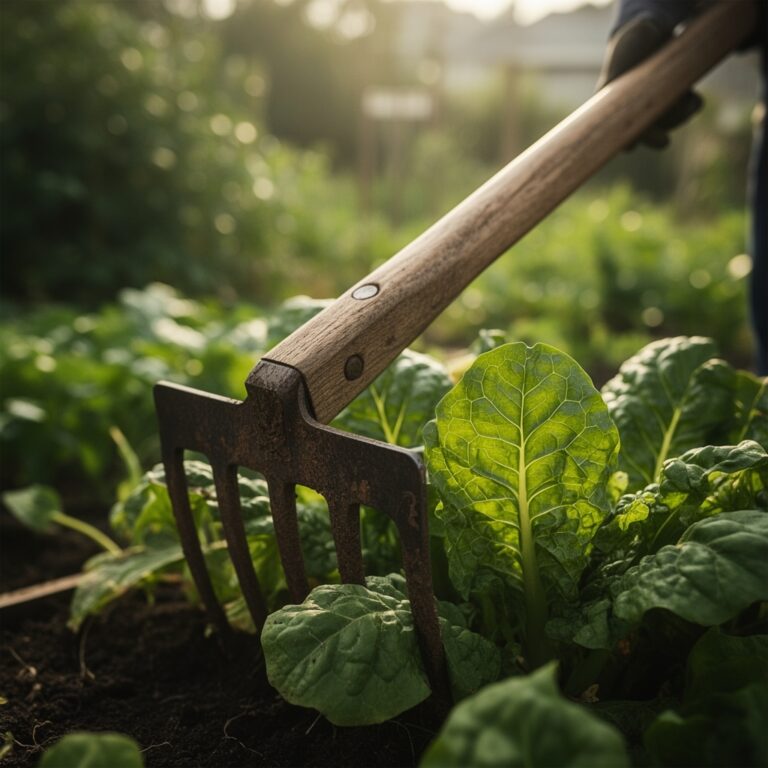
Assemble transplanting tools based on substrate chemistry and plant maturity. A stainless steel transplant trowel with a narrow blade (6 inches long, 2 inches wide) suits containers filled with soilless mix at pH 5.8 to 6.2. For field transplanting into mineral soils with cation exchange capacity above 15 meq/100g, use a draw hoe to open trenches and a bulb planter for individual plugs.
The dibber, either wooden or polycarbonate, creates uniform planting holes 0.5 to 3 inches deep. Mark depth increments along the shaft. Root hooks, fashioned from spring steel wire, separate root balls without crushing vascular tissue. A Hori Hori knife with a 7-inch blade cuts root-bound plugs and slices through burlap or biodegradable pots.
Prepare transplant solution at 1-2-1 NPK ratio, diluted to 200 ppm nitrogen. Organic alternatives include fish emulsion (5-1-1) or kelp extract (0-0-1) with added calcium. Maintain soil pH between 6.0 and 7.0 for most vegetables; acid-loving brassicas tolerate 6.2 to 6.8. Apply 4-4-4 organic meal to beds two weeks before transplanting to stabilize nitrogen release.
Timing
Transplanting windows align with hardiness zones and last frost dates. In Zone 5 (last frost May 15), harden off seedlings outdoors seven days prior. Zone 7 gardeners (last frost April 15) can transplant cool-season crops six weeks earlier than warm-season annuals.
Soil temperature governs success. Tomatoes and peppers require 60°F at 4-inch depth. Brassicas tolerate 45°F. Use a soil thermometer at 8:00 AM for three consecutive days to confirm stability. Transplant in late afternoon or on overcast days when stomatal conductance is lowest, reducing transplant shock by 30 to 40 percent.
Phases
![]()
Sowing
Start seeds in sterile medium with neutral pH and minimal nutrient load. Peat-based mixes (pH 5.5) require lime amendment at 5 pounds per cubic yard. Fill cell trays, then tamp with a flat board to eliminate air pockets. Sow two seeds per cell at depth equal to twice seed diameter.
Pro-Tip: Inoculate legume seeds with Rhizobium bacteria 30 minutes before sowing. Coat seeds in a slurry of 1 tablespoon inoculant per cup of water, ensuring complete coverage of the seed coat.
Transplanting
Water seedlings two hours before transplanting to saturate root zones. Use the transplant trowel to dig holes 1.5 times wider than the root ball and equal in depth. Place the dibber at the hole's center to verify depth.
Invert the cell tray and tap the bottom. Catch the seedling plug in your palm, supporting the stem between your index and middle fingers. Lower the plug into the hole. Backfill with native soil, firming gently to eliminate voids but avoiding compaction above 1.4 g/cm³.
For root-bound transplants, score the root ball vertically with the Hori Hori knife at four equidistant points, cutting 0.25 inches deep. Use the root hook to tease out circling roots at the bottom. This disrupts auxin concentration patterns that inhibit lateral root formation.
Pro-Tip: Bury tomato stems horizontally in a trench, leaving only the top two leaf nodes exposed. Adventitious roots emerge from buried stem tissue within 10 days, increasing root mass by 200 percent.
Establishing
Apply transplant solution immediately after setting plants. Deliver 0.5 cups per transplant, soaking the root zone to field capacity. Install cutworm collars (4-inch aluminum flashing) around solanaceous crops.
Monitor soil moisture with a tensiometer. Maintain tension between 10 and 20 centibars for the first 14 days. Reduce watering frequency as roots colonize surrounding soil.
Pro-Tip: Apply granular mycorrhizal inoculant (200 spores per gram) directly into the transplant hole. Position inoculant 1 inch below the root ball to encourage downward root exploration and phosphorus uptake efficiency.
Troubleshooting
Symptom: Wilting within 24 hours despite adequate soil moisture.
Solution: Root damage during transplant disrupted water uptake. Mist foliage twice daily and erect 50 percent shade cloth for five days to reduce transpiration demand.
Symptom: Purple leaf undersides and stunted growth.
Solution: Phosphorus deficiency triggered by cold soil (below 55°F) restricts root function. Apply liquid phosphorus (0-10-0) as foliar spray at 400 ppm. Warm soil with black plastic mulch.
Symptom: Stem lesions at soil line with white fungal growth.
Solution: Rhizoctonia damping-off. Remove affected plants. Drench remaining transplants with Trichoderma harzianum biocontrol at label rates. Improve air circulation and reduce watering frequency.
Symptom: Yellowing lower leaves progressing upward.
Solution: Nitrogen deficiency post-transplant. Side-dress with blood meal (12-0-0) at 1 pound per 25 feet of row. Water in thoroughly.
Maintenance
Apply 1 inch of water per week, delivered in two 0.5-inch applications. Mulch with 2 inches of straw or shredded leaves to conserve moisture and suppress weeds. Side-dress with compost (1-1-1 NPK) at four weeks post-transplant, spreading 0.5 inches around the drip line.
Scout for pests twice weekly. Remove aphids with a strong water spray. Apply Bacillus thuringiensis var. kurstaki for caterpillar control at first instar stage.
Stake indeterminate crops at transplanting to avoid root disturbance later. Drive stakes 8 inches from the stem base.
FAQ
When should I transplant seedlings?
Transplant when seedlings develop two to four true leaves and roots reach cell edges without circling. This occurs 4 to 6 weeks after sowing for most vegetables.
How deep do I plant transplants?
Set transplants at the same depth they grew in containers, except tomatoes and peppers, which tolerate deeper planting to encourage adventitious rooting.
Can I transplant in full sun?
Transplant during late afternoon (after 4:00 PM) or on cloudy days. Full midday sun increases transpiration stress by 60 percent.
What spacing prevents transplant competition?
Space according to mature width. Tomatoes require 24 inches, peppers 18 inches, and lettuce 8 inches. Crowding reduces air circulation and increases disease pressure.
How do I harden off seedlings?
Move seedlings outdoors for one hour on day one. Increase exposure by two hours daily over seven days, gradually introducing full sun and wind.