9 Helpful Steps to Use Warren Hoes
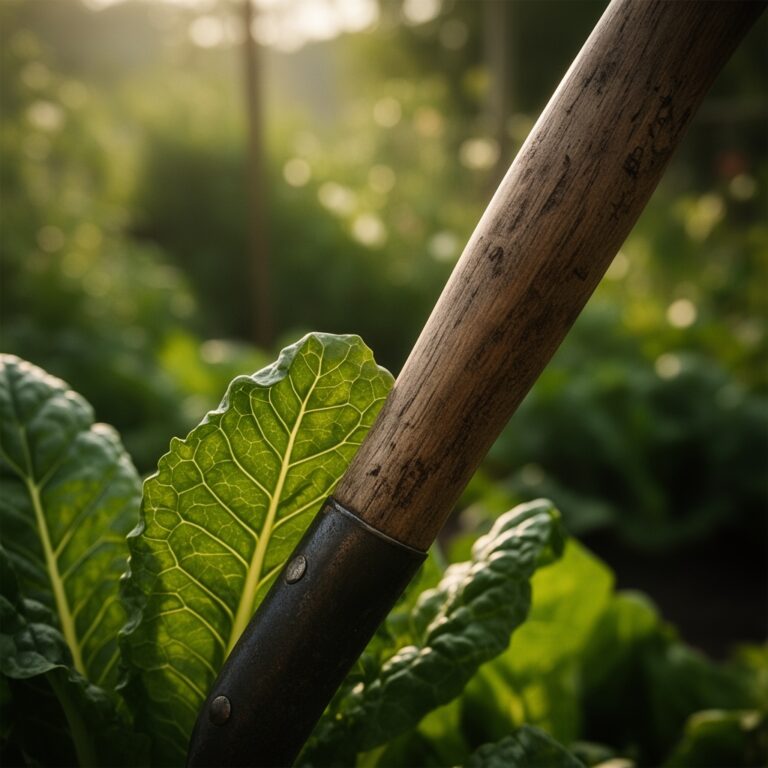
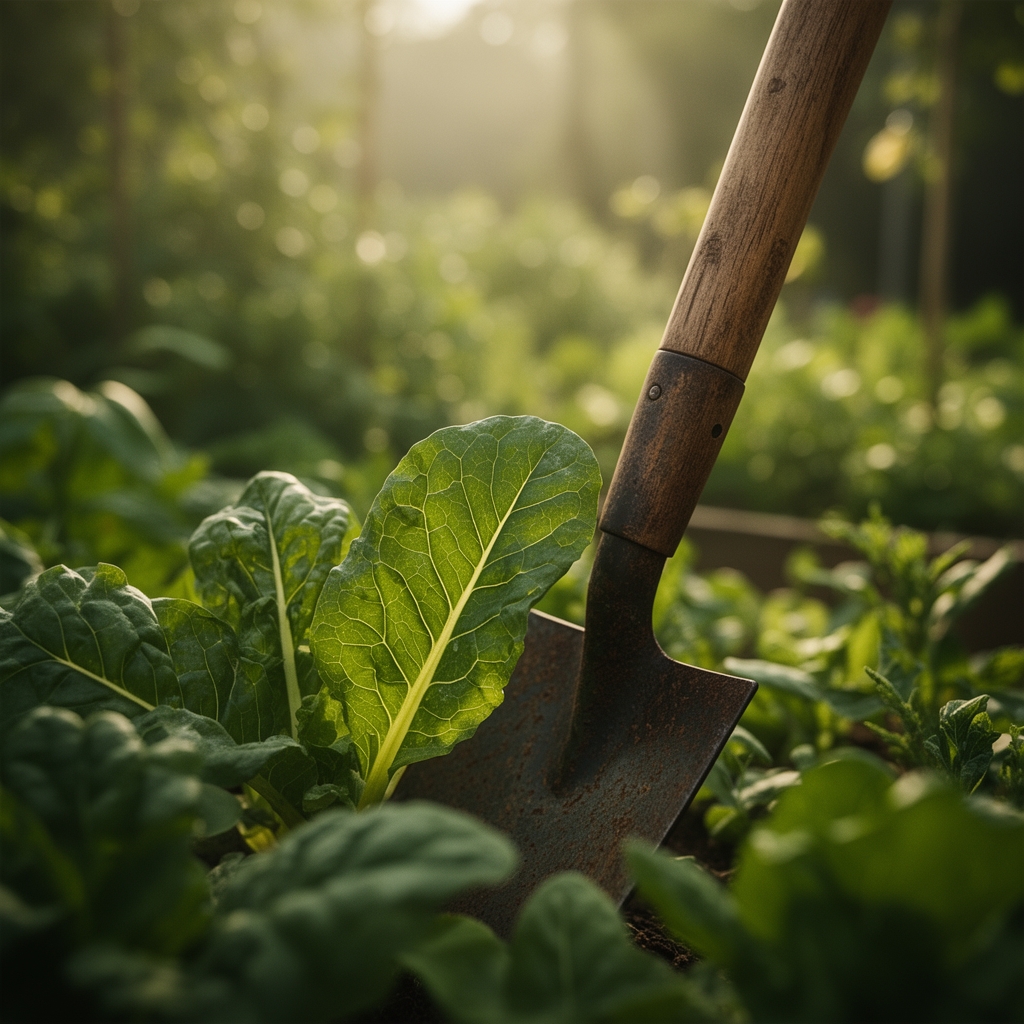
The first pass through spring soil should feel like dragging a butter knife through cold cornbread. Resistance tells you everything. When learning the steps to use warren hoes correctly, you begin with that drag, that subtle vibration through the handle that distinguishes compacted clay from friable loam. The warren hoe's triangular blade cuts through root mats and severs weed crowns in a single motion, sparing the cation exchange capacity of your topsoil while evacuating annual invaders before they set seed.
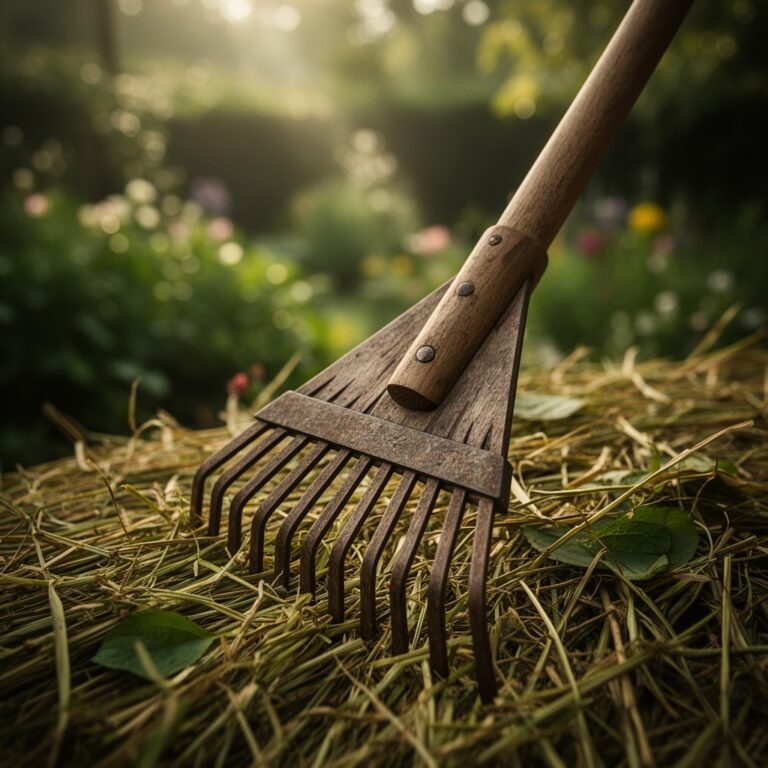
Materials
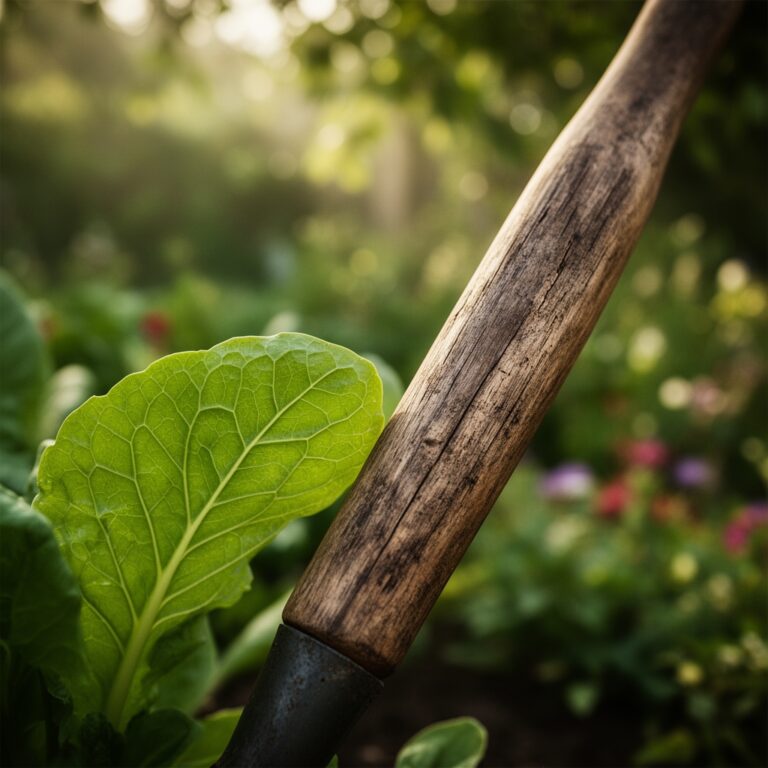
Select a warren hoe with a blade width between 6 and 8 inches. The steel should be tempered to 52-58 HRC for edge retention without brittleness. A 54-inch ash or hickory handle provides optimal leverage for operators between 5'4" and 6'2".
Pair your tool with a balanced organic amendment of 4-4-4 NPK ratio: feather meal for nitrogen, bone meal for phosphorus, and greensand for potassium. If your soil pH sits below 6.0, incorporate dolomitic lime at 5 pounds per 100 square feet two weeks before hoeing begins. For alkaline soils above 7.5, elemental sulfur at 1 pound per 100 square feet will shift pH downward over 90 days.
Keep a sharpening stone rated 400-600 grit within arm's reach. A dull warren hoe crushes stems rather than severs them, leaving wounds that invite bacterial soft rot.
Timing
Zones 3-5 should begin warren hoe cultivation 10-14 days after the last recorded frost, when soil temperature at 4 inches depth reaches 50°F. Zones 6-8 gain an earlier window: 3 weeks before the last frost for cold-hardy crops like spinach and alliums. Zones 9-11 operate on a wet-dry calendar rather than frost dates; start hoeing when the first inch of topsoil dries after winter rains, typically mid-February through March.
Avoid hoeing within 6 hours of expected rainfall. Disturbed soil loses structural integrity under heavy drops, and weed fragments reroot in saturated conditions.
Phases

Sowing Phase
Work backward through prepared beds. Drag the warren hoe's point toward you at a 30-degree angle, creating a furrow 0.5 to 1 inch deep for small seeds like carrots or lettuce. For larger seeds requiring 2-inch depth, flip the hoe and use the broad side to excavate. Seed spacing follows Fibonacci intervals to maximize auxin distribution: 1 inch, 2 inches, 3 inches, 5 inches for successive plantings.
Pro-Tip: Inoculate furrows with mycorrhizal fungi (Glomus intraradices) at 1 teaspoon per linear foot before seeding. Root colonization increases phosphorus uptake by 40-60% in deficient soils.
Transplanting Phase
Use the warren hoe to carve planting pockets 1.5 times the diameter of transplant root balls. Position the blade vertically and rotate in quarter-turns to create a conical cavity. This geometry prevents J-rooting and encourages radial root spread. Backfill with native soil mixed 3:1 with compost to avoid transplant shock from abrupt texture changes.
Pro-Tip: Prune transplant roots at a 45-degree angle with sterile shears before insertion. Angled cuts expose more cambium tissue, accelerating lateral root initiation within 72 hours.
Establishing Phase
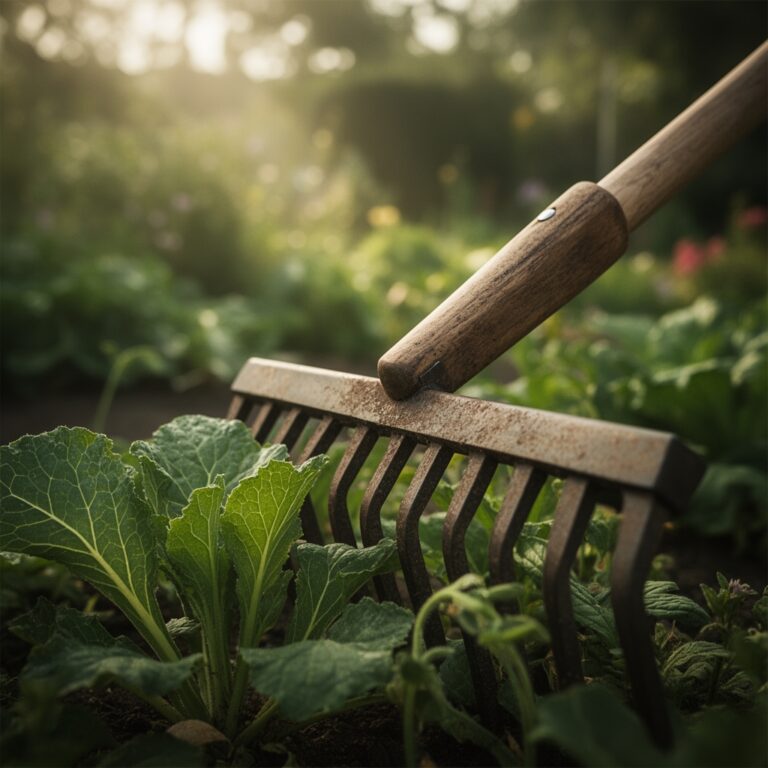
Cultivate weekly to a depth of 1 inch around establishing plants, maintaining a 3-inch buffer from stems to avoid root pruning. The warren hoe excels at scalping weed seedlings in the white thread stage, before cotyledons expand and photosynthesis begins. Each pass disrupts the top 8-12 mm where 85% of annual weed seeds germinate.
Pro-Tip: Hoe in the morning after dew evaporates but before 10 AM. Severed weeds desiccate fastest when relative humidity drops below 60% and soil moisture sits at field capacity.
Troubleshooting
Symptom: Blade skips across hardpan without penetrating.
Solution: Water the area to 6 inches depth, wait 24 hours, then break crust with a broadfork before returning with the warren hoe.
Symptom: Hoe severs crop roots instead of weeds.
Solution: Reduce blade angle to 15 degrees and shorten stroke length to 6 inches maximum.
Symptom: Handle splinters during use.
Solution: Sand handle to 220 grit, apply boiled linseed oil in three coats, allow 48 hours of cure time between applications.
Symptom: Chickweed and henbit regrow within 5 days.
Solution: These perennials regenerate from severed nodes. Excavate roots entirely using the hoe's pointed corner, then remove plant material from beds.
Symptom: Blade rusts between uses.
Solution: Wipe clean after each session, spray with food-grade mineral oil, store in low-humidity environment below 50% RH.
Maintenance
Sharpen the blade every 4-6 hours of contact time. Hold the file at 20 degrees to the bevel and push away from your body in smooth strokes. Three passes per section restore the edge without removing excess metal.
Apply 1 inch of water per week during active growing season. Insert a soil probe to confirm moisture reaches 6 inches depth. Overwatering reduces oxygen availability and suffocates feeder roots.
Reapply 4-4-4 organic fertilizer at 2 pounds per 100 square feet every 4 weeks during peak growth. Side-dress 3 inches from plant stems using the warren hoe to incorporate granules into the top 2 inches of soil.
FAQ
How often should I use a warren hoe?
Weekly during the growing season, or whenever weed seedlings reach 0.5 inches in height. Prevention costs less energy than remediation.
Can I use a warren hoe in clay soil?
Yes, but only when soil moisture sits between 40-60% of field capacity. Test by squeezing a handful; it should form a ball that crumbles under light pressure.
What's the difference between a warren hoe and a stirrup hoe?
Warren hoes cut and cultivate with a pointed triangle. Stirrup hoes use an oscillating loop for surface weeding only. Warren hoes multitask; stirrup hoes specialize.
Do I need to sterilize my warren hoe between beds?
Sterilize with 10% bleach solution when moving between plants in different families, especially after working near blighted tomatoes or clubroot-infected brassicas.
When should I replace my warren hoe?
When blade thickness reduces by 30% from repeated sharpening, typically after 200-300 hours of use, or when handle develops longitudinal cracks deeper than 2 mm.