6 Vital Steps to Use Hedge Trimmers
The metallic snick of fresh blades slicing through woody stems signals the start of spring garden renewal. Professional landscapers know that mastering the steps to use hedge trimmers transforms overgrown shrubs into architectural elements that define outdoor spaces. The difference between hacking and sculpting lies in understanding blade mechanics, growth patterns, and the physiology of wound response in woody plants.
Materials

Electric or gas-powered hedge trimmers with dual-action blades create cleaner cuts than single-sided models. Blade length determines reach: 20-inch blades suit compact boxwood (Buxus sempervirens), while 24-inch models handle sprawling privet (Ligustrum). Safety equipment includes impact-resistant glasses rated ANSI Z87.1, leather gloves with reinforced palms, and hearing protection for gas models exceeding 85 decibels.
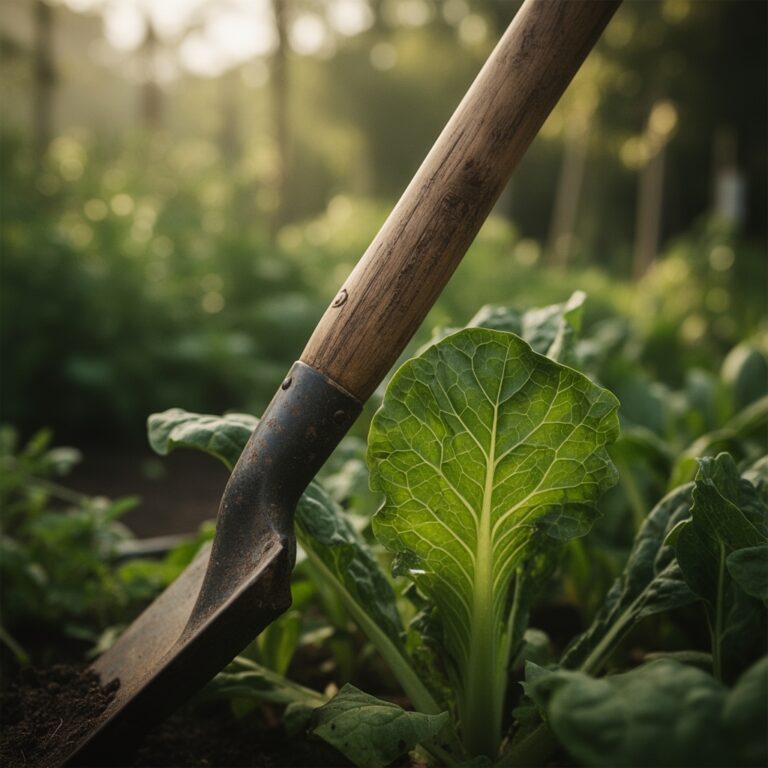
Pre-trim soil assessment guides fertilization strategy. Nitrogen-heavy formulations (10-5-5 NPK) encourage vigorous regrowth after severe pruning. Phosphorus-rich blends (5-10-5) strengthen root systems in newly established hedges. Organic amendments like composted manure (typical 2-1-2 ratio) improve cation exchange capacity in clay soils, enhancing nutrient availability during the recovery phase. Soil pH between 6.0 and 7.0 optimizes iron and manganese uptake, preventing chlorosis in broadleaf evergreens.
Blade sharpening tools maintain cutting efficiency. A 10-inch mill bastard file removes nicks. Disinfectant solution (one part bleach to nine parts water) prevents pathogen transmission between plants.
Timing
Hardiness zones dictate trimming windows. In zones 6-7, dormant-season pruning occurs from late February through early March, before bud break. Zones 8-9 allow earlier intervention in January. Spring-flowering shrubs like forsythia (Forsythia x intermedia) require post-bloom trimming in late May to preserve next season's flower buds formed on old wood.
Summer trimming happens after the first flush hardens off, typically mid-June in northern zones. This timing reduces stress by allowing wound closure before auxin distribution shifts to root development in autumn. Avoid trimming within six weeks of the first expected frost date. Late cuts stimulate tender growth vulnerable to freeze damage and winter desiccation.
Evergreen conifers tolerate shearing from April through July but enter dormancy with reduced cambial activity by August. Deciduous hedges accept shaping until early September in zones 5-6.
Phases
Initial Assessment: Walk the hedge line and identify dead branches, crossing limbs, and disease symptoms. Mark utility lines and irrigation heads. Establish the desired profile. Formal hedges taper 6 inches narrower at the top than the base, ensuring light penetration to lower branches and preventing basal defoliation.
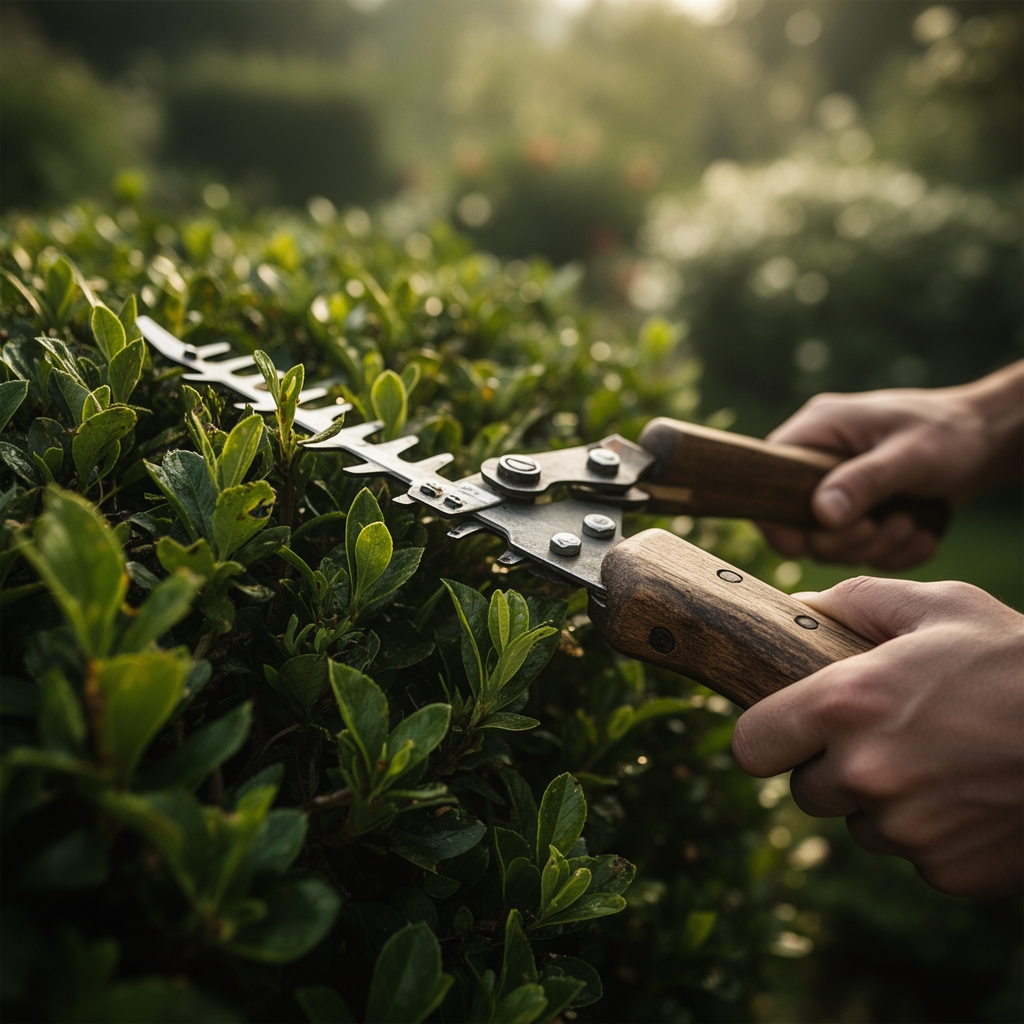
Rough Cut: Begin with vertical sides, holding trimmers parallel to the hedge face. Use a sweep motion from bottom to top, letting blade weight do the work. Cutting speed of one foot per second prevents tearing. Remove no more than one-third of total foliage mass in a single session to avoid compromising carbohydrate reserves.
Pro-Tip: String a guide line between stakes at the desired height. This visual reference maintains level accuracy better than eyeballing, especially on slopes.
Top Shaping: Level the crown using horizontal sweeps. Rounded tops shed snow in northern climates, reducing branch breakage. Flat tops suit formal gardens but require more frequent maintenance as vertical shoots emerge from latent buds.
Detail Work: Hand pruners address individual stems exceeding 3/4 inch diameter. Trimmers struggle with thick wood, creating ragged wounds and dulling blades. Make cuts at 45-degree angles just above outward-facing nodes to direct new growth away from the hedge interior.
Pro-Tip: Apply lanolin-based wound sealant to cuts larger than one inch on susceptible species like cherry laurel (Prunus laurocerasus). This barriers fungal entry without impeding callus formation.
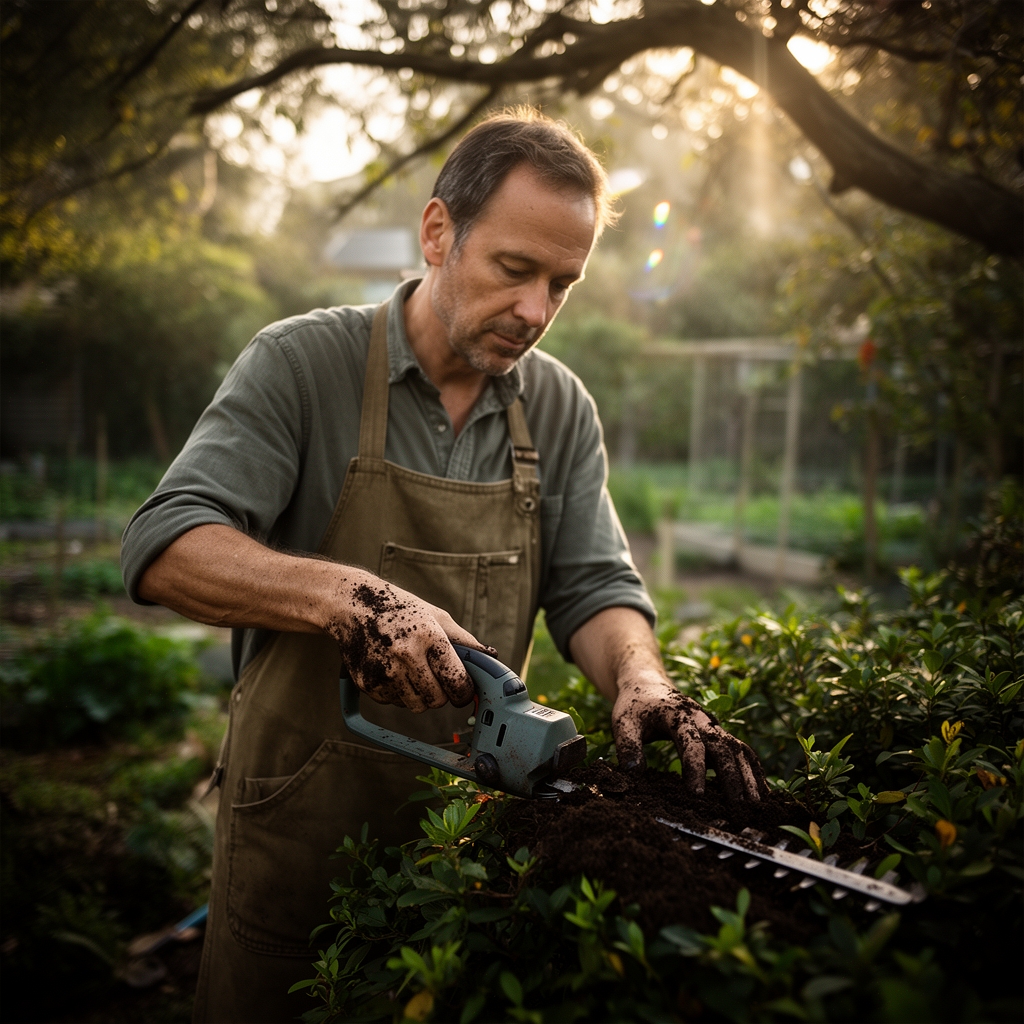
Cleanup: Rake clippings immediately. Decomposing leaf litter harbors fungal spores and pest larvae. Compost disease-free trimmings or use as mulch after allowing three days of solar sterilization on pavement.
Pro-Tip: Inoculate the root zone with mycorrhizal fungi granules after aggressive pruning. These symbiotic organisms expand nutrient absorption area by 700%, accelerating recovery.
Troubleshooting
Symptom: Brown leaf margins with crispy texture.
Solution: Blade burn from dull cutters. Sharpen every four hours of use. Reduce cutting speed and increase overlap between passes.
Symptom: Yellowing interior foliage despite green exterior.
Solution: Light starvation from excessively vertical sides. Recut with 10-degree taper. Thin interior by 20% to improve air circulation.
Symptom: Gummy resin or sap bleeding from wounds.
Solution: Normal response in conifers. Avoid trimming during active growth flushes when sap pressure peaks. Clean blades with isopropyl alcohol to prevent gumming.
Symptom: Black sooty mold on leaves.
Solution: Secondary infection following aphid infestation. Apply insecticidal soap at 2% concentration. Remove heavily infested branches.
Symptom: Die-back of branch tips post-trimming.
Solution: Fire blight (Erwinia amylovora) in susceptible species like cotoneaster. Prune 12 inches below symptomatic tissue into healthy wood. Disinfect blades between cuts.
Maintenance
Water deeply to 8 inches within 24 hours of trimming, providing 1.5 inches measured with a rain gauge. This supports cellular repair and reduces transplant shock in recently shaped hedges. Apply 3 inches of shredded bark mulch in a 4-foot band, keeping material 6 inches from stems to prevent crown rot.
Fertilize four weeks post-trim with controlled-release formulation (14-14-14 NPK) at 2 pounds per 100 square feet of hedge face area. Split applications reduce leaching in sandy soils. Monitor soil moisture with a probe; maintain consistent field capacity during the six-week wound-healing window.
Blade maintenance requires checking fasteners for vibration-induced loosening every five hours of operation. Lubricate pivot points with lithium grease monthly during active season.
FAQ
How often should hedges be trimmed?
Formal hedges require 3-4 sessions per growing season. Informal screens need 1-2 cuts annually.
Can you trim wet hedges?
Moisture increases disease transmission risk and causes ragged cuts. Wait until foliage dries completely.
What's the maximum height for safe trimming?
Work below shoulder level from ground position. Use scaffolding for hedges exceeding 6 feet to maintain proper cutting angle.
Do battery trimmers match gas power?
Modern 40-volt lithium models deliver comparable performance for hedges under 3/4 inch stem diameter with 60-minute runtime.
Should you trim newly planted hedges?
Light tip pruning encourages lateral branching. Remove only 2-3 inches of terminal growth the first season to avoid stressing immature root systems.