10 Strong Ways How to Use Bow Saws
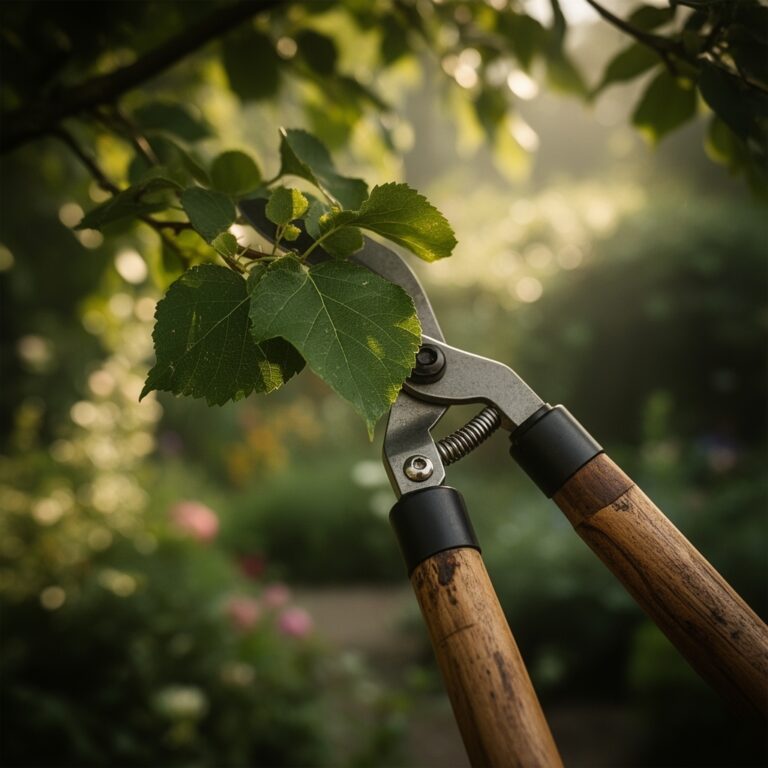
The clean bite of a sharp bow saw through fresh wood releases the scent of resin and cellulose. No other hand tool matches its efficiency for cutting branches between 1 and 6 inches in diameter. Learning how to use bow saws properly transforms pruning from a laborious chore into precise, fatigue-free work. The tubular steel frame tensions a narrow blade that removes material faster than folding saws while maintaining superior control compared to chainsaws in tight quarters.
Materials
Select a bow saw with a blade length matching your typical cutting diameter. A 21-inch blade handles most pruning tasks in hardiness zones 3 through 9. The frame should feature a tensioning mechanism that allows blade replacement without tools.
Blades come in three tooth configurations. Peg-tooth blades (7-9 TPI) cut green wood efficiently. Raker-tooth patterns (10-12 TPI) suit seasoned lumber. Replacement blades cost between $8 and $15, making this a low-investment maintenance cycle.
Apply a 3-in-1 oil (pH neutral, no NPK value) to the blade after each use. This prevents oxidation on high-carbon steel variants. Store the tool with a blade guard fashioned from split PVC pipe or heavy cardboard.
For large pruning projects generating woody debris, prepare a chipper-ready staging area. Fresh branch material contains moisture content between 35% and 60%. This biological material, when chipped, contributes carbon ratios of 50:1 to 80:1, ideal for balancing nitrogen-rich inputs in composting systems with target NPK gradients of 4-4-4 or 5-3-2 in finished product.
Timing
Execute major pruning operations during dormancy windows specific to your hardiness zone. Zones 5-7 offer optimal conditions from late January through mid-March, after the coldest temperatures pass but before bud break initiates auxin distribution.
Summer pruning with bow saws occurs in a secondary window from late June through early August. Growth has hardened sufficiently to prevent excessive weeping while maintaining enough active transport to seal wounds before fall. Avoid cutting within 4 weeks of your first expected frost date. Open wounds entering dormancy invite pathogen colonization as cation exchange capacity in xylem vessels slows.
In zones 8-10, the extended growing season permits year-round bow saw use with one exception. Avoid pruning from late spring through early summer when maximum sap flow occurs. Cuts made during peak vascular activity lose carbohydrates and create entry points for boring insects.
Phases

Initial Positioning
Stand with feet shoulder-width apart. Position your body at a 45-degree angle to the branch. This stance distributes mechanical load across core muscles rather than isolating arm strength. Grip the handle with your dominant hand in a firm but not clenched hold. Your supporting hand stabilizes the branch beyond the cut zone.
Mark the cut location 1/4 inch beyond the branch collar. The collar contains specialized parenchyma cells with elevated auxin concentrations that accelerate wound-wood formation. Cutting flush removes this tissue. Leaving excessive stub length invites decay.
Pro-Tip: Apply a single stroke of bright surveyor's tape 6 inches from your intended cut. This reference mark prevents visual drift during repetitive cutting sessions.
Execution Phase
Begin with the blade positioned at a 20-degree angle to the branch surface. Apply light pressure on the pull stroke. The blade's tooth geometry performs optimally when you let tooth set do the work. Forcing the stroke generates heat through friction, reducing blade life by 40% compared to patient technique.
Establish a rhythm of 40-50 strokes per minute. This pace maintains consistent kerf geometry. Rushing produces wandering cuts that bind the blade. Watch for sawdust color change. Green material transitions to cream-colored heartwood at approximately 60% depth on living branches.
For branches exceeding 3 inches in diameter, employ the three-cut method. Make an undercut 12 inches from the final location, penetrating one-third of the diameter. Execute the second cut from above, 1 inch farther from the trunk. The branch drops cleanly. Your final cut removes the stub at the proper collar distance.
Pro-Tip: Rub beeswax along the blade spine before cutting resinous species like pine or fir. This prevents pitch accumulation that causes binding.
Establishing Clean Finish
After the branch falls, inspect the cut surface. Properly executed cuts show concentric growth rings without tearing. Ragged edges indicate dull teeth or improper angle. Do not apply wound dressing. Research from 1982 through present consistently shows that trees compartmentalize damage more effectively without sealants that trap moisture and inhibit mycorrhizal fungi colonization at wound margins.
Troubleshooting
Symptom: Blade binding mid-cut
Solution: The kerf is closing due to branch tension. Insert a wooden wedge in the entry cut to maintain gap width. Alternatively, support the branch end with your free hand or a prop stick positioned 18 inches beyond the cut location.
Symptom: Wandering cut line producing oval kerf
Solution: Blade tension is insufficient. Tighten the frame's tension nut until the blade produces a clear tone when plucked. Proper tension registers between 200-250 Hz, similar to a low G note.
Symptom: Rapid dulling after 15-20 cuts
Solution: You are cutting through soil-contaminated bark or encountering embedded metal (old nails, wire). Clean bark with a stiff brush before cutting. Use a metal detector on reclaimed lumber or landscape trees near former structures.
Symptom: Excessive fatigue after 30 minutes
Solution: Your stroke angle exceeds 30 degrees, engaging shoulder muscles excessively. Maintain a horizontal stroke plane. Lower your body position rather than raising your arms.
Maintenance
Clean the blade after each use session. A stiff nylon brush removes sawdust from gullets. Wipe both sides with an oil-dampened rag, applying 0.5 ml of mineral oil or purpose-formulated tool protectant.
Inspect blade tension monthly during active use periods. Frames expand and contract with temperature fluctuations of 20 degrees or more. Retension as needed to maintain acoustic pitch.
Sharpen peg-tooth blades every 40 hours of cutting time. Use a triangular file matched to tooth gullet dimensions. Each tooth receives 3-4 strokes at the original bevel angle. Raker teeth require professional sharpening equipment. At $12-15 for replacement blades versus $25-30 for professional sharpening, replacement proves more economical for occasional users.
Replace blades showing: 1) three or more broken teeth, 2) visible waves or kinks longer than 1/4 inch, or 3) rust penetration deeper than surface oxidation.
FAQ
How often should I replace bow saw blades?
Professional arborists replace blades every 60-80 hours of cutting time. Home users pruning 4-6 times annually can expect 3-5 years of service from quality blades with proper maintenance.
Can bow saws cut dry seasoned lumber?
Yes, but switch to a raker-tooth blade with 10-12 TPI. Green wood blades with aggressive tooth set will grab and chatter on lumber below 15% moisture content.
What branch diameter is too large for bow saws?
Branches exceeding 6 inches require disproportionate effort. Cutting efficiency drops below 50% compared to chainsaw alternatives at this diameter threshold.
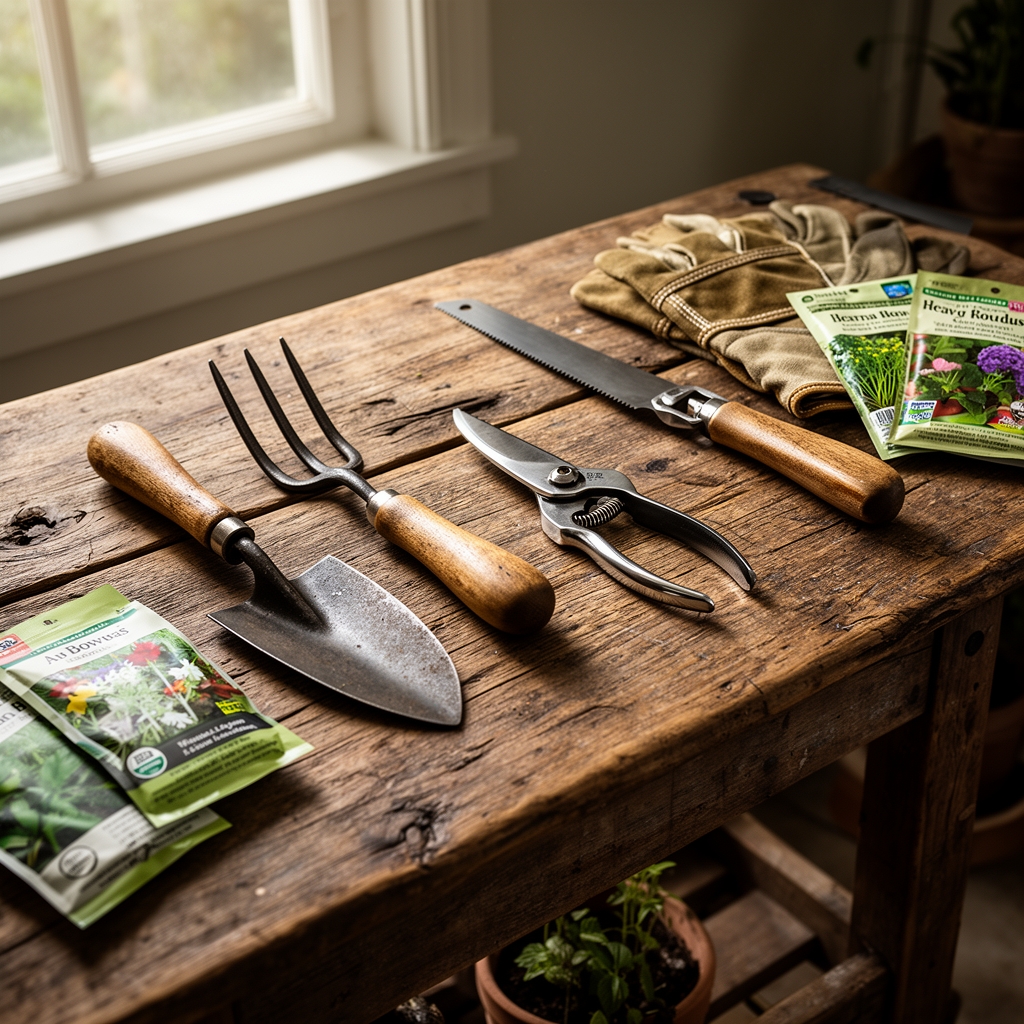
Do I need safety equipment?
Safety glasses prevent sawdust eye irritation. Leather gloves protect against blisters during extended sessions but reduce tactile feedback. Skip gloves until you've mastered basic technique.
How do I prevent rust in humid climates?
After cleaning and oiling, store the bow saw in a climate-controlled space or sealed plastic container with desiccant packets. Silica gel pouches maintain relative humidity below 40%, the threshold for oxidation initiation.