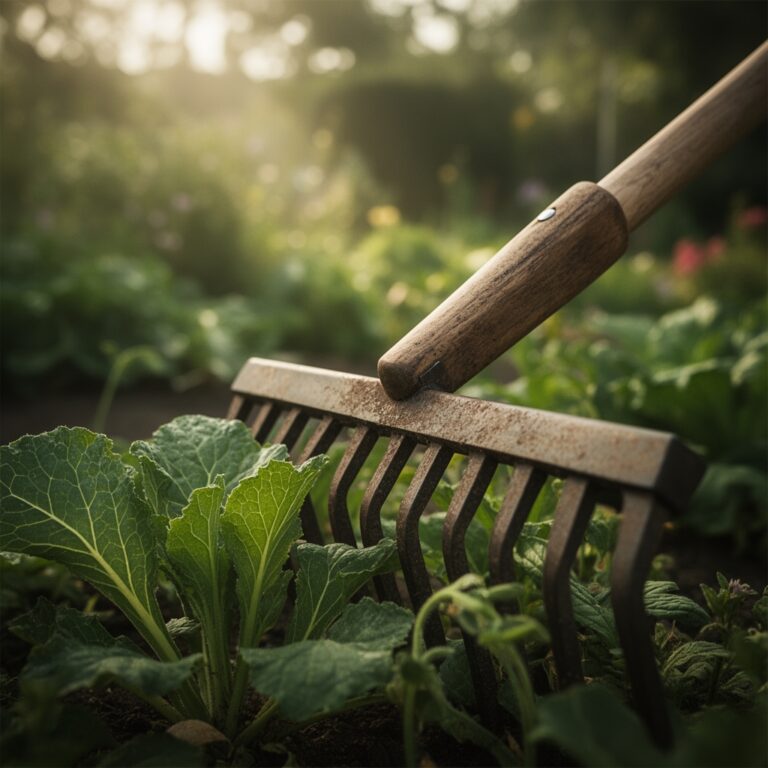
5 Easy Ways How to Use Anvil Shears
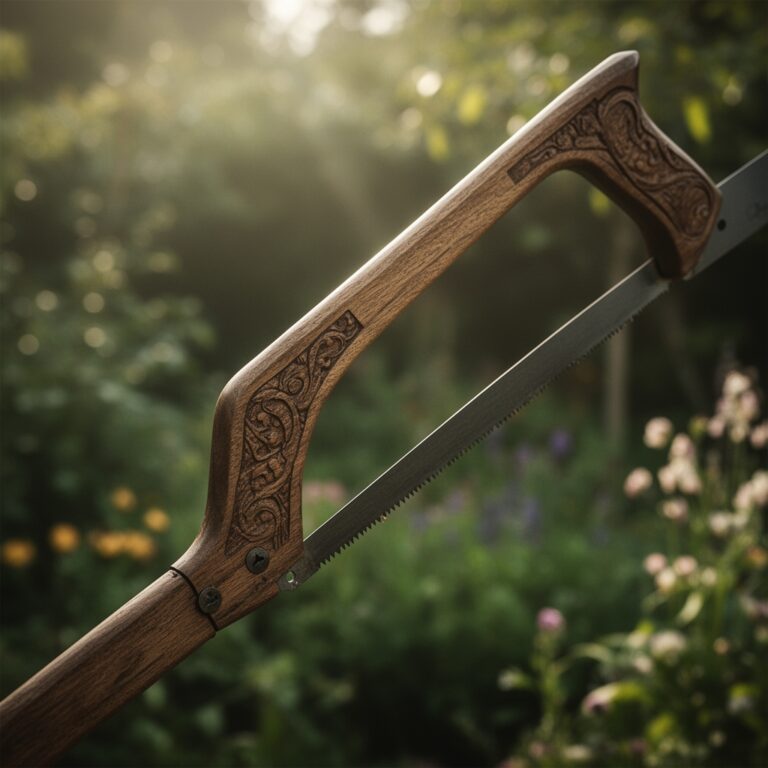
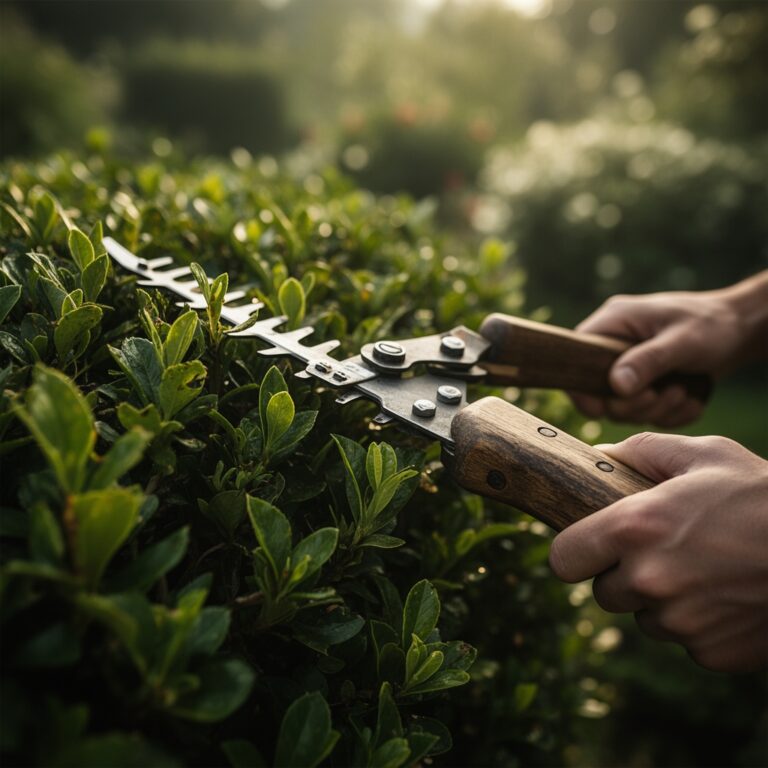
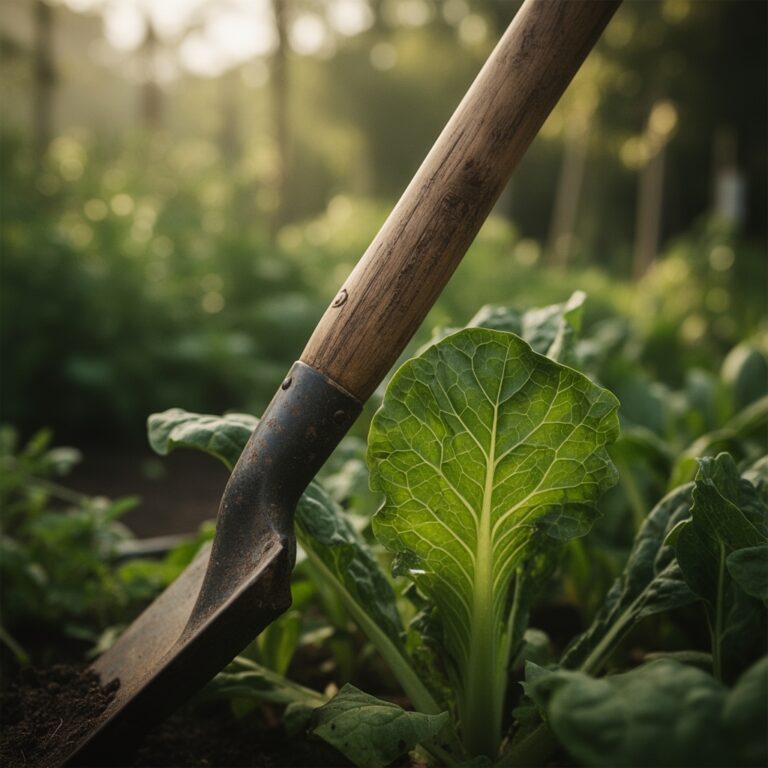
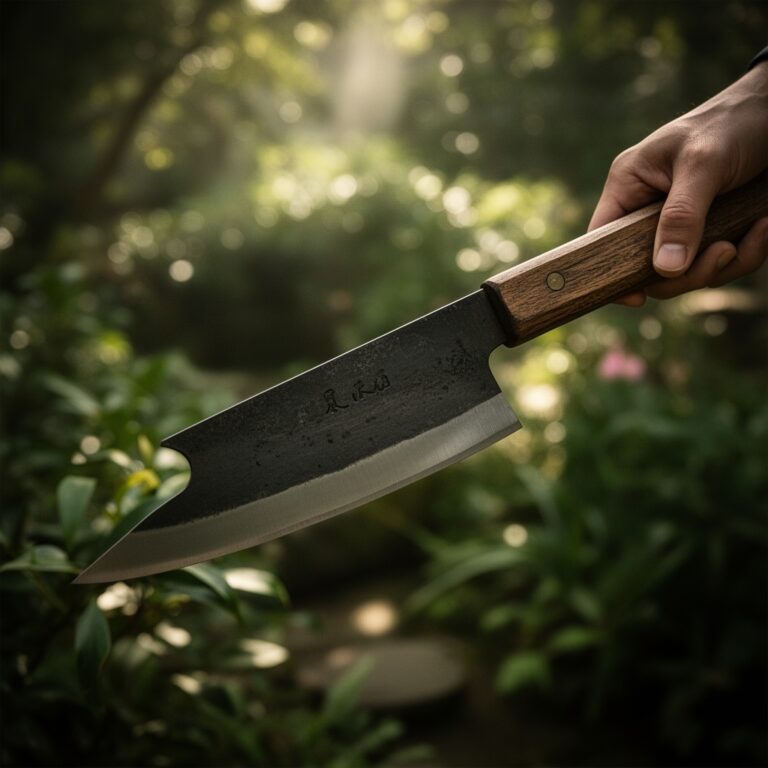
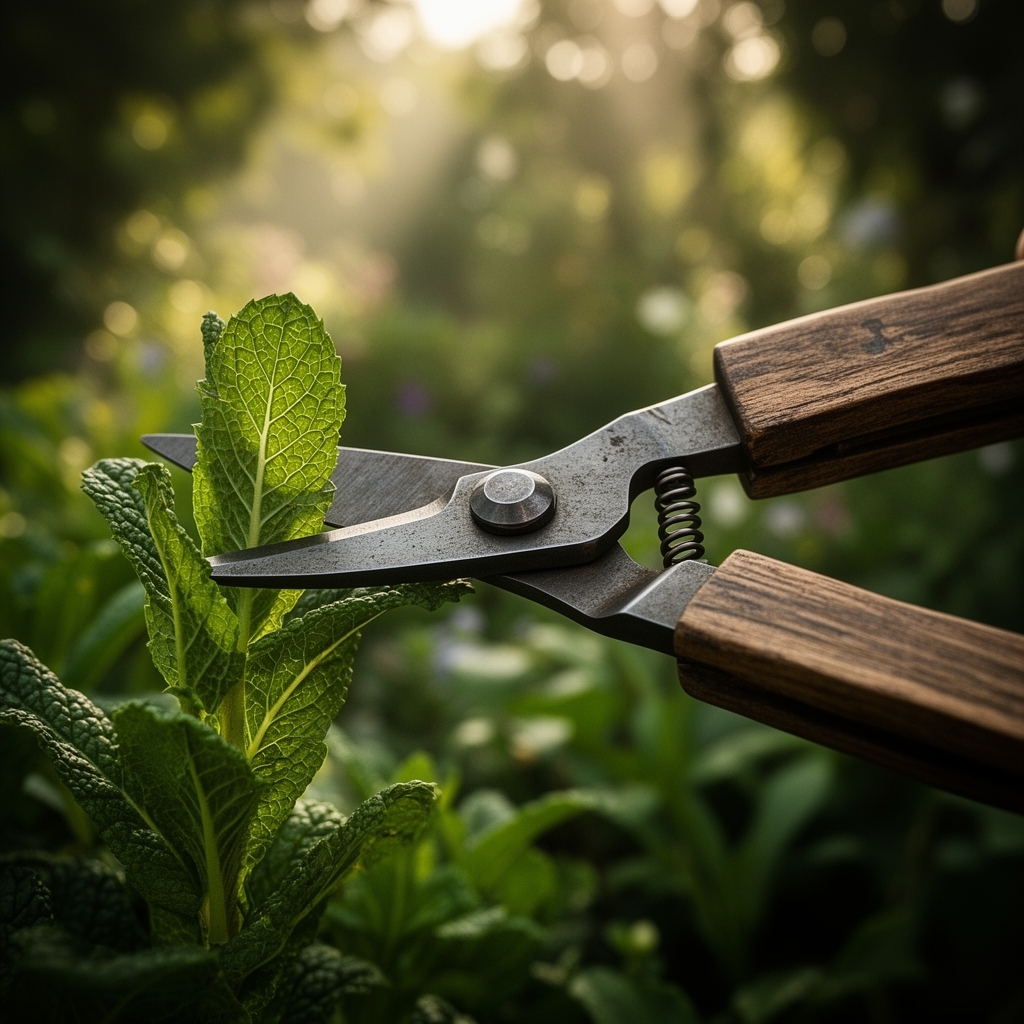
Anvil shears slice through dead wood with the precision of a surgical blade meeting a cutting board. The anvil design concentrates force onto a single flat surface, making it ideal for removing spent canes, hardened stems, and woody branches up to 3/4 inch diameter. Understanding how to use anvil shears correctly prevents tissue crushing and promotes faster callus formation at cut sites. The blade must be sharp, the anvil clean, and your hand position decisive.
Materials
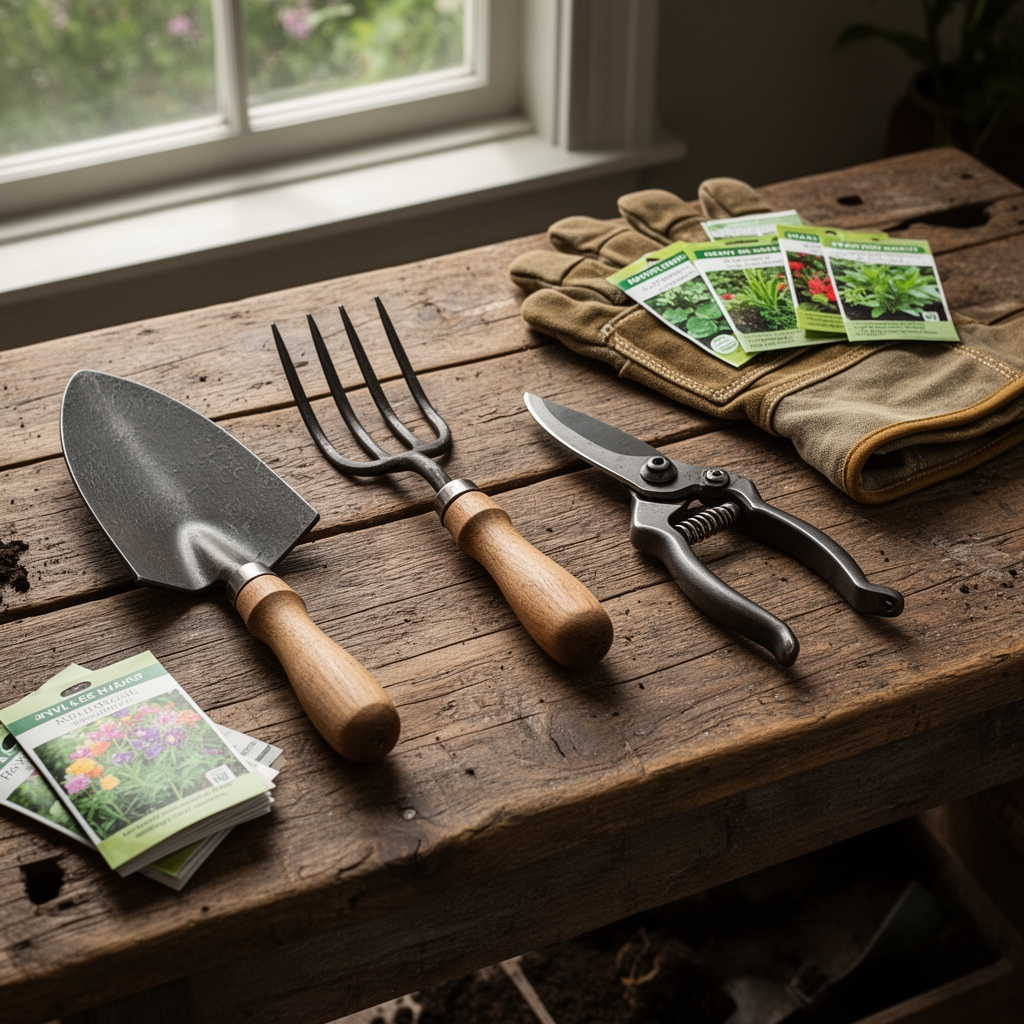
Anvil shears function best when paired with proper maintenance supplies. Select a sharpening stone rated 400-1000 grit for blade edges. Isopropyl alcohol at 70% concentration sterilizes between cuts when moving from plant to plant. Apply a thin layer of 3-in-1 machine oil to the pivot point monthly. Keep a microfiber cloth for sap removal. For major pruning sessions on mature shrubs, prepare a wound sealant containing copper fungicide at 0.5% active ingredient. If working with roses or stone fruits, have rooting hormone powder (0.1% IBA) ready for any propagation opportunities from removed cuttings.
Your soil amendment strategy should account for increased light penetration after pruning. Apply composted manure at a 1-2-3 NPK ratio around the drip line of pruned specimens. For acid-loving shrubs like azaleas, supplement with sulfur-coated urea (21-0-0) at 1/4 cup per 10 square feet if soil pH exceeds 6.5. Bone meal (3-15-0) encourages root expansion in areas where structural branches have been removed.
Timing
In USDA Hardiness Zones 6-9, use anvil shears for dormant pruning between January 15 and March 10, when sap flow remains minimal. This window closes as buds swell and auxin distribution accelerates. For Zones 3-5, extend the calendar to February 1 through March 25, accounting for deeper frost penetration that delays cambium activity.
Summer deadheading with anvil shears occurs from June through August in all zones. Remove spent flower clusters at a 45-degree angle 1/4 inch above the next viable bud union. Autumn cleanup begins after the first hard freeze, typically October 20 in Zone 5 and November 15 in Zone 8. Cut herbaceous perennials to 2-inch stubs to mark locations without removing beneficial overwintering insect habitat.
Phases

Inspection Phase: Walk the garden perimeter with shears closed. Identify crossing branches, diseased wood showing cankers or discoloration, and any stems thinner than a pencil competing for crown space. Tag targets with biodegradable flagging tape. Check blade sharpness by slicing a sheet of paper. The cut should be clean without tearing.
Pro-Tip: Sterilize blades before the first cut by dipping in a 10% bleach solution for 30 seconds, then rinsing with water to prevent phytotoxicity.
Execution Phase: Position the anvil side against the part of the plant you want to keep. The cutting blade should face the portion being removed. This orientation prevents bark tearing on the remaining tissue. Squeeze handles with steady pressure in one motion. Avoid partial cuts that require a second squeeze, as these crush vascular tissue and invite pathogen entry. For branches approaching the 3/4-inch maximum diameter, rotate the shears 180 degrees and make a second cut to meet the first, creating a clean removal point.
Pro-Tip: When removing branches flush to a main stem, locate the branch collar, the slight swelling where the branch meets the trunk. Cut just outside this zone at a 60-degree angle to preserve the tree's natural defense chemicals concentrated in the collar tissue.
Recovery Phase: After major pruning that removes more than 25% of canopy mass, apply a slow-release fertilizer with a 5-10-5 NPK ratio at half the package rate. Water the root zone with 2 gallons per inch of trunk diameter. Mycorrhizal fungi colonization accelerates when soil moisture remains at 60% field capacity for the following three weeks. Monitor new growth for proper direction. Rub off buds pointing inward or downward within 10 days of emergence.
Pro-Tip: Collect hardwood cuttings from healthy removed branches between 1/4 and 1/2 inch diameter. Dip cut ends in rooting hormone and insert into a 50/50 perlite-peat mix. Cuttings taken during dormancy show 70% strike rates with bottom heat at 68°F.
Troubleshooting
Symptom: Crushed or split bark at cut site.
Solution: Sharpen blade immediately. A dull edge forces tissue apart rather than slicing. Strop the beveled edge with 15 passes on a leather belt charged with honing compound.
Symptom: Brown, dried tissue extending 1/2 inch below cut.
Solution: Cut was made during active sap flow or in freezing temperatures below 28°F. Remove affected area by cutting 1 inch lower into green wood. Time future cuts for dormant windows.
Symptom: White fungal growth or dark cankers developing near pruning wounds.
Solution: Sterilization protocol failed. Remove infected tissue 2 inches below visible damage. Apply copper-based fungicide at label rate. Disinfect shears between every cut when disease is present.
Symptom: Excessive suckering from base after heavy pruning.
Solution: Overpruning triggered stress response. Remove suckers at soil line. Reduce fertilizer nitrogen by 50% to discourage vegetative overcompensation. Balance restored within one growing season.
Maintenance
Clean anvil shears after each session by wiping blades with isopropyl alcohol-soaked cloth. Remove sap deposits with citrus-based solvent if alcohol proves insufficient. Apply three drops of machine oil to the pivot bolt and work the handles through 10 full cycles. Store in a dry location with blade edges wrapped in an oil-dampened cloth.
Sharpen every 40 hours of use or when paper tests show ragged cuts. Clamp the shears in a vise with the blade edge facing up. Hold the sharpening stone at a 20-degree angle to match the factory bevel. Push the stone away from your body in smooth strokes, maintaining consistent pressure. Fifteen passes should restore the edge. Test on a green twig before returning to field use.
Check tension on the pivot bolt monthly. Loose bolts allow blade wobble that creates uneven cuts and accelerates wear. Tighten until slight resistance occurs when opening handles, but not so tight that operation requires excessive grip strength. Replace rubber bumpers when compression depth exceeds 2mm to maintain proper blade alignment.
FAQ
When should I choose anvil shears over bypass pruners?
Anvil shears excel on dead, dried, or hardened wood where crushing is not a concern. Use bypass pruners for live green stems where tissue preservation matters.
How do I prevent hand fatigue during extended sessions?
Select ergonomic models with rotating handles that align with natural wrist motion. Take a 5-minute break every 20 minutes. Grip strength diminishes after sustained use, leading to poor cuts.
Can anvil shears be used for herbaceous perennials?
Yes, but only for end-of-season cleanup when stems have dried completely. The crushing action damages live tissue and increases disease susceptibility in actively growing plants.
What diameter requires switching to loppers?
When branches exceed 3/4 inch or require more than comfortable single-hand pressure, transition to long-handled loppers. Forcing cuts damages both tool and plant.
How often should blades be professionally serviced?
Annual professional sharpening maintains optimal geometry. Home maintenance handles routine dulling, but metal fatigue and bevel degradation require machine grinding every 12-18 months of regular use.