9 Quick Steps to Use Telescoping Loppers
The snap of wood echoes through the orchard as a thick branch falls cleanly away. That satisfying crunch signals correct technique. Learning the proper steps to use telescoping loppers transforms a frustrating pruning session into surgical precision. Your shoulders stay relaxed. The blade cuts through two-inch diameter wood like fresh butter. These extendable tools multiply your reach and leverage, letting you shape canopy structure from ground level without ladders.
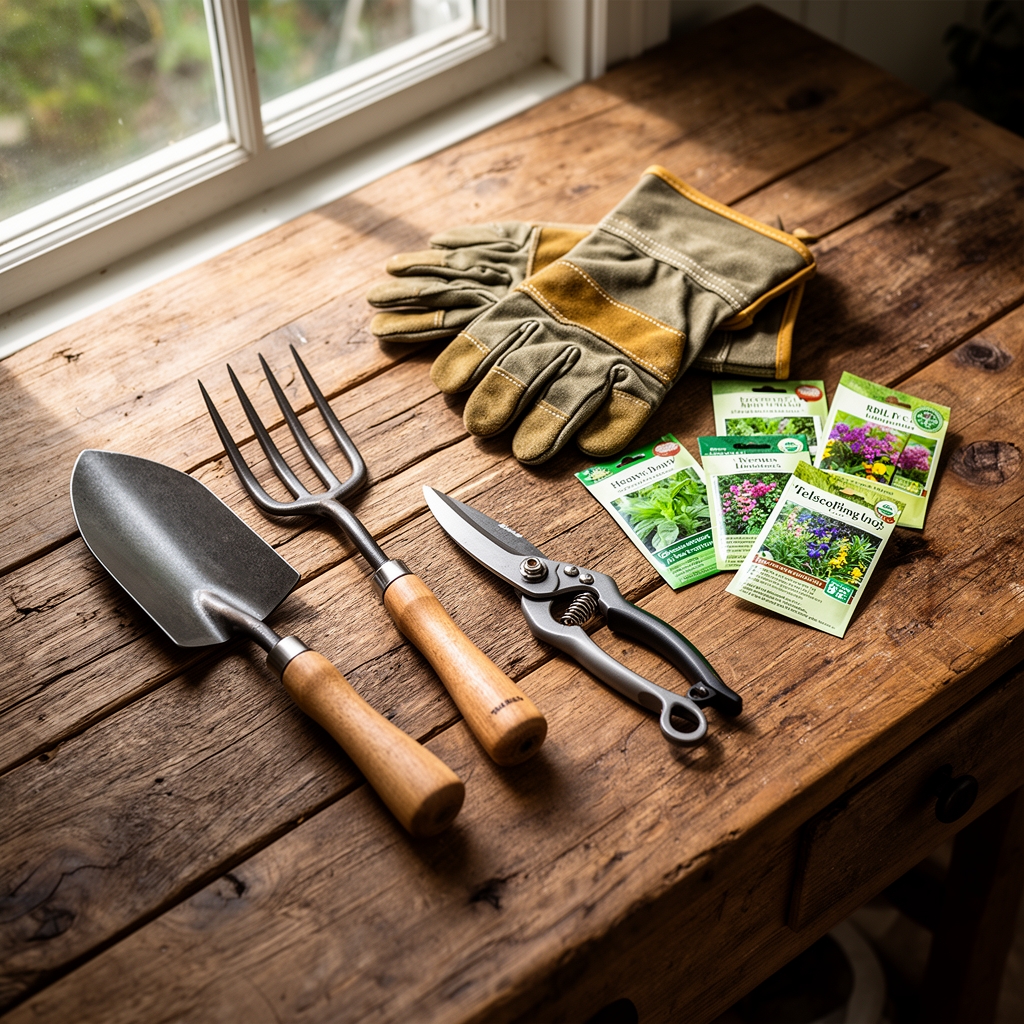
Materials
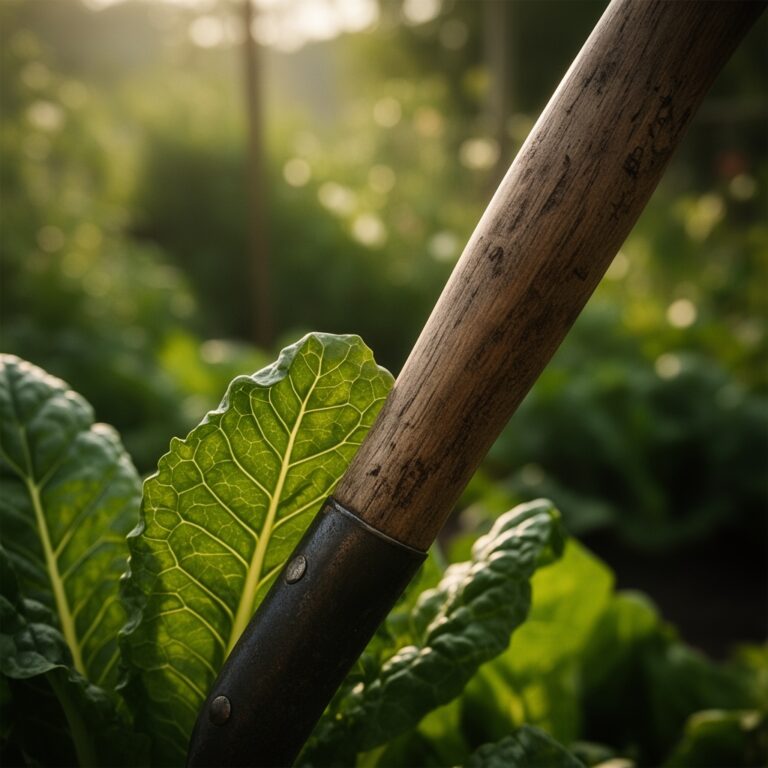
Gather your equipment before entering the pruning zone. Telescoping loppers with bypass blades (not anvil style) preserve cambium health at cut sites. A 28-40 inch adjustable model handles most residential orchard work. Rubbing alcohol (70% isopropyl) sterilizes blades between cuts to prevent fire blight transmission. Pruning sealer remains controversial, but research shows untreated wounds on stone fruits often heal faster than sealed ones.
For cleanup, a 5-10-10 granular fertilizer (applied post-pruning at 2 pounds per 100 square feet) supports recovery in established trees. Young specimens under three years respond better to 4-4-4 organic meal at half that rate. Soil pH between 6.0 and 7.0 ensures adequate calcium uptake for wound callusing. Check cation exchange capacity if your orchard sits on sandy loam. Values below 10 meq/100g require annual compost amendments at 3 cubic yards per acre.
Timing
Execute major structural pruning during dormancy. For USDA Hardiness Zones 5-7, this window opens after leaf drop (late November) and closes at bud swell (early March). Zone 8 gardeners prune from December through mid-February. Summer pruning (late June through July) controls vigor in young trees but creates entry points for bacterial canker in stone fruits.
Avoid cutting during the two-week frost-date window when daytime temperatures fluctuate above and below 32°F. Ice crystals expand in fresh wounds, splitting cambium tissue. Schedule sessions on dry days with temperatures between 40-60°F. Morning work lets sap flow seal minor tears before nightfall.
Phases

Sowing Phase: Tool Preparation
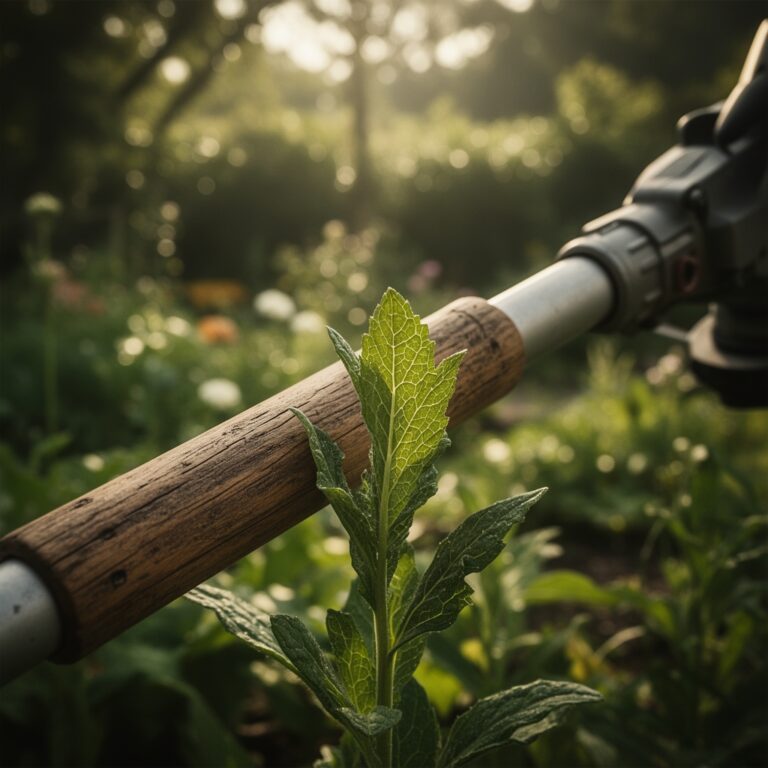
Extend the loppers to mid-length position. Test the locking mechanism under tension by squeezing handles against a pencil-thick stick. Oil pivot points with machine oil (3-in-1 or similar). Sharpen the bypass blade to 15-20 degrees using a mill file, stroking away from your body. The hook blade (lower jaw) requires no sharpening. Dull blades crush vascular tissue and invite pathogen colonization.
Pro-Tip: Apply a thin coat of boiled linseed oil to wooden handles before winter storage. This prevents moisture absorption and handle swell.
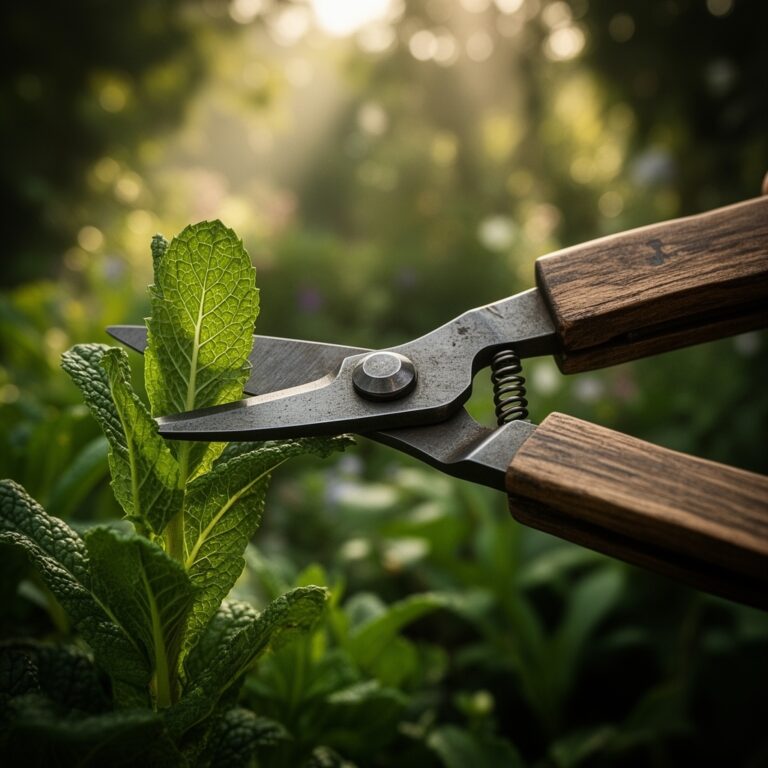
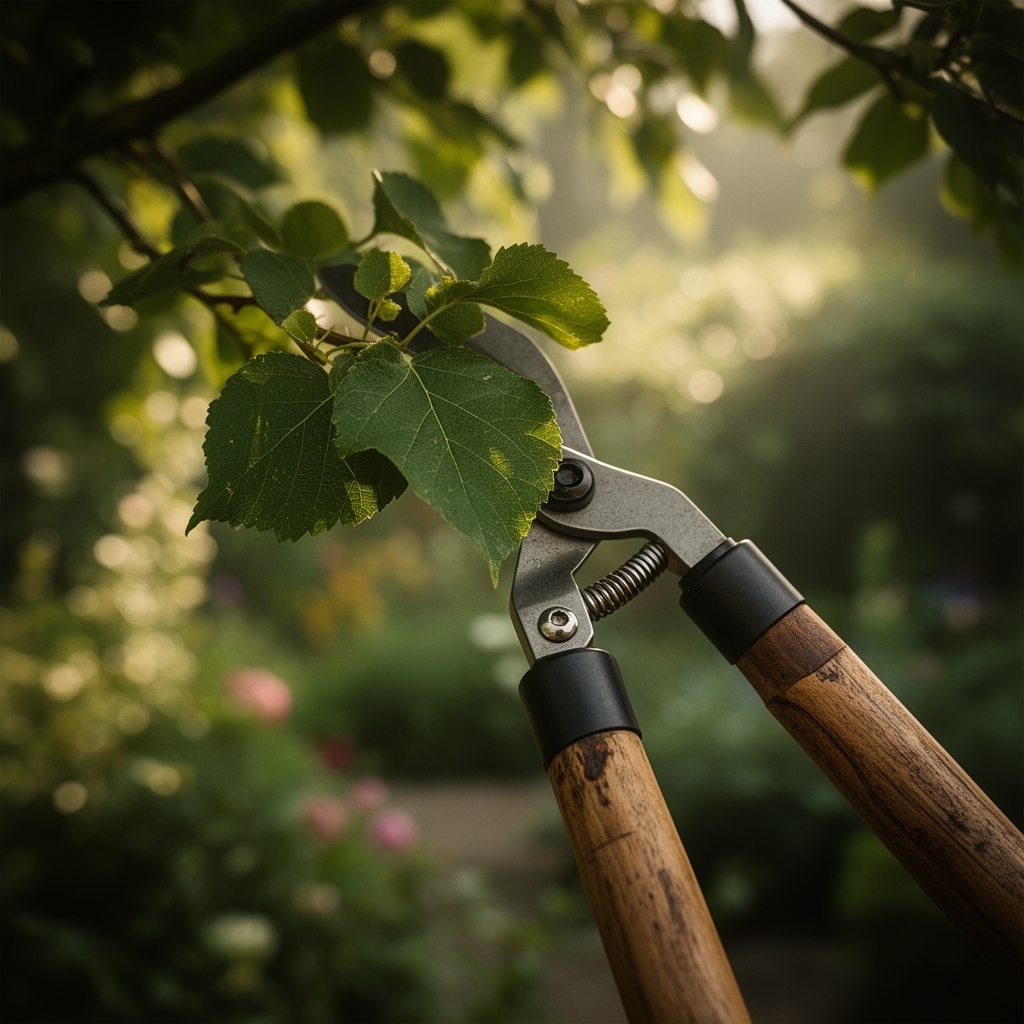
Transplanting Phase: Cut Execution
Identify the branch collar, that slight swelling where branch meets trunk. Position the cutting blade (sharp upper jaw) toward the trunk side. The hook supports the branch from below. Hold loppers at 90 degrees to the branch axis. Squeeze handles smoothly without twisting. The cut should angle slightly away from the trunk at 45-60 degrees, never flush.
For branches 1.5-2 inches thick, make an undercut first. Extend loppers to full reach. Score the bottom of the branch 6 inches from the collar, cutting one-quarter through. Complete the cut from above, 1 inch further out. Remove the stub with a final collar cut. This three-cut method prevents bark tearing.
Pro-Tip: Watch auxin distribution signals. Branches growing at 45-60 degree angles from vertical produce more fruiting spurs than vertical water sprouts or horizontal limbs.
Establishing Phase: Post-Cut Care
Inspect each wound within 24 hours. Properly executed cuts show clean edges with no torn bark. White or green cambium indicates living tissue. Brown streaking suggests you've cut into diseased wood. Remove affected limbs another 8 inches back into healthy tissue.
Rake and burn (where legal) or hot-compost all prunings. Fungal spores and insect larvae overwinter in fallen wood. Within 48 hours, apply copper fungicide to large cuts (over 1.5 inches) on apples and pears in regions with high fire blight pressure.
Pro-Tip: Inoculate root zones with mycorrhizal fungi (Glomus intraradices) after heavy pruning. Apply 2 tablespoons per tree, watered to 8-inch depth. Symbiotic networks accelerate nutrient uptake during recovery.
Troubleshooting
Symptom: Ragged cut edges with exposed white fibers.
Solution: Blades are dull or misaligned. Disassemble pivot bolt, clean both jaws, sharpen cutting blade, and reassemble with slight tension.
Symptom: Handles slip when extended.
Solution: Locking collar worn or debris-clogged. Remove extension pole, clean threads with wire brush, apply waterproof grease.
Symptom: Branch stubs ooze amber sap for weeks.
Solution: Cut made too far from collar or into diseased wood. Re-cut to proper collar position in dormant season.
Symptom: Bark strips down trunk after heavy limb removal.
Solution: No undercut made. Always use three-cut method on branches over 1 inch diameter and more than 12 inches long.
Maintenance
Clean blades after each use with soapy water and steel wool pad. Dry thoroughly to prevent rust. Sterilize with 70% alcohol between trees. Store fully collapsed in a dry location. Apply light machine oil to pivot points monthly during active season.
Sharpen blades when they require more than moderate hand pressure to cut green wood. This typically occurs after 8-12 hours of pruning work. Replace blades when sharpening reduces edge thickness below 1/16 inch.
Check telescoping segments for grit accumulation twice per season. Extend fully, wipe with damp cloth, then compress while rotating to distribute lubricant.
FAQ
Can telescoping loppers cut living branches over 2 inches thick?
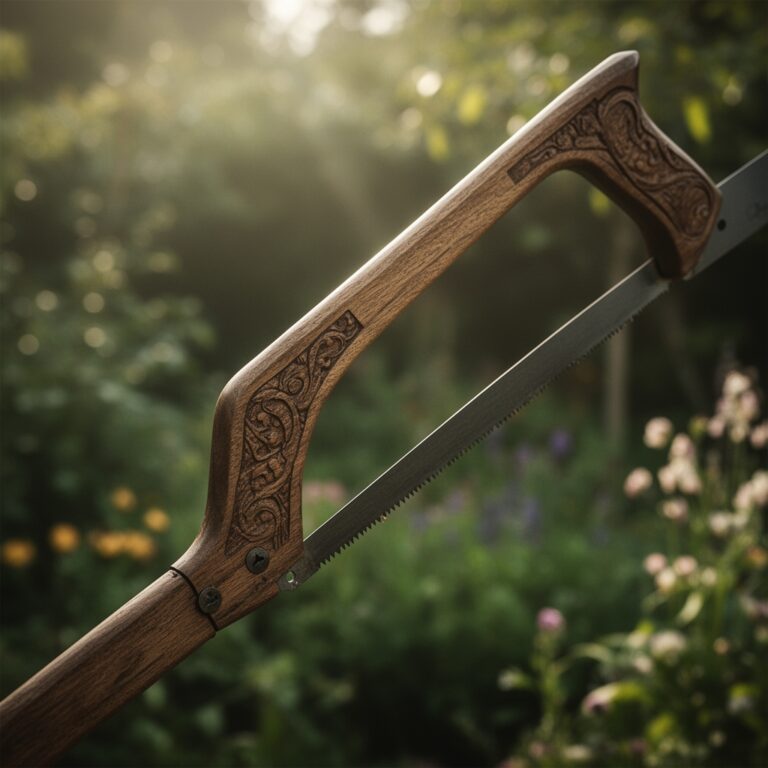
Most models rate for 1.75-2 inch diameter. Forcing thicker cuts damages the tool and creates ragged wounds. Use a pruning saw instead.
How long should I extend the handles?
Extend only until you achieve comfortable reach. Over-extension reduces leverage by 40% and increases handle flex.
Do I need different loppers for hardwoods versus softwoods?
Bypass loppers handle both. Ensure blade gap allows wood thickness. Hickory and oak require sharper edges than pine or poplar.
When do I replace rather than sharpen?
Replace when the blade develops a reverse curve, pivot bolt threads strip, or handles crack at stress points near the head.
Should I prune differently in drought years?
Remove 30% less canopy during water stress. Trees lack resources for aggressive wound response. Delay non-essential cuts until irrigation resumes.