6 Vital Steps to Use Trenching Spades
The blade slices through clay hardpan at a forty-five-degree angle, severing roots the width of garden hose while your boot drives the narrow steel deeper than any standard spade could reach. Learning the proper steps to use trenching spades transforms back-breaking excavation into controlled, efficient soil surgery. The long, tapered profile concentrates force into a 4-inch cutting edge, allowing penetration through compacted subsoil layers where cation exchange capacity drops and anaerobic pockets suffocate root systems.
Materials
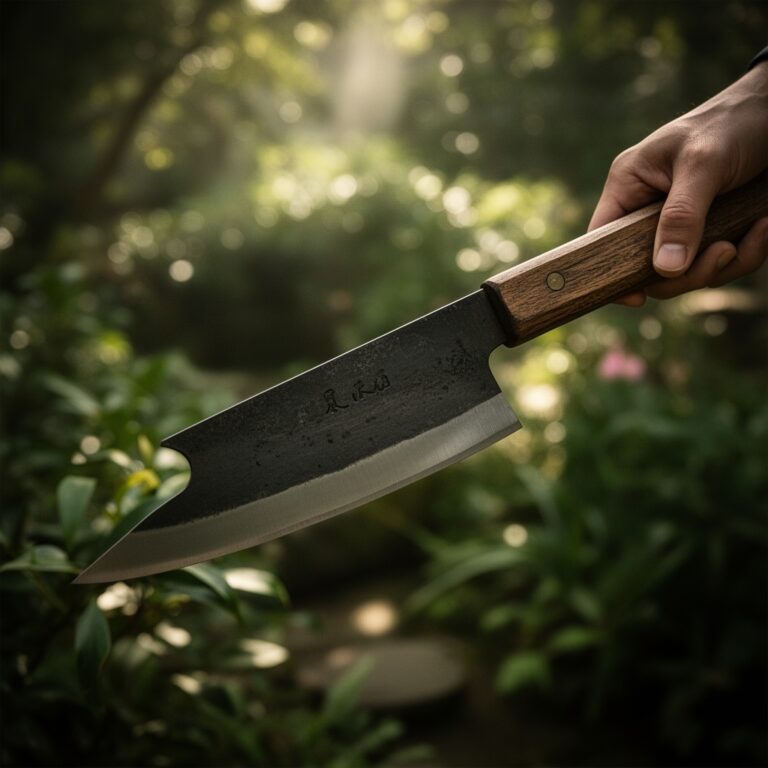
Select a trenching spade with a blade length between 14 and 18 inches and a width no greater than 5 inches at the shoulder. Forged carbon steel (1055 or equivalent) holds an edge through rocky soil better than stamped alternatives. The D-grip handle should align with the blade's central axis to prevent torque-induced wrist strain.
Soil amendments depend on existing pH and nutrient profiles. For acidic soils (pH 5.0-6.0), incorporate dolomitic limestone at 5 pounds per 100 square feet before trenching. Neutral to alkaline soils (pH 6.5-7.5) benefit from sulfur additions at 1 pound per 100 square feet if planting acid-loving species. Apply a balanced organic amendment such as composted manure (1-1-1 NPK) or feather meal (12-0-0) at a rate of 2 cubic feet per 10 linear feet of trench. For establishing perennial hedgerows, pre-mix mycorrhizal inoculant (Glomus intraradices) at manufacturer-specified rates into backfill material.
Protective equipment includes steel-toed boots, leather work gloves with reinforced palms, and safety glasses rated for ANSI Z87.1 impact resistance. Keep a file or whetstone on site for mid-project blade maintenance.
Timing
Execute trenching operations during dormant seasons to minimize root damage to nearby established plants. In USDA Hardiness Zones 3-5, trench between late October and early April when soil temperatures remain below 45°F but ground frost penetrates less than 6 inches. Zones 6-7 allow a wider window from November through March. Zones 8-10 should schedule work between December and February, avoiding winter rainy periods when soil structure collapses under mechanical pressure.
For installation of bare-root stock, trench no more than 48 hours before planting. Extended exposure oxidizes fine root hairs and disrupts auxin distribution patterns essential for transplant recovery. Containerized plants tolerate pre-dug trenches up to one week if backfill remains loosely mounded and covered with breathable landscape fabric.
Phases

Marking and Initial Cut: Drive wooden stakes at trench endpoints and stretch mason's line taut at grade level. Position the trenching spade perpendicular to the line with the blade's leading edge 2 inches outside the marked boundary. Apply downward pressure with your dominant foot on the spade's step, keeping your back vertical and core engaged. Rock the handle forward to widen the soil fracture, then lever the plug upward. Extract each 6-inch segment completely before proceeding.
Pro-Tip: Score the line first with a half-moon edger to create a clean vertical face. This prevents feathered edges that collapse during backfilling.
Deepening and Profiling: Once the initial pass reaches 8 inches, make a second pass to achieve target depth. Most utility trenches require 12-18 inches; agricultural drainage trenches demand 24 inches minimum. Maintain a consistent width by checking with a gauge rod every 3 feet. Remove excavated soil to tarps positioned 4 feet from the trench lip to prevent sloughing.
Pro-Tip: If encountering a claypan layer, apply gypsum (calcium sulfate) at 10 pounds per 10 linear feet along the trench bottom. This improves soil aggregation and long-term drainage.
Backfilling and Compaction: Mix excavated soil with amendments on tarps before returning to trench. Fill in 4-inch lifts, tamping each layer with a flat-headed tamper at 80% original compaction. Over-compaction creates impermeable zones that redirect water laterally. Leave the final 2 inches slightly mounded; settling will occur within six months as microbial activity resumes and soil structure equilibrates.
Pro-Tip: Insert perforated drainage pipe (4-inch diameter) at trench bottom before backfilling if working in soils with percolation rates below 0.5 inches per hour.
Troubleshooting
Symptom: Blade deflection when striking obstacles.
Solution: Probe 6 inches ahead with a steel digging bar to locate rocks or roots exceeding 2 inches in diameter. Use loppers for roots; pry rocks laterally rather than lifting vertically.
Symptom: Trench walls collapse in sandy or disturbed soil.
Solution: Install temporary plywood sheeting every 4 feet, braced with 2×4 cross-members. OSHA requires shoring for any trench exceeding 5 feet in depth.
Symptom: Water seepage at depths below 18 inches.
Solution: Indicates high water table or perched aquifer. Redirect trench route to elevated contours or install French drain with 3/4-inch washed gravel surround.
Symptom: Blade edge rolls after 10 linear feet.
Solution: File a 20-degree bevel on the cutting edge every 15 minutes of active work. Carbon steel requires more frequent maintenance than stainless alternatives.
Maintenance
Clean soil residue from the blade immediately after use. Clay adheres aggressively once dried and requires wire brushing to remove. Apply a thin film of linseed oil to carbon steel surfaces weekly during storage to prevent oxidation. Wooden handles need annual treatment with boiled linseed oil, rubbed in along the grain until the surface achieves a satin finish.
Sharpen blades at a 20-degree angle using a 10-inch mill bastard file, drawing toward the blade edge in consistent strokes. Maintain symmetry by counting strokes per side. A properly sharpened edge slices newsprint cleanly when held at 30 degrees.
Store trenching spades vertically in a dry location with blade tips elevated 2 inches off concrete. Horizontal storage warps handles over time. Inspect rivet integrity before each season; loose connections allow the blade to rotate during heavy use.
FAQ
How deep should trenches be for perennial borders?
Fourteen inches minimum to accommodate root systems of mature shrubs. Delphiniums and peonies require 18 inches.
Can I trench in wet soil?
No. Soil moisture above field capacity causes smearing and destroys aggregate structure. Wait until soil crumbles when squeezed.
What is the advantage over a standard spade?
The narrow profile reduces the volume of soil moved per linear foot by 40%, lowering fatigue while increasing depth capacity.
Should I trench before or after tilling?
Before. Tilling obscures the marked line and creates loose material that collapses into the trench during excavation.
How do I prevent back strain?
Position feet shoulder-width apart, bend at the knees rather than the waist, and limit spadefuls to 5 pounds maximum.