10 Expert Ways How to Use Square Shovels
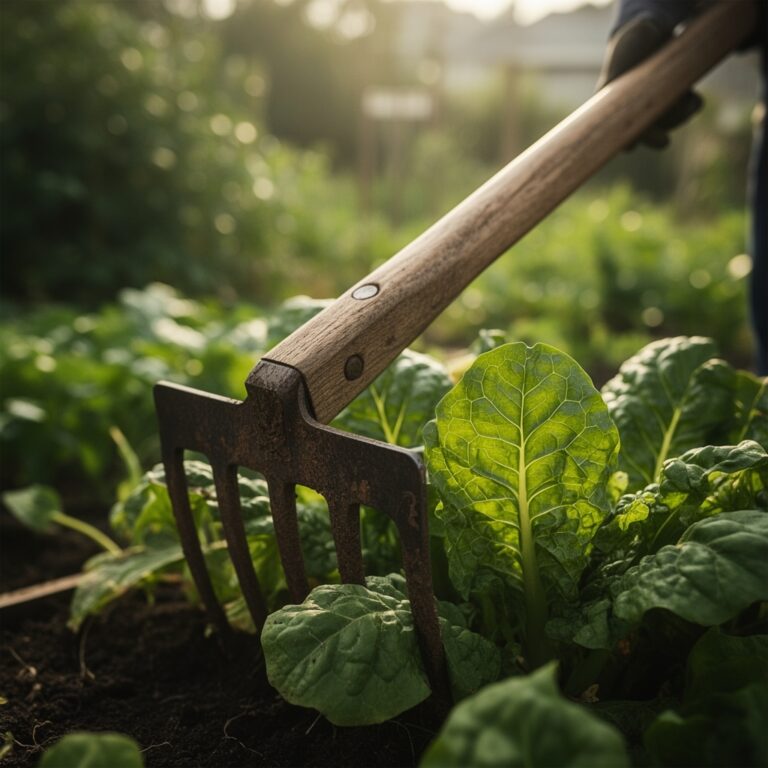
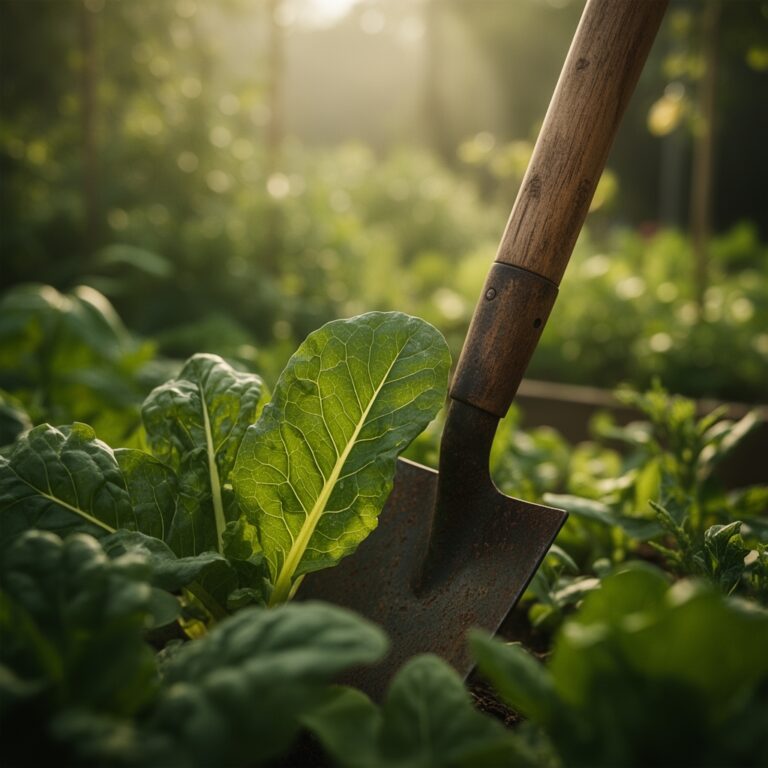
The flat blade of a square shovel bites cleanly through compacted clay, severing roots and slicing sod in straight lines that round-point tools cannot match. Understanding how to use square shovels transforms excavation from brute force into precision earthwork. Professional landscapers and soil scientists choose square-edged spades for trenching, edging, and transplanting because the geometry creates vertical walls and defined planting pockets that promote healthy root architecture.
Materials
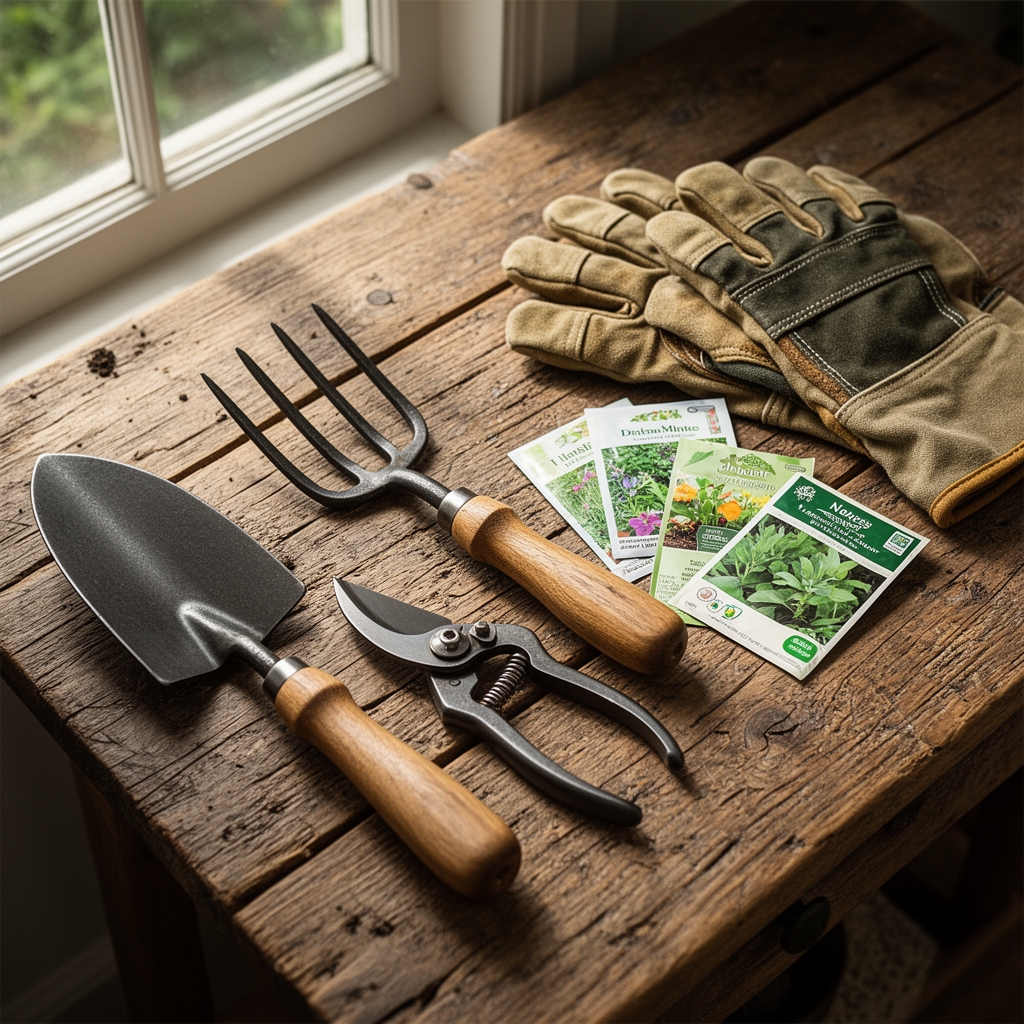
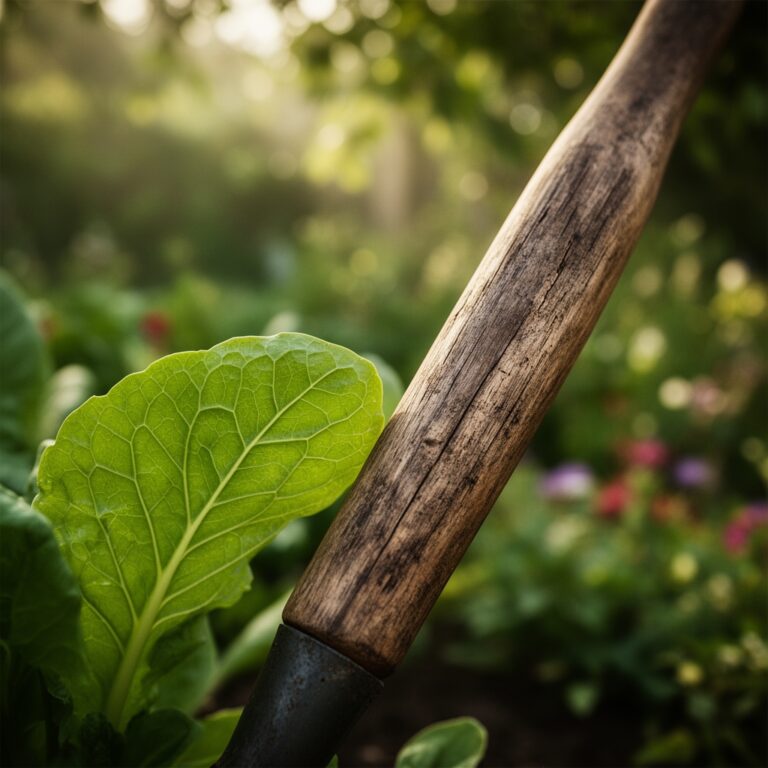
Select a square shovel with a forged steel blade measuring 9 to 12 inches wide. The handle length should reach your lower ribs when standing upright, optimizing leverage without strain. Pair the tool with amendments matched to your soil test results. For acidic soils (pH 5.0-6.0), incorporate dolomitic limestone at 5 pounds per 100 square feet. For alkaline conditions (pH 7.5-8.5), add elemental sulfur at 1 pound per 100 square feet.
Organic matter amendments include composted bark fines (NPK 1-1-1), aged manure (NPK 2-1-2), and kelp meal (NPK 1-0.5-2.5). Synthetic options provide concentrated nutrition: complete fertilizer (NPK 10-10-10) for general use or starter formulas (NPK 5-15-5) that emphasize phosphorus for root development. Always mix amendments into the excavated backfill rather than placing them directly against root tissue.
For heavy clay with poor cation exchange capacity, add coarse sand and perlite at a 1:1:1 ratio with native soil. Sandy substrates benefit from peat moss or coconut coir mixed at 30 percent by volume to improve water retention.
Timing
Execute transplanting and major excavation during dormancy windows in USDA Hardiness Zones 3-9. For deciduous specimens, work between leaf drop and bud break, typically November through March. Evergreens tolerate moving from September through April when soil temperatures remain above 40°F.
In Zone 7, the optimal window spans October 15 to March 15. Zone 5 gardeners should complete work by November 1 or wait until April 1 to avoid frozen ground. Southern regions in Zones 8-10 can transplant year-round but achieve best results from November through February when heat stress is minimal.
Plan trenching and bed edging for periods when soil moisture is moderate. Saturated ground smears and compacts. Dust-dry earth crumbles and loses structural integrity. Aim for soil that holds its shape when squeezed but breaks apart with light pressure.
Phases

Sowing Preparation: Mark straight lines with mason's twine stretched between stakes. Position the square blade perpendicular to the ground, driving it to full depth with your foot on the shoulder step. Rock the handle forward to create a narrow slot for direct-seeding large crops like peas and beans. The clean cut minimizes soil disturbance and preserves mycorrhizal networks in established beds.
Pro-Tip: Inoculate the seed trench with Rhizobium bacteria before sowing legumes. Apply 1 teaspoon of powder per 10 feet of row to colonize root nodules and fix atmospheric nitrogen at rates up to 150 pounds per acre.
Transplanting: Excavate planting holes twice the root ball diameter but no deeper than the original growing depth. Use the square blade to carve vertical walls that prevent circling roots. Score the sides with the blade tip at 45-degree angles to stimulate lateral root growth. Remove the specimen from its container and position it so the root flare sits 1 inch above grade to allow for settling.
Backfill in 4-inch lifts, tamping with the shovel back to eliminate air pockets. Water each lift with 1 gallon per square foot to ensure soil-to-root contact. This technique maintains auxin distribution in the cambium and prevents transplant shock.
Pro-Tip: Mix mycorrhizal inoculant at 1 tablespoon per cubic foot of backfill. The fungi colonize root hairs within 7 days and extend nutrient uptake by 100 times the natural root zone.
Establishing Edges: Drive the square blade vertically along lawn perimeters to create crisp borders between turf and planting beds. Cut to a depth of 6 inches, then lever the handle to pop out a continuous strip of sod. The straight edge prevents grass rhizomes from invading mulched areas and reduces maintenance by 40 percent compared to curved or irregular borders.
Pro-Tip: Angle cuts inward at 80 degrees rather than true vertical. The slight batter prevents soil from slumping back into the bed during irrigation.
Troubleshooting
Symptom: Blade binds in clay or rocks after 3 inches of penetration.
Solution: Drive the blade in 2-inch increments, rocking forward and back to widen the slot. Keep the blade polished with linseed oil to reduce friction. For rocky soils, switch to a fiberglass handle that absorbs impact without splintering.
Symptom: Transplanted specimens wilt within 48 hours despite adequate water.
Solution: Air pockets in backfill prevent root contact. Re-excavate, inspect for voids, and repack soil while flooding with water to eliminate gaps.
Symptom: Handle breaks at the socket during heavy clay work.
Solution: Replace wood handles annually if used in compacted soils. Upgrade to a solid-socket forged design where blade and shaft are continuous steel.
Symptom: Lawn edges become ragged and uneven after one growing season.
Solution: Re-cut edges every 8 weeks during active growth. Grass spreads 3 inches per month via rhizomes in fertile, irrigated conditions.
Maintenance
Sharpen the blade every 10 hours of use with a mill bastard file at a 45-degree angle. A keen edge reduces penetration force by 30 percent. Remove rust with naval jelly and coat with boiled linseed oil after each use.
Irrigate newly transplanted specimens with 1 inch of water per week for the first growing season. Measure with rain gauges placed at soil level. Deep, infrequent watering encourages roots to extend beyond the original planting hole.
Apply mulch in a 3-inch layer, keeping material 6 inches away from woody stems. Organic mulches decompose at 1 inch per year, requiring annual replenishment.
FAQ
How deep should I drive a square shovel for edging?
Cut 6 inches deep to sever grass rhizomes completely. Shallower cuts allow regrowth within 4 weeks.
Can square shovels replace round-point shovels for all tasks?
No. Round-point tools excel at digging in loose soil and scooping amendments. Square blades perform best for cutting, trenching, and precision work.
What blade width works best for residential use?
A 9-inch blade balances maneuverability with productivity. Wider 12-inch models suit professional landscaping but require greater force.
How do I prevent foot pain when using the step?
Wear boots with steel shanks and full-width treads. Distribute force across the entire step rather than concentrating it at the arch.
Should I sterilize the blade between plants?
Yes, when working with diseased specimens. Wipe blades with 10 percent bleach solution to prevent pathogen transmission.