9 Vital Steps to Repot Indoor Plants
The smell of damp peat and the gritty texture of perlite under your fingernails signal the start of a necessary physiological reset. When a containerized specimen outgrows its environment, its turgor pressure drops and growth stalls as roots begin to circle the interior walls of the pot. Mastering the steps to repot indoor plants requires more than just moving soil; it is a surgical intervention designed to refresh the rhizosphere and restore the plant's ability to uptake vital nutrients.
A successful repotting session begins with recognizing the physical signs of distress. You will observe roots emerging from drainage holes or a noticeable decrease in water retention as the root mass displaces the soil volume. This guide provides the technical framework to execute this transition without triggering transplant shock or root necrosis. By following these precise steps to repot indoor plants, you ensure the specimen maintains its metabolic rate and structural integrity throughout the growing season.
Materials:
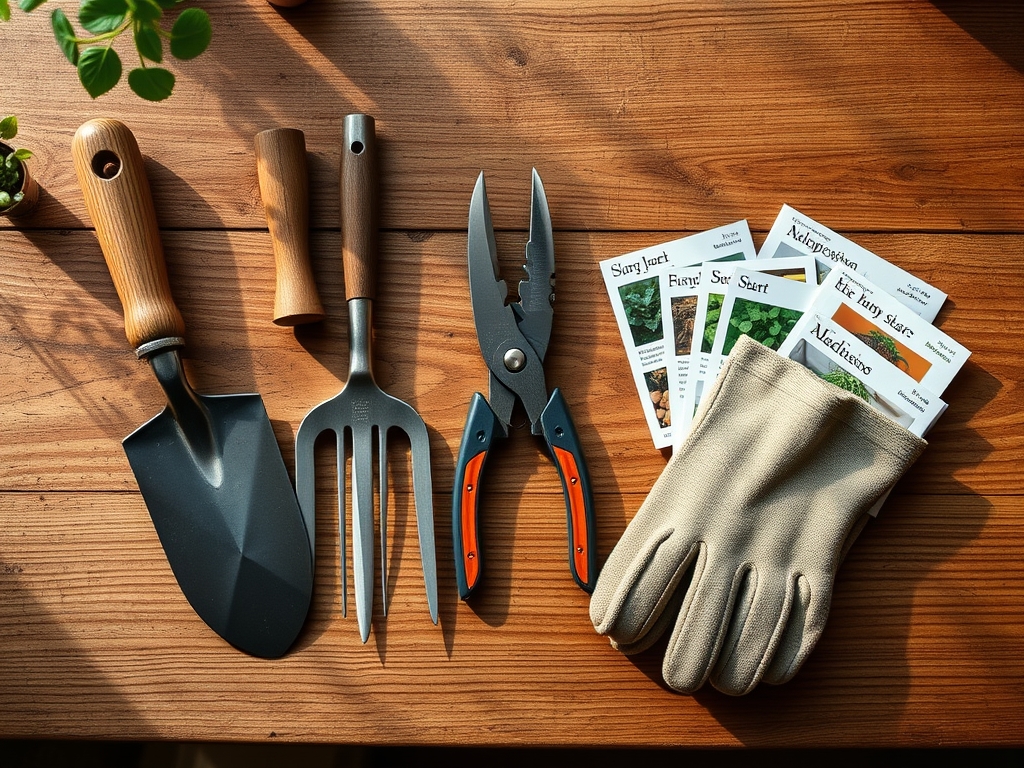
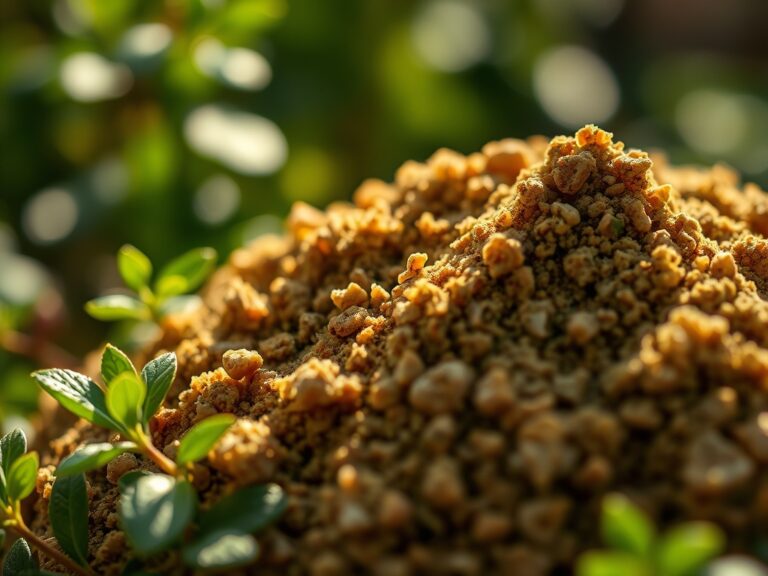
Substrate selection is the most critical variable in container gardening. For most tropical indoor plants, you require a friable loam with a pH between 5.5 and 6.5. This acidity range ensures that micronutrients like iron and manganese remain bioavailable. The Cation Exchange Capacity (CEC) of your mix determines how well it holds onto nutrients; look for components like coconut coir or high quality peat moss to increase this rating.
Your primary amendment should be a balanced, slow release fertilizer with an NPK ratio of 10-10-10 or 20-20-20. Nitrogen (N) drives vegetative leaf growth; Phosphorus (P) supports root development and flower initiation; Potassium (K) regulates cellular processes and water movement. Ensure your mix includes 20 percent perlite or pumice to facilitate macropore space, which allows oxygen to reach the roots and prevents anaerobic conditions.
Timing:
Indoor plants are shielded from the elements, but they still respond to the photoperiod and biological clock of their respective Hardiness Zones. In Zones 7 through 10, the ideal window for repotting is early spring, specifically between late March and early May. This timing aligns with the plant's transition from a semi-dormant winter state to an active vegetative stage.
Performing the transplant during this window allows the plant to utilize its peak auxin production to stimulate new root growth in the fresh substrate. Avoid repotting during the reproductive stage (flowering) unless the plant is in immediate danger of death. Diverting energy toward root establishment while the plant is trying to produce blooms will lead to premature senescence of the flowers and increased stress on the vascular system.
Phases:
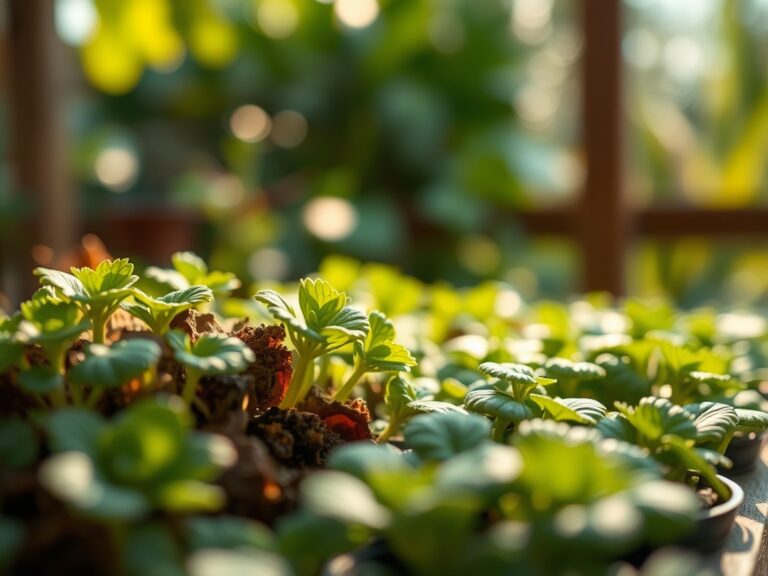
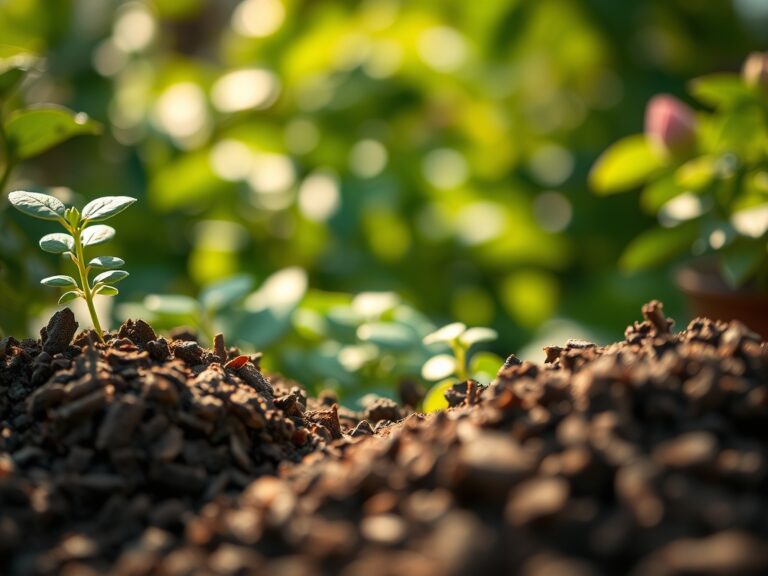
Sowing the Foundation
Prepare the new container by ensuring it is only 2 inches wider in diameter than the previous one. A pot that is too large creates a "perched water table" where the excess soil remains saturated for too long, leading to Pythium root rot. Fill the bottom third of the container with your prepared substrate, tamping it down lightly to remove large air pockets without compacting the soil.
Pro-Tip: Proper compaction management prevents "root air gaps." This is vital because roots require direct contact with soil particles to facilitate mycorrhizal symbiosis, where beneficial fungi extend the reach of the root system to pull in phosphorus.
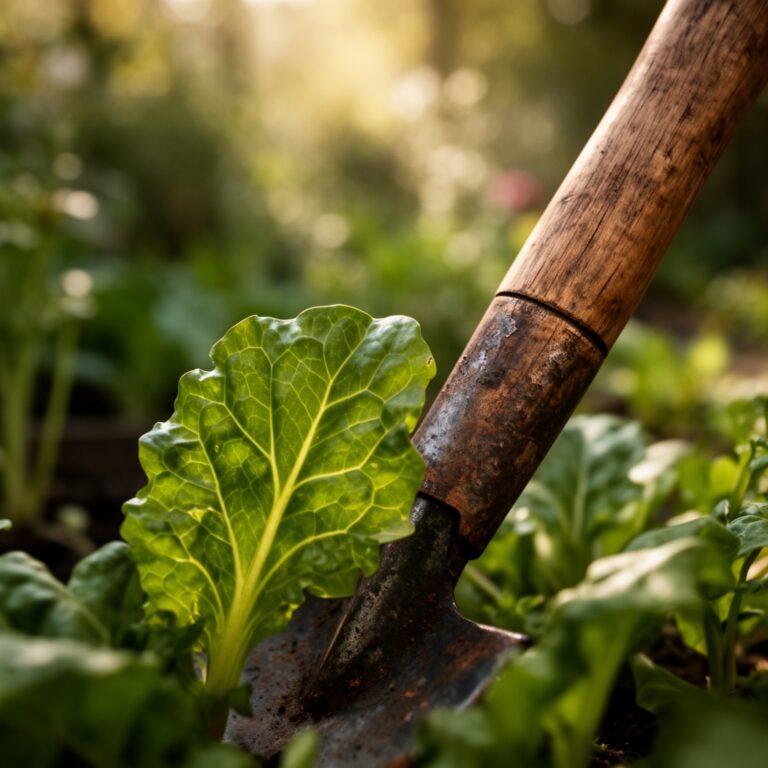
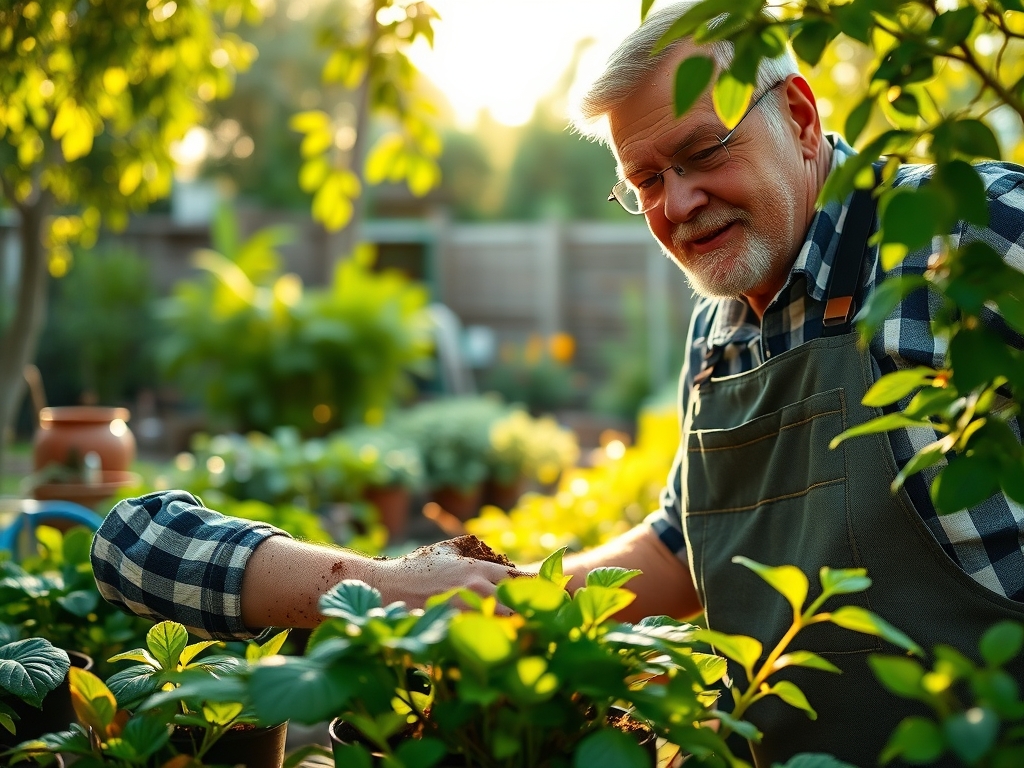
Transplanting and Root Pruning
Grasp the base of the plant and invert the pot, supporting the soil surface with your palm. If the plant is stuck, use a hori-hori knife to slide along the inner perimeter. Once the plant is free, inspect the root ball. Use bypass pruners to prune any roots that are mushy, black, or circling the bottom. This mechanical stimulation encourages the growth of new lateral root hairs.
Pro-Tip: Pruning circling roots breaks apical dominance in the root tips. This suppresses the auxin levels that keep the root growing in a single direction and triggers the production of cytokinins, which stimulate lateral branching and a more robust root architecture.
Establishing the Specimen
Center the plant in the new pot, ensuring the soil line remains at the same level as it was previously. Burying the crown too deep leads to stem rot, while leaving it too high causes desiccation of the upper roots. Fill the remaining space with soil, leaving 1 inch of "headspace" at the top for watering. Settle the soil by tapping the pot on a hard surface rather than pressing down with your hands.
Pro-Tip: Immediate watering after transplanting is essential for "hydraulic connectivity." This process eliminates large air voids and ensures that the water potential of the new soil matches the water potential of the existing root ball, preventing the roots from drying out through osmosis.
The Clinic:
Physiological disorders often manifest immediately following a repotting event. Monitoring these symptoms allows for rapid correction.
Symptom: Lower leaves turning yellow (Chlorosis).
Solution: This typically indicates a Nitrogen deficiency or overwatering. If the soil is soggy, allow it to dry to a depth of 2 inches. If the soil is well drained, apply a liquid fertilizer with a high N value.
Symptom: Leaf tips turning brown and crispy (Necrosis).
Solution: This is often caused by salt buildup from tap water or low humidity. Flush the soil with distilled water until it runs clear from the bottom to leach out excess minerals.
Symptom: Sudden wilting despite moist soil.
Solution: This is a sign of transplant shock or root damage. Move the plant to a lower light area for 7 to 10 days to reduce the transpiration rate while the roots recover.
Fix-It for Magnesium Deficiency: If you see interveinal chlorosis (yellowing between green veins) on older leaves, mix one tablespoon of Epsom salts per gallon of water and apply to the soil. Magnesium is the central atom in the chlorophyll molecule and is essential for photosynthesis.
Maintenance:
Post-repotting care requires precision. Use a soil moisture meter to ensure you are not overcompensating with water. Most indoor plants require the top 25 to 50 percent of the soil to dry out before the next hydration cycle. When you water, provide enough volume so that 10 percent of the water exits through the drainage holes; this prevents the accumulation of toxic salts in the rhizosphere.
Maintain a consistent environment. Avoid placing the newly repotted plant in the path of HVAC vents or drafty windows. If you must prune foliage to balance the reduced root mass, use sharp bypass pruners to make clean cuts at a 45 degree angle just above a leaf node. This directs the plant's energy toward new, healthy growth points.
The Yield:
For those repotting indoor herbs or flowering species like Saintpaulia, the yield is measured in biomass or bloom density. Harvest herbs by removing no more than one-third of the foliage at a time to avoid stalling the plant's metabolism. Use sharp snips to prevent tearing the vascular tissue. To maintain "day-one" freshness for cut flowers, submerge the stems in 40 degree Fahrenheit water immediately after cutting to maintain turgor and slow the rate of senescence.
FAQ:
How do I know when to repot?
Observe the drainage holes for protruding roots. If the plant requires water more than twice a week or shows stunted growth during the spring, the root-to-soil ratio is likely too high, necessitating a larger container.
Can I reuse old potting soil?
Reusing soil is discouraged due to nutrient depletion and potential pathogen accumulation. Old soil loses its structure and Cation Exchange Capacity. Always use fresh, sterilized substrate to ensure a healthy, disease-free environment for new roots.
What is the best pot material?
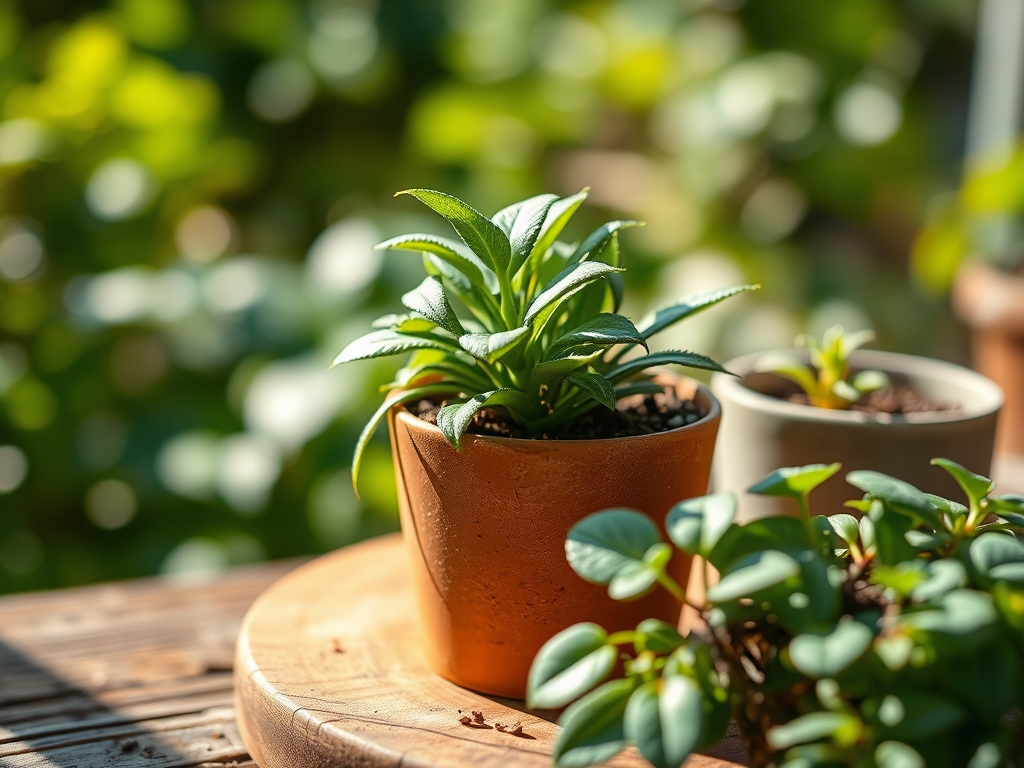
Terra cotta is porous and allows for gas exchange, making it ideal for plants prone to root rot. Plastic or glazed ceramic retains moisture longer, which suits tropical species that require consistent hydration and higher humidity levels.
Should I fertilize immediately after repotting?
Wait four to six weeks before applying liquid fertilizer. Most high quality potting mixes contain "starter" nutrients. Adding more immediately can burn the sensitive new root hairs that are attempting to establish themselves in the new medium.