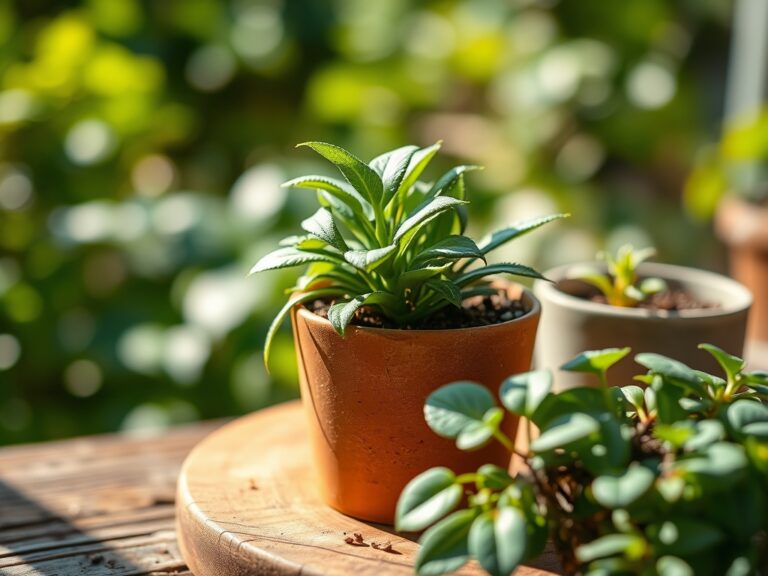
9 Simple Steps to Make Succulent Soil Mix
Crushing a dry leaf between your fingers reveals the stark reality of succulent physiology; without cellular turgor pressure, the plant collapses into a brittle husk. Successful cultivation begins in the rhizosphere, where the balance of oxygen and moisture determines whether a root system thrives or succumbs to anaerobic rot. Learning the precise steps to make succulent soil mix is the primary defense against the physiological stressors of indoor and outdoor environments. Standard potting soils hold excessive water, leading to the rapid decay of the root cortex. To prevent this, you must engineer a substrate that mimics the high-drainage, mineral-heavy environments of arid regions. This guide focuses on the mechanical properties of soil, specifically porosity and gas exchange, to ensure your plants maintain the structural integrity required for long-term health. We will bypass the generic advice and focus on the chemical and physical requirements of the Crassulaceae and Cactaceae families.
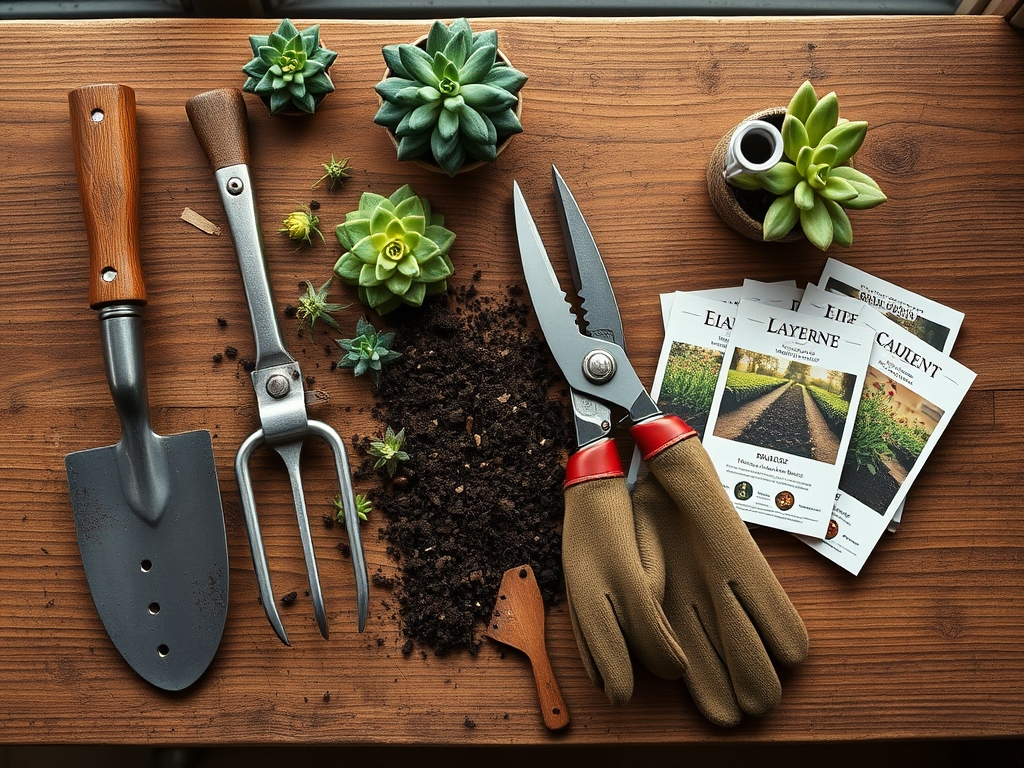
Materials:
The ideal substrate is a friable loam with a high percentage of inorganic macropores. You must target a pH range of 5.5 to 6.5 to optimize nutrient availability. At this acidity level, the Cation Exchange Capacity (CEC) allows for the efficient uptake of potassium and phosphorus while preventing the lockout of micronutrients like iron and magnesium.
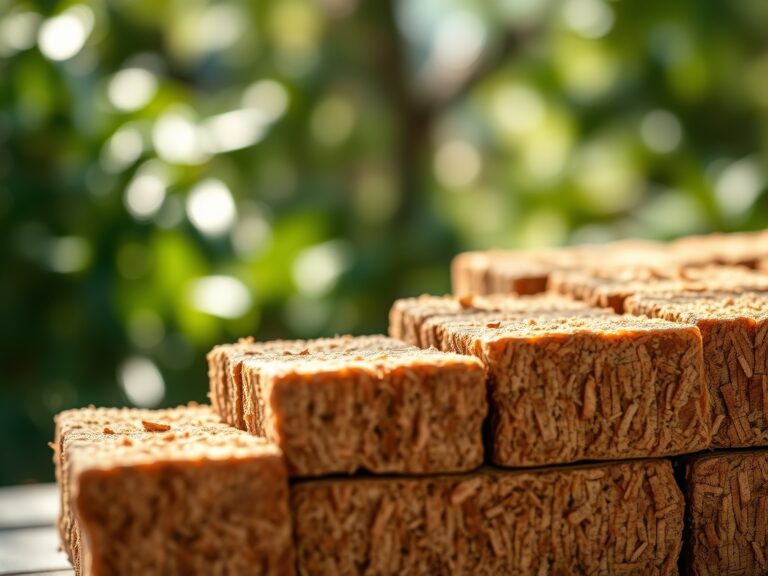
- Inorganic Grit (60%): Use coarse poultry grit, pumice, or calcined clay. These materials must have a particle size of 2mm to 4mm to prevent capillary action from holding too much water.
- Organic Base (40%): Use coconut coir or well-aged pine bark. Avoid peat moss if possible; once peat dries completely, it becomes hydrophobic and resists re-wetting.
- Nutrient Profile: Aim for a low-nitrogen NPK ratio such as 5-10-10. Excessive nitrogen in succulents causes weak, etiolated growth and thin cell walls.
- Trace Elements: Add 0.5% volcanic basalt dust to provide a spectrum of minerals that support enzymatic functions within the plant.
Timing:
Hardiness Zones 9 through 11 allow for year-round outdoor growth, but for those in Zones 3 through 8, the biological clock is dictated by the first and last frost dates. Succulents enter a period of senescence or dormancy when temperatures consistently drop below 50 degrees Fahrenheit. Mixing and repotting should occur during the transition from the dormant stage to the vegetative stage, typically in early spring when the photoperiod exceeds 12 hours of light.
During the vegetative stage, the plant focuses on biomass production and expanding its root architecture. If you repot during the reproductive stage (flowering), the plant may abort its blooms to redirect energy toward root establishment. Monitor the local frost-free date; do not move plants outdoors until nighttime lows stay above 55 degrees Fahrenheit to avoid cold-induced anthocyanin production or cellular freezing.
Phases:
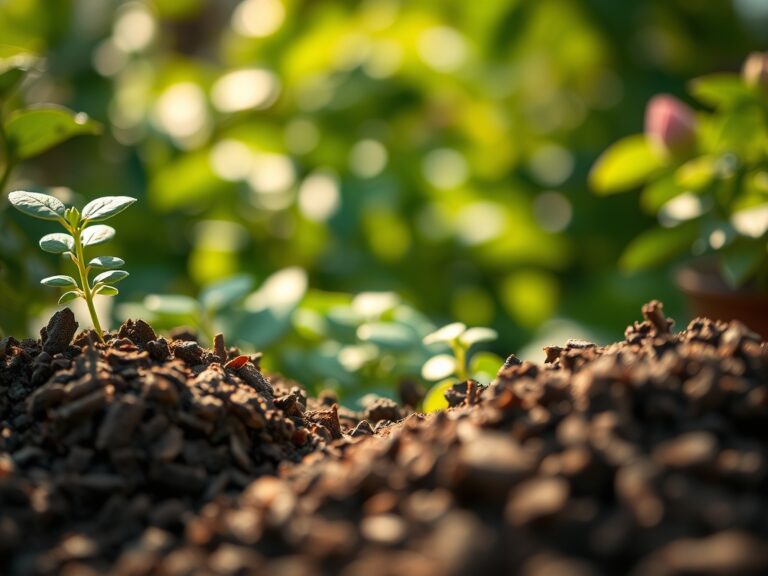
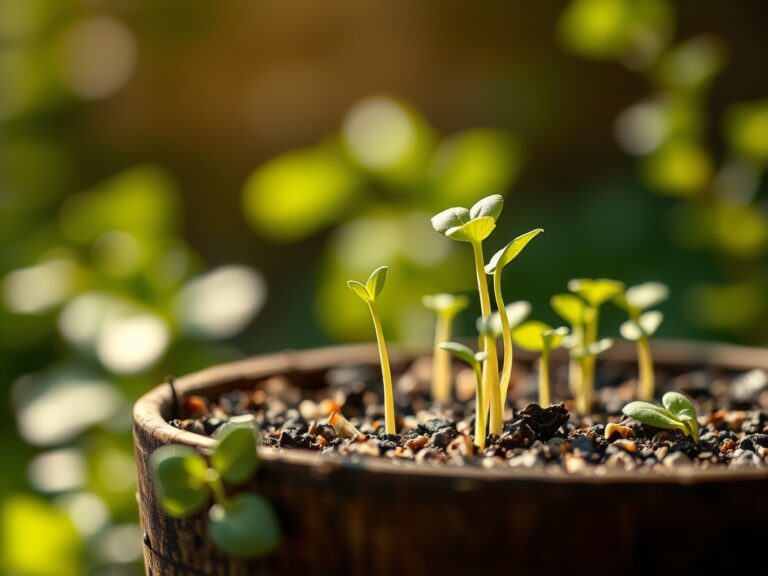
Sowing and Propagation
When starting from seed or leaf cuttings, the substrate must be finer than the adult mix. Use a 1:1 ratio of sifted coconut coir and perlite. Maintain a consistent temperature of 72 to 78 degrees Fahrenheit to trigger germination.
Pro-Tip: Maintain high humidity only during the initial callous phase. This encourages the formation of adventitious roots through auxin suppression at the wound site, signaling the plant to seek a new water source.
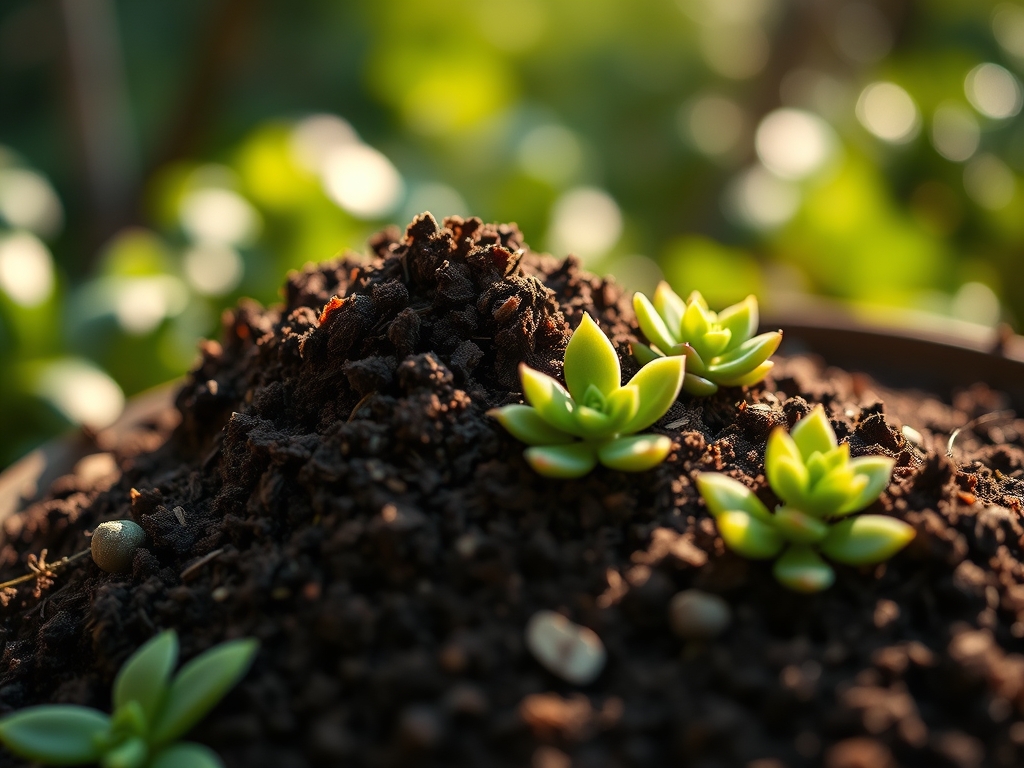
Transplanting
When moving a plant into your custom mix, inspect the root ball for signs of girdling. Use a hori-hori knife to gently tease the roots outward. Ensure the crown of the plant sits exactly at the soil line; burying the stem leads to fungal pathogens attacking the vascular tissue.
Pro-Tip: Do not water for five to seven days after transplanting. This allows micro-tears in the root system to callous over, preventing soil-borne pathogens from entering the plant's circulatory system via osmotic shock.
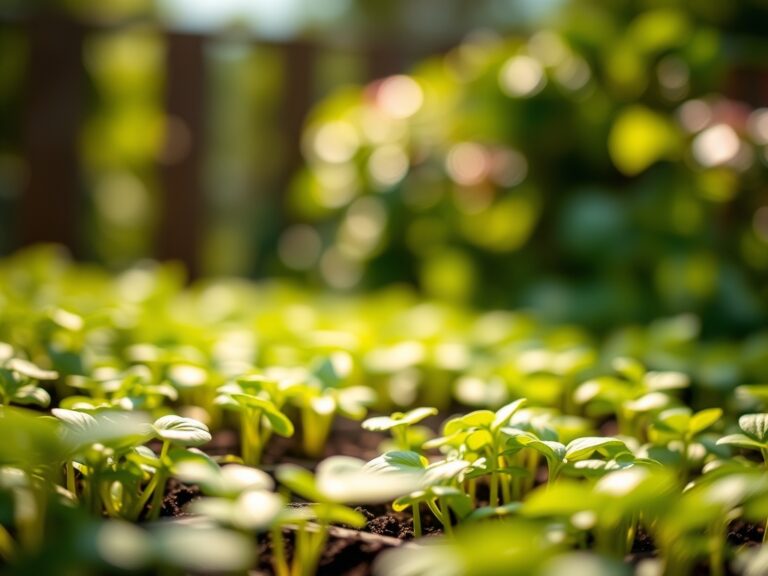
Establishing
An established succulent will show new growth at the apical meristem. During this phase, the plant develops a symbiotic relationship with beneficial fungi.
Pro-Tip: Incorporate mycorrhizal inoculants into the mix. This mycorrhizal symbiosis expands the surface area of the root system, allowing the plant to absorb phosphorus more efficiently even in low-moisture conditions.
The Clinic:
Symptom: Edema (Small bumps or blisters on leaves)
- Cause: The plant absorbed water faster than it could use it, causing cells to rupture.
- Solution: Increase airflow and decrease watering frequency. Ensure the inorganic component of your soil mix is at least 60%.
Symptom: Nitrogen Chlorosis (Yellowing of older leaves)
- Cause: Nitrogen deficiency or high pH locking out nutrients.
- Fix-It: Apply a balanced, water-soluble fertilizer at half-strength. Check soil pH; if it is above 7.0, flush with acidified water (pH 5.5).
Symptom: Etiolation (Stretched, pale stems)
- Cause: Insufficient light intensity.
- Solution: Gradually move the plant to a location with at least 6 hours of direct solar radiation. Prune the stretched growth using bypass pruners to encourage compact branching.
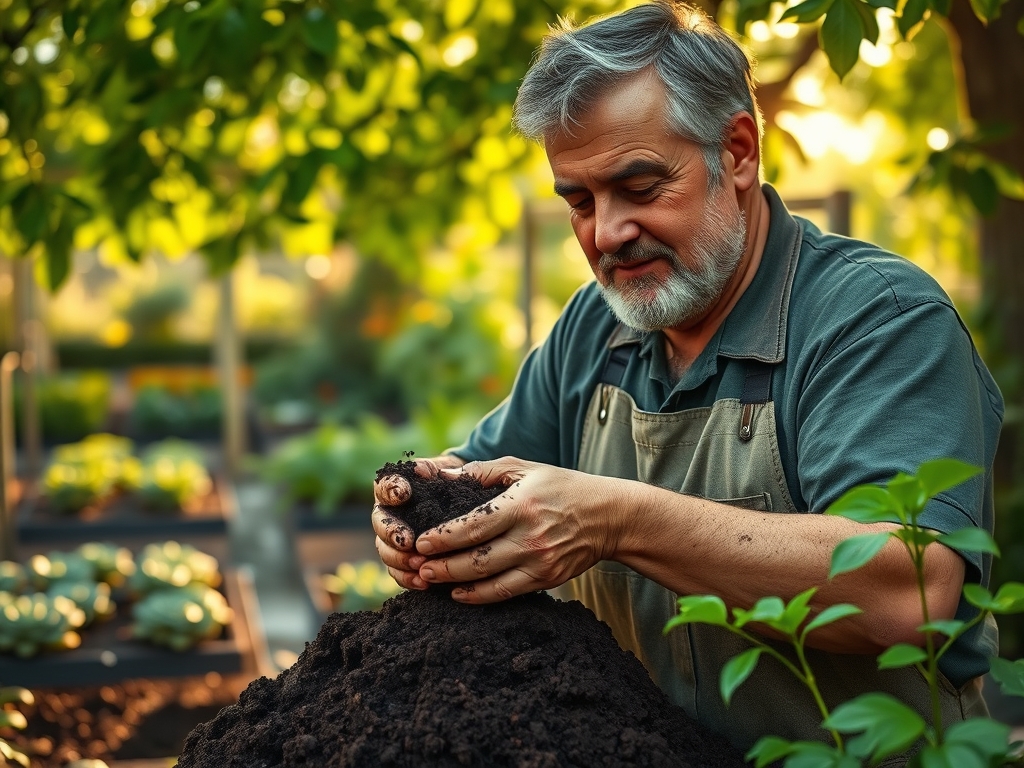
Maintenance:
Precision is the hallmark of a master horticulturist. Use a soil moisture meter to verify that the substrate is dry to a depth of 3 inches before adding water. When watering, apply enough volume so that it drains freely from the bottom of the container; this flushes out accumulated mineral salts that can increase soil salinity and hinder cation exchange.
For outdoor succulents in the ground, provide 1.5 inches of water per week at the drip line during the peak summer heat. Use a hori-hori knife to remove weeds that compete for nutrients in the top layers of the soil. If you detect mealybugs or aphids, use a high-pressure water stream to mechanically dislodge them, then apply a botanical horticultural oil to the leaf axils where they congregate.
The Yield:
If you are growing succulents for harvest, such as Aloe Vera or edible Opuntia, timing is critical for nutrient density. Harvest leaves from the bottom of the plant using a sterilized blade. For Aloe, the concentration of aloin is highest in mature leaves.
Post-harvest, keep the cut ends upright in a cool, shaded area for 24 hours to allow the wound to seal. This preserves "day-one" freshness and prevents the internal gel from oxidizing. For ornamental succulents, the "yield" is the seed head; wait for the pod to turn brown and desiccate before collecting to ensure embryo maturity.
FAQ:
Can I use garden soil for succulents?
No. Garden soil contains high clay fractions that collapse and compact in containers. This eliminates the macropores necessary for oxygen to reach the roots, leading to rapid root senescence and fungal infection within the rhizosphere.
How often should I fertilize my succulent mix?
Apply a low-nitrogen, liquid fertilizer once every four to six weeks during the active growing season. Stop all fertilization during the winter dormant period to prevent the accumulation of toxic salt levels in the substrate.
Why is my soil staying wet for over a week?
The mix likely lacks sufficient inorganic grit or the container lacks drainage holes. Increase the ratio of pumice or perlite to at least 60% and ensure the pot is sized appropriately for the root mass.
What is the best pH for succulent soil?
Target a pH of 5.5 to 6.5. This slightly acidic environment ensures that essential micronutrients remain chemically available for root uptake and prevents the crystallization of minerals that can damage delicate root hairs.