9 Simple Steps to Install a Drip Line
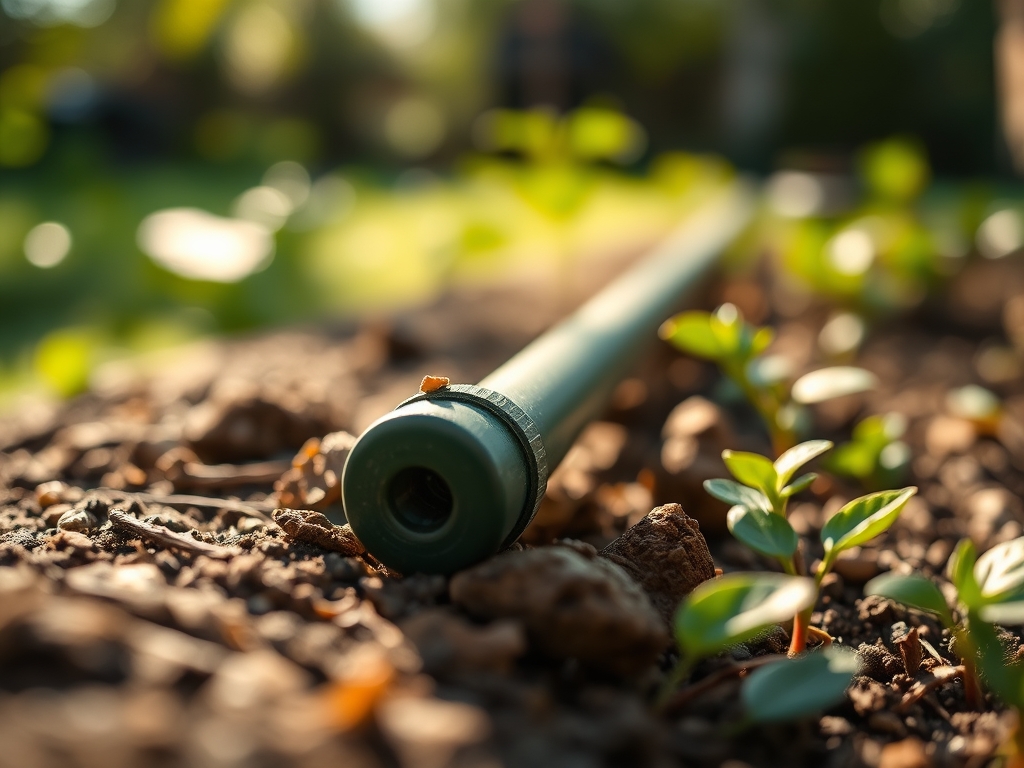
The scent of damp, mineral rich earth signifies a healthy rhizosphere where moisture meets oxygen in perfect balance. When a leaf maintains high turgor pressure, its cellular walls remain rigid and efficient for photosynthesis. Achieving this balance requires precision. If you follow the technical steps to install a drip line, you eliminate the erratic moisture cycles that stress plant tissue. Surface evaporation decreases while deep root penetration increases. This guide provides the mechanical and biological framework to automate your irrigation with scientific accuracy.
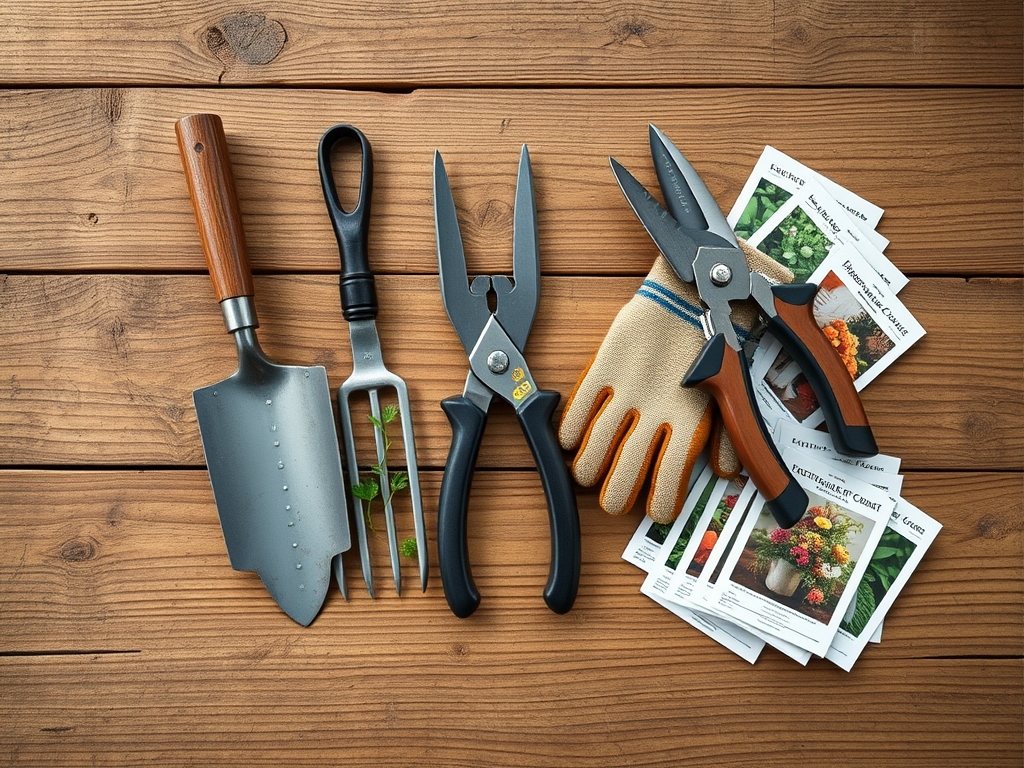
Materials:
Successful irrigation depends on the substrate it saturates. For a friable loam with high porosity, you require a system that delivers water at a rate the soil can absorb without runoff. Before installation, test your soil pH. Most ornamental and vegetable crops thrive at a pH of 6.2 to 6.8.
If your soil lacks nutrients, integrate a slow release fertilizer with an NPK ratio of 10-10-10 for general growth or 5-10-10 for root development. High Cation Exchange Capacity (CEC) soils, such as those rich in organic matter or clay, retain nutrients longer but require slower drip emitters (0.5 gallons per hour) to prevent anaerobic conditions. Sandy soils with low CEC require faster emitters (1.0 to 2.0 gallons per hour) because water percolates vertically with minimal lateral spread.
Essential hardware includes:
- Backflow preventer to protect potable water.
- Pressure regulator (set to 25 PSI).
- 200-mesh filter to prevent emitter occlusion.
- 1/2-inch poly tubing for main lines.
- 1/4-inch microtubing for specific plant delivery.
Timing:
Installation should occur during the dormant season or early spring before the transition from vegetative to reproductive stages. In Hardiness Zones 5 through 7, ensure the system is operational at least two weeks before the average last frost date. This allows the soil profile to reach field capacity before the "Biological Clock" triggers rapid spring growth.
During the vegetative stage, plants prioritize leaf and stem development via nitrogen uptake. If the drip system is not active during this window, the plant may suffer from stunted internodes. As the photoperiod shifts and the plant enters the reproductive phase, consistent moisture becomes critical for fruit set and flower development. Avoid installing during peak summer heat to prevent transplant shock if you are moving plants to accommodate the new lines.
Phases:

Sowing and Layout
Map your garden based on water requirements (hydrozoning). Lay the 1/2-inch main line across the highest elevation of the garden to utilize gravity and maintain even pressure. Secure the tubing with galvanized landscape staples every 3 feet.
Pro-Tip: Position emitters near the seed line but not directly on top of small seeds. This encourages hydrotropism, where roots grow toward the moisture source, establishing a wider and more resilient root architecture.
Transplanting and Emitter Placement
When moving nursery stock into the ground, place emitters at the edge of the existing root ball. For a 1 gallon container plant, use one 1.0 GPH emitter. For larger shrubs, use two emitters on opposite sides to ensure uniform root expansion.
Pro-Tip: Ensure the emitters are placed under the mulch layer but above the soil. This prevents mycorrhizal symbiosis from being disrupted by surface drying while protecting the plastic from UV degradation and thermal expansion.
Establishing the System
Flush the lines before sealing the end caps. Run the water for 5 minutes to clear plastic burrs or soil particles that entered during assembly. Once clear, seal the ends and check every junction for leaks.
Pro-Tip: Consistent moisture at the root zone suppresses auxin degradation in the lower nodes. By maintaining steady turgor, the plant can focus energy on upward growth rather than synthesizing stress hormones.
The Clinic:
Physiological disorders often mimic disease but result from improper irrigation or nutrient mobility.
- Symptom: Blossom End Rot (common in tomatoes/peppers).
Solution: This is a calcium deficiency caused by erratic watering. Maintain even moisture to ensure calcium ions move through the xylem. - Symptom: Leaf Scorch (browning of leaf margins).
Solution: Increase the duration of the drip cycle. Salts may be accumulating in the rhizosphere; a deep flush is required. - Symptom: Nitrogen Chlorosis (yellowing of older leaves).
Fix-It: Apply a water soluble fertilizer with a high N ratio (20-10-10) through a fertigation injector attached to your drip line. - Symptom: Iron Chlorosis (yellowing between leaf veins in new growth).
Fix-It: Lower soil pH if it exceeds 7.0. Use chelated iron supplements to increase bioavailability in alkaline conditions.
Maintenance:
A high performance garden requires 1.5 inches of water per week delivered at the drip line. Use a soil moisture meter to verify that water is penetrating 8 to 12 inches deep. Surface moisture is deceptive; the root zone is where the data matters.
Use a hori-hori knife to weed around emitters, ensuring no invasive roots penetrate the delivery holes. In autumn, use bypass pruners to clear away dead vegetation that might tangle with the lines. Before the first hard freeze, compress the system with air or drain it completely to prevent ice expansion from cracking the poly tubing. Inspect filters monthly; a clogged filter reduces pressure and leads to uneven distribution across the circuit.
The Yield:
Harvesting at peak physiological maturity ensures the highest nutrient density. For leafy greens, harvest in the early morning when turgor pressure is at its maximum. This prevents wilting and maintains "day-one" freshness. For fruiting crops, wait until the abscission zone (where the fruit meets the stem) begins to weaken.
Post-harvest, immediately move produce to a shaded, cool environment. The metabolic rate of the plant continues after picking; reducing the temperature slows down senescence and preserves sugars. If the drip system has functioned correctly, the fruit should be heavy for its size, indicating full cellular hydration.
FAQ:
How long should I run my drip system?
Run the system for 30 to 60 minutes depending on emitter flow rate and soil type. Aim to saturate the soil to a depth of 10 inches. Heavy clay requires longer, slower applications than sandy soil.
Can I mix different emitter sizes on one line?
Yes. Use higher GPH emitters for large shrubs and lower GPH emitters for small perennials. This ensures each plant receives a volume of water proportionate to its biomass and transpiration rate.
Why are my emitters clogging?
Clogging is usually caused by mineral scale or organic biofilm. Install a 200-mesh filter at the head of the system. If you have hard water, an occasional flush with a mild acidic solution may be necessary.
Do I need a pressure regulator for a drip line?
Yes. Standard home water pressure is 40 to 80 PSI, which will blow fittings off a drip system. A regulator brings the pressure down to a safe 20 or 25 PSI.