9 Essential Steps to Setup a Hydroponic Indoor System
The first steps to setup a hydroponic indoor system begin with understanding that roots suspended in oxygenated nutrient solution grow 30% faster than their soil counterparts. Water droplets bead on net pots. Pump motors hum at 15-watt intervals. This method eliminates soil-borne pathogens and grants precise control over nutrient delivery, pH buffering, and dissolved oxygen levels. Indoor hydroponic cultivation transforms spare rooms into year-round production facilities where lettuce, basil, tomatoes, and peppers thrive under programmable LED spectrums.
Materials
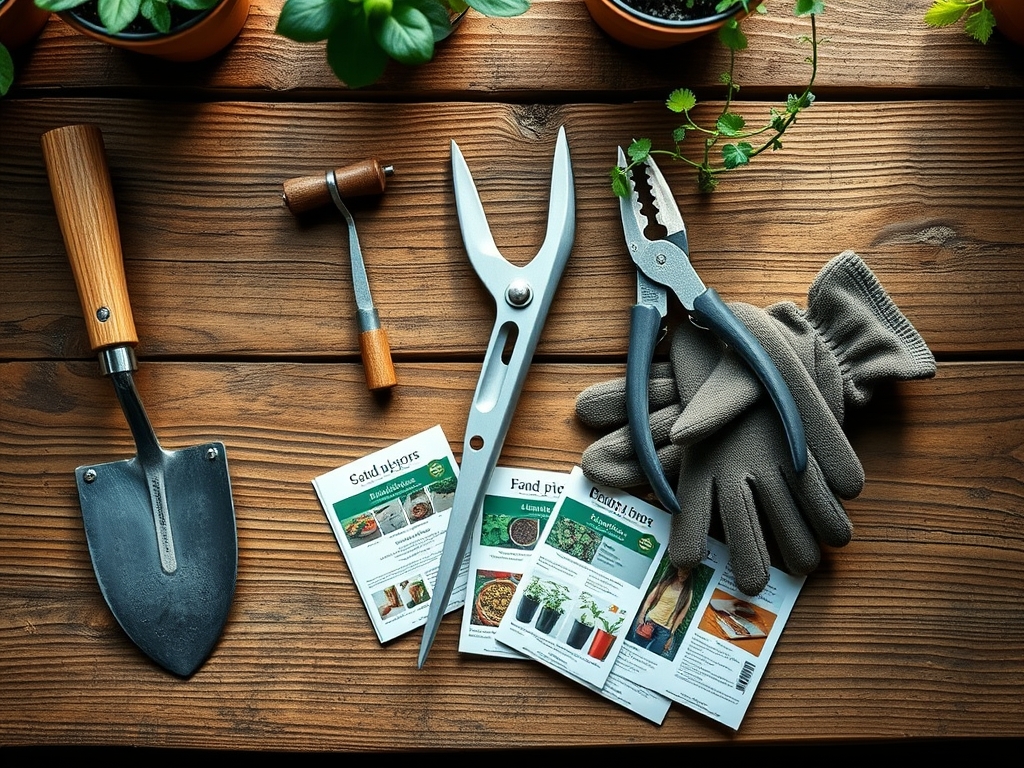
Acquire a reservoir tank with 10-20 gallon capacity, constructed from food-grade polyethylene to prevent leaching. The system requires an air pump delivering 4 watts per gallon, air stones with 0.5-micron pore size, and flexible tubing rated for continuous submersion. Net pots measuring 3 inches in diameter hold transplants, while expanded clay aggregate or rockwool cubes provide mechanical root support with minimal cation exchange capacity interference.
Nutrient solutions must deliver N-P-K ratios tailored to growth stage. Vegetative phases demand 3-1-2 formulations with elevated nitrogen for foliar expansion. Fruiting and flowering stages require 1-3-2 ratios to redirect auxin distribution toward reproductive structures. Hydroponic-specific fertilizers dissolve completely, leaving no sediment. CalMag supplements prevent blossom end rot in tomatoes and peppers by maintaining calcium concentrations at 150-200 ppm.
pH control demands both testing and adjustment tools. Digital pH meters with automatic temperature compensation provide readings accurate to 0.01 units. Maintain solution pH between 5.5 and 6.5 for optimal nutrient availability. Phosphoric acid lowers pH, while potassium hydroxide raises it. Buffer capacity weakens over time, requiring full reservoir changes every 14 days.
Lighting systems must provide photosynthetically active radiation between 400-700 nanometers. Full-spectrum LED panels drawing 30-40 watts per square foot replace sunlight. Position fixtures 18-24 inches above canopy and maintain 16-hour photoperiods for vegetative growth, reducing to 12 hours to trigger flowering in photoperiod-sensitive species.
Timing
Indoor hydroponic systems operate independently of hardiness zones and frost dates. Initiate seed germination any month when indoor temperatures stabilize between 68-72°F. Subtropical crops like basil require ambient temperatures above 65°F to prevent cold stress. Temperate crops such as lettuce tolerate cooler conditions down to 60°F but bolt rapidly when temperatures exceed 75°F.
Seasonal considerations affect ambient humidity and heating costs. Winter months demand supplemental humidification to maintain 50-60% relative humidity. Summer operations require exhaust fans exchanging room air every 3-5 minutes to prevent heat accumulation above 80°F.
Phases
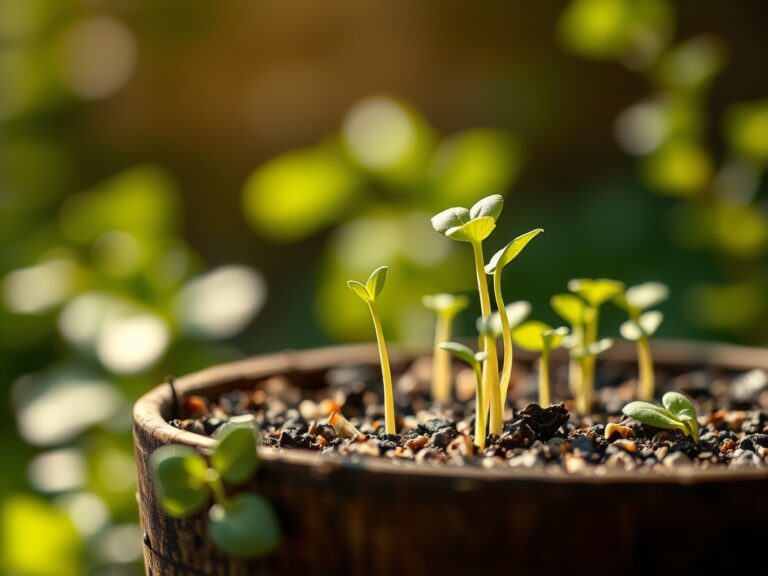
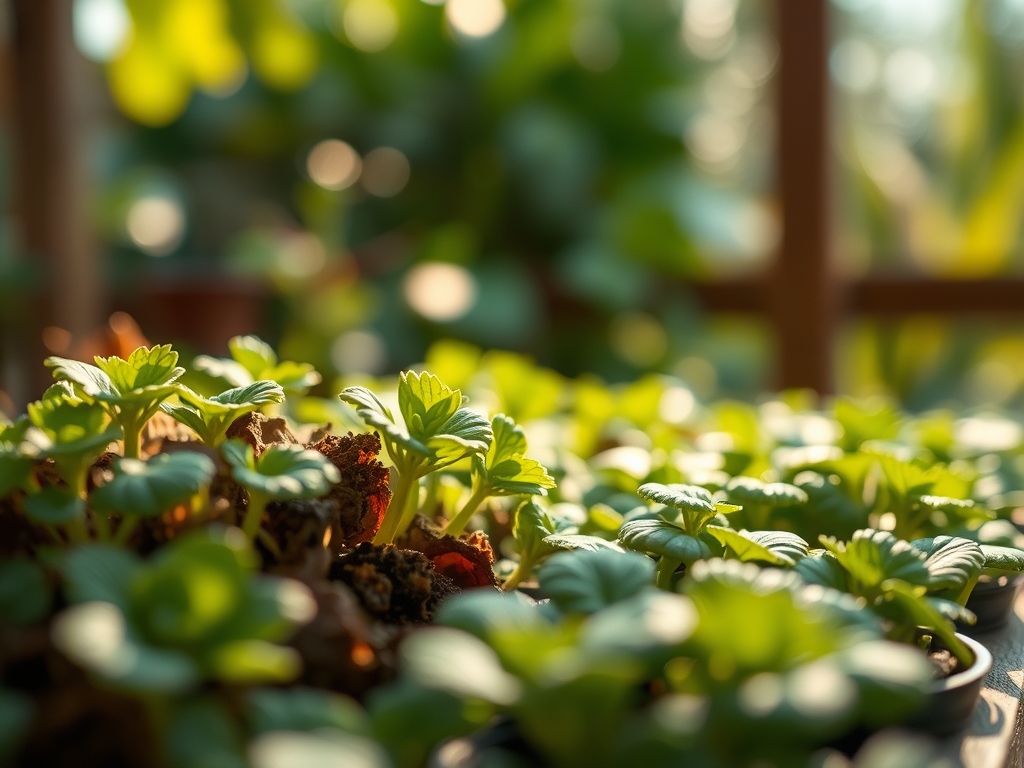
Sowing: Place seeds in rockwool cubes pre-soaked to pH 5.5. Maintain cube moisture without waterlogging. Germination chambers need 75-80°F temperatures and darkness until radicles emerge, typically 3-7 days depending on species. Once cotyledons expand, introduce 100-200 PPFD of light at 18-hour intervals.
Pro-Tip: Inoculate rockwool with Trichoderma harzianum spores at 1×10^6 CFU per cube. This fungal colonization prevents damping-off and enhances root surface area by 40%.
Transplanting: Transfer seedlings to net pots when true leaves reach 2-inch diameter and root mats emerge from cube bottoms. Position rockwool cube level with net pot rim. Surround with expanded clay aggregate, leaving crown exposed to prevent stem rot. Lower net pots into system holes, ensuring roots contact nutrient solution or aeroponic mist.
Pro-Tip: Trim root tips at 45-degree angles before transplant to stimulate lateral branching and increase absorptive surface density.
Establishing: Monitor electrical conductivity daily, targeting 1.2-1.8 mS/cm for leafy greens and 2.0-2.5 mS/cm for fruiting crops. Dissolved oxygen must exceed 6 ppm. Water temperature between 65-70°F prevents root pathogens while maintaining adequate oxygen solubility. Roots colonize net pots within 10-14 days, forming dense white mats.
Pro-Tip: Apply silica supplements at 50-100 ppm during establishment. Silicon strengthens cell walls, improving structural integrity and pest resistance.
Troubleshooting
Symptom: Interveinal chlorosis on young leaves. Solution: Iron deficiency caused by pH above 6.5. Lower solution pH to 5.8 and add chelated iron (Fe-DTPA) at 3 ppm concentration.
Symptom: Brown root tips with slimy texture. Solution: Root rot from Pythium species proliferating in low-oxygen, warm water. Increase aeration, cool reservoir to 68°F, and apply hydrogen peroxide at 3 ml per gallon as oxidizer.
Symptom: Leaf tips burning despite adequate watering. Solution: Nutrient salt accumulation from excessive electrical conductivity. Dilute reservoir to 1.0 mS/cm and monitor weekly buildup.
Symptom: Purple undersides on leaves with stunted growth. Solution: Phosphorus deficiency exacerbated by cold root zone. Raise water temperature to 68°F and verify P concentration at 50-60 ppm.
Symptom: White powdery deposits on leaves. Solution: Powdery mildew from stagnant air. Increase air circulation to 20 CFM per square foot and reduce humidity below 55%.
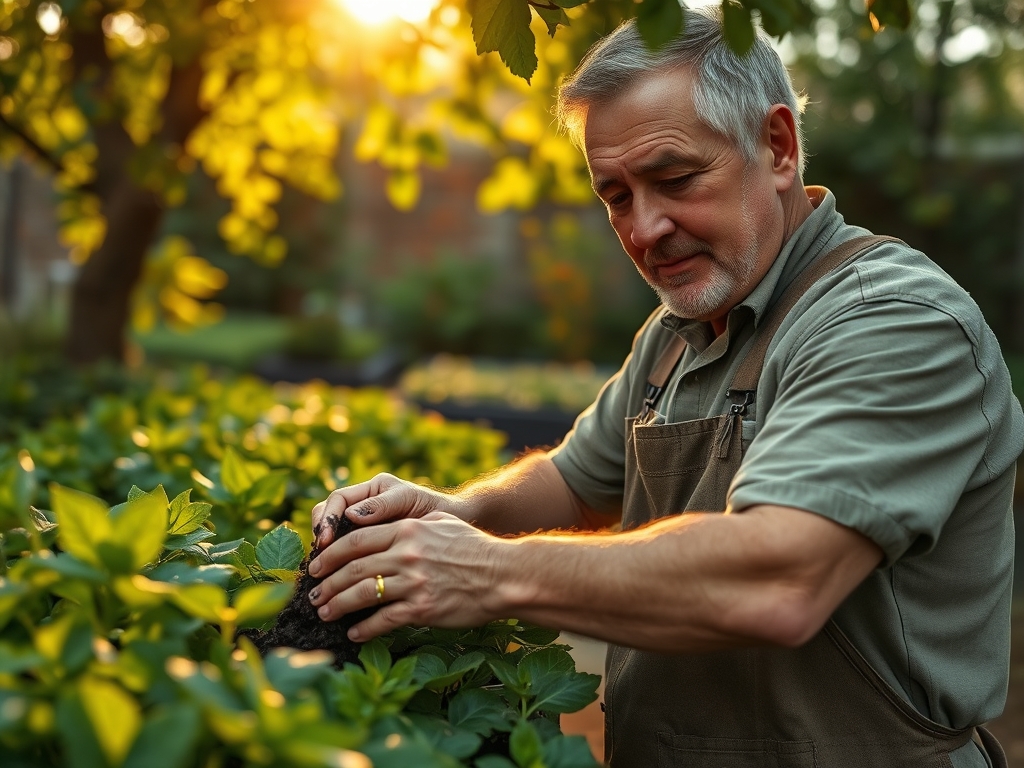
Maintenance
Refill reservoir every 3-4 days as plants consume water faster than nutrients, increasing solution concentration. Test and adjust pH every 48 hours. Replace entire nutrient solution bi-weekly to prevent toxic ion accumulation and salt precipitation.
Clean system components monthly with 10% bleach solution, followed by triple rinsing. Algae growth blocks tubing and competes for nutrients. Maintain reservoir opacity by wrapping tanks in black polyethylene sheeting.
Prune lower leaves when canopy density exceeds 80% to maintain airflow and reduce fungal pressure. Remove leaves at 45-degree cuts, 0.25 inches above nodes to minimize pathogen entry points.
FAQ
How often should I check nutrient levels? Measure electrical conductivity daily and adjust when readings drift 0.2 mS/cm from target. Comprehensive nutrient testing every 2 weeks identifies specific elemental deficiencies.
Can I use tap water? Test baseline tap water for chlorine, chloramine, and dissolved solids. Municipal water with TDS below 150 ppm works adequately. Chlorine dissipates within 24 hours via aeration. Chloramine requires filtration.
What causes nutrient film technique system failures? Pump malfunctions interrupt solution flow, desiccating exposed roots within 2 hours. Install backup pumps or gravity-fed reservoirs as failsafes.
Do hydroponic plants need mycorrhizal fungi? Arbuscular mycorrhizae provide minimal benefit in hydroponic systems. Direct nutrient availability eliminates symbiotic necessity, unlike soil environments with limited phosphorus mobility.
How do I transition plants outdoors? Gradually reduce LED intensity 20% weekly over 3 weeks. Expose plants to outdoor conditions in 1-hour increments, extending daily by 30 minutes until hardened.