8 Beautiful Ways How to Landscape Around a Patio
The scent of geosmin rises from the earth as a sharp spade cuts through the root zone; this is the smell of a healthy rhizosphere beginning its transformation. Success in determining how to landscape around a patio depends entirely on managing the transition from hardscape to living biology. A patio is a thermal mass that radiates heat long after sunset. This microclimate demands plants with high turgor pressure and root systems capable of navigating compacted subsoils. To master how to landscape around a patio, one must view the perimeter not as a decoration but as a functional ecological buffer. Proper execution requires balancing soil chemistry with the physical demands of high-traffic zones. We begin with the foundation of all botanical success: the substrate.
Materials:
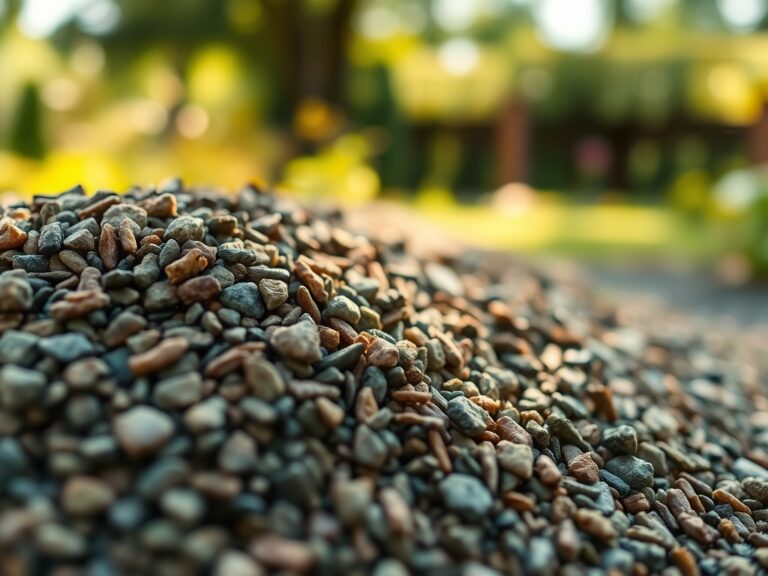
The substrate surrounding a concrete or stone patio often suffers from high alkalinity due to lime leaching from the masonry. You must aim for a friable loam with a Soil Cation Exchange Capacity (CEC) of at least 15 to 25 milliequivalents per 100 grams. This ensures the soil can hold onto essential nutrients rather than letting them leach into the aggregate base of the patio.
For most ornamental perennials and shrubs, maintain a soil pH between 6.0 and 7.0. If you are planting acid-loving species like Pieris japonica, you must amend with elemental sulfur to counteract the patio's alkaline runoff.
Specific NPK ratios are critical during the installation phase. Use a 5-10-5 starter fertilizer to prioritize root development over leaf production. Phosphorus (the middle number) is essential for ATP production and cellular energy transfer during the transplanting phase. Avoid high-nitrogen blends (like 20-10-10) immediately after planting; excessive nitrogen can lead to succulent growth that is highly susceptible to desiccation and pest pressure. Ensure the organic matter content is at least 5 percent to support the microbial life necessary for nutrient cycling.
Timing:
Timing is dictated by the USDA Hardiness Zone and the specific photoperiod requirements of your selected species. In Zones 5 through 7, the primary planting window opens when soil temperatures consistently reach 55 degrees Fahrenheit. This usually occurs 2 to 3 weeks after the last spring frost.
The biological clock of a plant moves from the vegetative stage (foliar growth) to the reproductive stage (flowering). When you landscape around a patio, you must time your installation to allow for a 6 to 8 week establishment period before the onset of summer heat or winter dormancy. Planting during the "shoulder seasons" of spring or autumn reduces transpiration stress. During these windows, the lower sun angle reduces the Vapor Pressure Deficit (VPD), allowing the plant to maintain turgor while the root system colonizes the new soil volume.
Phases:

Sowing and Soil Preparation
Begin by excavating a trench at least 12 inches deep and twice as wide as the intended root ball. This breaks up the "glazing" of the soil walls caused by construction equipment. Incorporate well-rotted compost to improve the soil structure.
Pro-Tip: Focus on Mycorrhizal Symbiosis. Inoculating the soil with arbuscular mycorrhizal fungi increases the surface area of the root system by up to 1,000 times. This biological partnership allows the plant to access phosphorus and water that would otherwise be chemically or physically unavailable in compacted patio borders.
Transplanting
When moving a plant from a nursery container to the patio edge, ensure the root flare is visible and sits exactly at the soil line. Planting too deep leads to stem suffocation and fungal pathogens. Gently tease out circling roots to prevent future girdling.
Pro-Tip: Understand Auxin Suppression. When you prune the tips of the roots during transplanting, you disrupt the flow of auxins (growth hormones) from the apex to the roots. This temporary disruption actually triggers the plant to produce lateral roots, resulting in a more robust and stable root architecture around the patio foundation.
Establishing
The first 21 days are the most critical. Apply a 3-inch layer of organic mulch, keeping it 2 inches away from the base of the stems. This regulates soil temperature and prevents the "heat island effect" from the patio stones from desiccating the delicate feeder roots.
Pro-Tip: Manage Phototropism. Plants will naturally lean toward the light. When landscaping around a patio that reflects significant sunlight, monitor the plants for uneven growth. Rotating container plants or strategic pruning of nearby overhanging branches ensures the plant maintains a balanced structural integrity and does not become "leggy."
The Clinic:
Physiological disorders often mimic disease but are usually the result of environmental stress or nutrient imbalances.
-
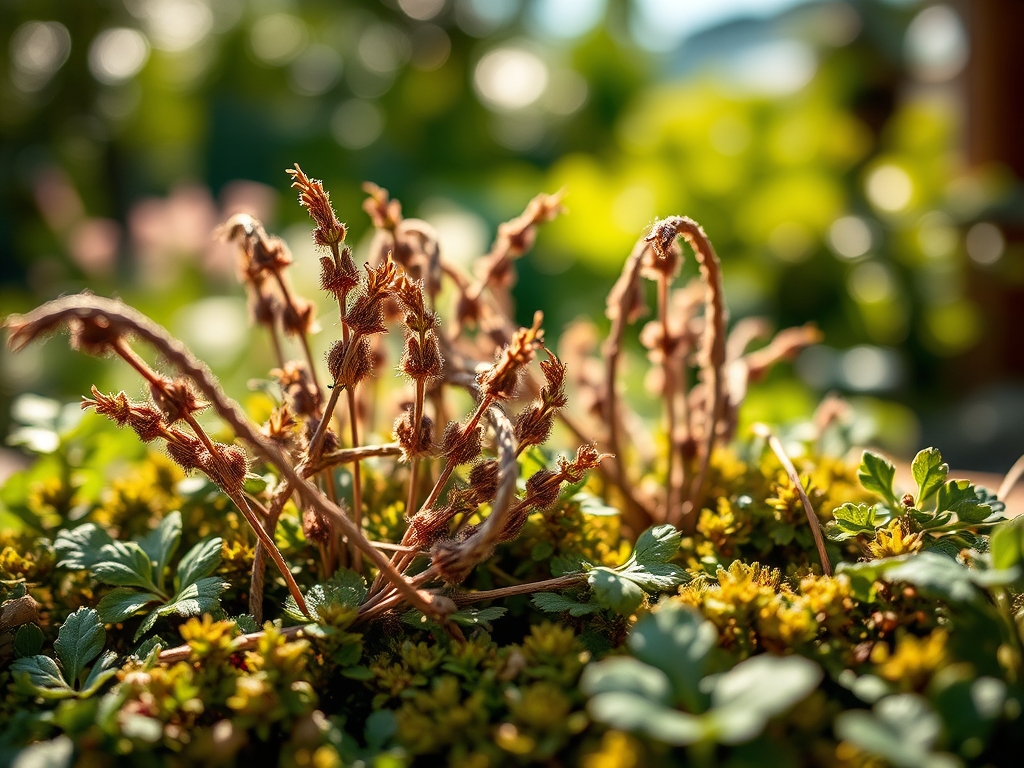
Symptom: Interveinal Chlorosis (yellowing leaves with green veins) on new growth.
-
Solution: This indicates an Iron deficiency, often caused by high soil pH from the patio's concrete base. Apply chelated iron and lower the pH with aluminum sulfate.
-
Symptom: Leaf Scorch (brown, crispy edges).
-
Solution: This is a result of high transpiration rates exceeding the roots' ability to uptake water. Increase irrigation frequency and provide temporary shade during peak afternoon sun.
-
Symptom: Purpling of older leaves.
-
Solution: Phosphorus deficiency. This often occurs in cold, wet soils where phosphorus becomes chemically "locked." Apply a water-soluble high-phosphorus fertilizer to the root zone.
Fix-It Section: For general Nitrogen chlorosis (overall paling of the plant), apply a slow-release organic fertilizer with a 10-5-5 ratio. This provides a steady stream of nitrogen for chlorophyll production without causing the rapid, weak growth associated with synthetic salts.
Maintenance:
Precision is the hallmark of a master horticulturist. Use a soil moisture meter to ensure the root zone remains between 40% and 60% field capacity. Generally, this requires 1.5 inches of water per week delivered at the drip line. Avoid overhead irrigation; use drip lines to keep moisture off the foliage and prevent fungal spores from germinating.
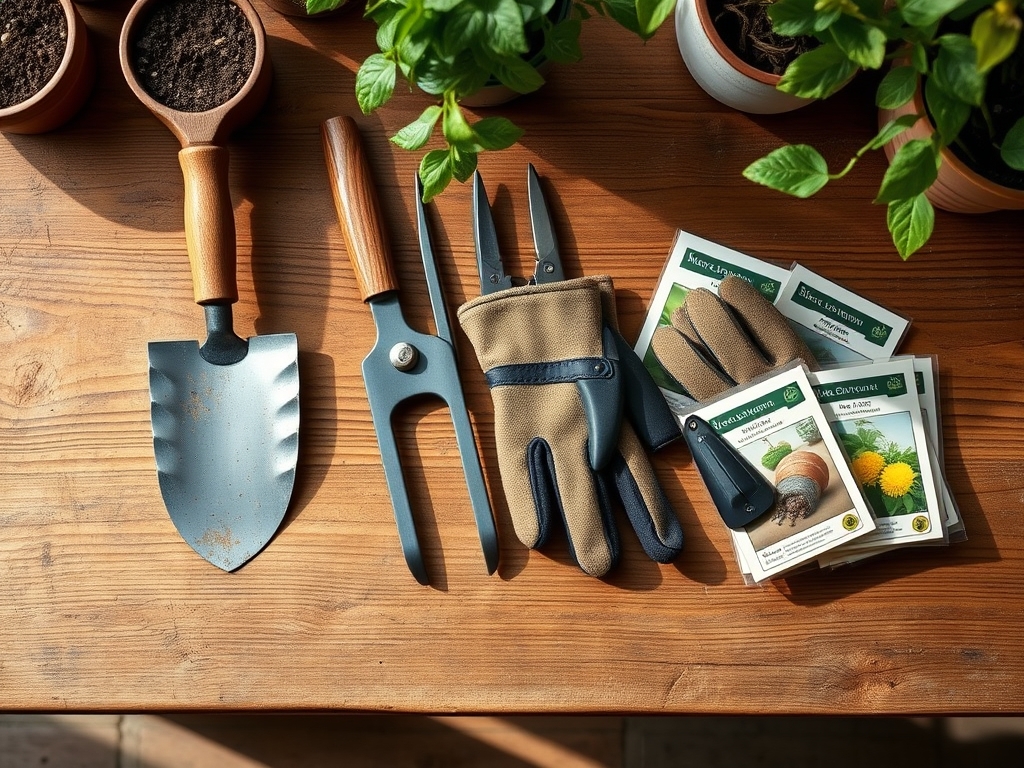
For pruning, use sharp bypass pruners to make clean cuts at a 45-degree angle just above a lateral bud. This encourages rapid wound closure. Use a hori-hori knife for weeding and planting small bulbs; its serrated edge is perfect for cutting through the dense root mats of invasive grasses that often creep toward patio edges.
The Yield:
If your patio landscape includes lavender, herbs, or cut flowers, harvest timing is essential for maintaining essential oil concentration and vase life. Harvest in the early morning after the dew has evaporated but before the sun triggers the plant to close its stomata. Use a sharp knife to avoid crushing the vascular tissue (xylem and phloem).
Post-harvest, immediately plunge the stems into 40-degree Fahrenheit water. This "cold chain" management stops the process of senescence (cellular aging) and maintains the turgor of the petals or leaves. For herbs, keep them out of direct sunlight to prevent the volatile oils from evaporating.
FAQ:
How do I prevent weeds from growing between the patio and the landscape?
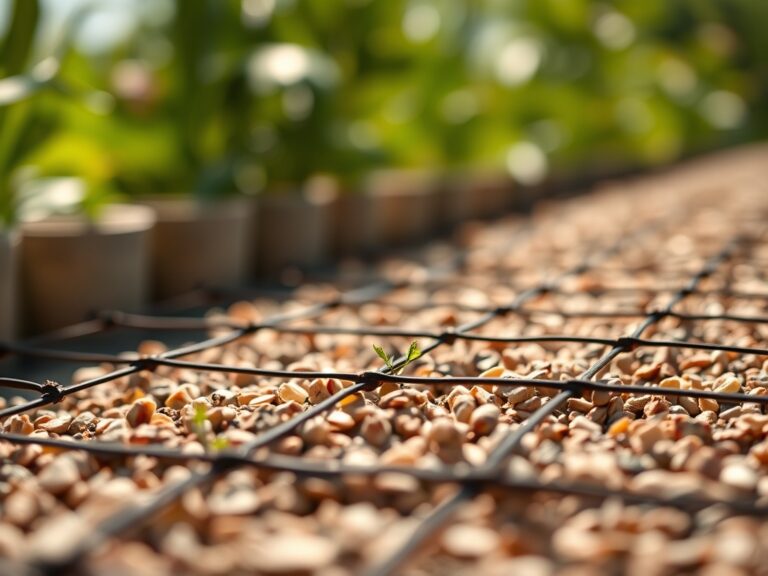
Install a 4-inch deep professional-grade steel or heavy-duty plastic edging. This creates a physical barrier that prevents rhizomatous grasses from encroaching. Maintain a 3-inch layer of wood chip mulch to suppress weed seed germination via light exclusion.
What are the best plants for high-heat patio borders?
Select species with xerophytic adaptations such as waxy cuticles or silver foliage. Sedums, Lavender, and Ornamental Grasses like Panicum virgatum thrive in the reflected heat and require minimal supplemental irrigation once the root systems are fully established.
How close can I plant a tree to my patio?
Distance depends on the species' mature canopy and root morphology. Small ornamental trees should be at least 8 to 10 feet away. This prevents root pressure from heaving the patio stones and ensures the trunk flare has room to expand.
Why are my plants wilting even when the soil is wet?
This is likely root rot (Phytophthora) caused by poor drainage. Excess water displaces oxygen in the soil pores, leading to root asphyxiation. Improve drainage by incorporating coarse sand or installing a French drain to divert patio runoff.