6 Sharp Steps to Use Japanese Sickles
The curved blade catches morning light as it slices through summer grass in a single pull. Farmers across Japan have refined the steps to use japanese sickles for centuries, transforming overgrown beds into clean rows with motions so economical that a skilled hand can clear 200 square feet in fifteen minutes. The kama's geometry—30 to 45 degrees of belly curve—concentrates force at the cutting edge while the short handle positions your wrist for precision rather than brute strength.
Materials
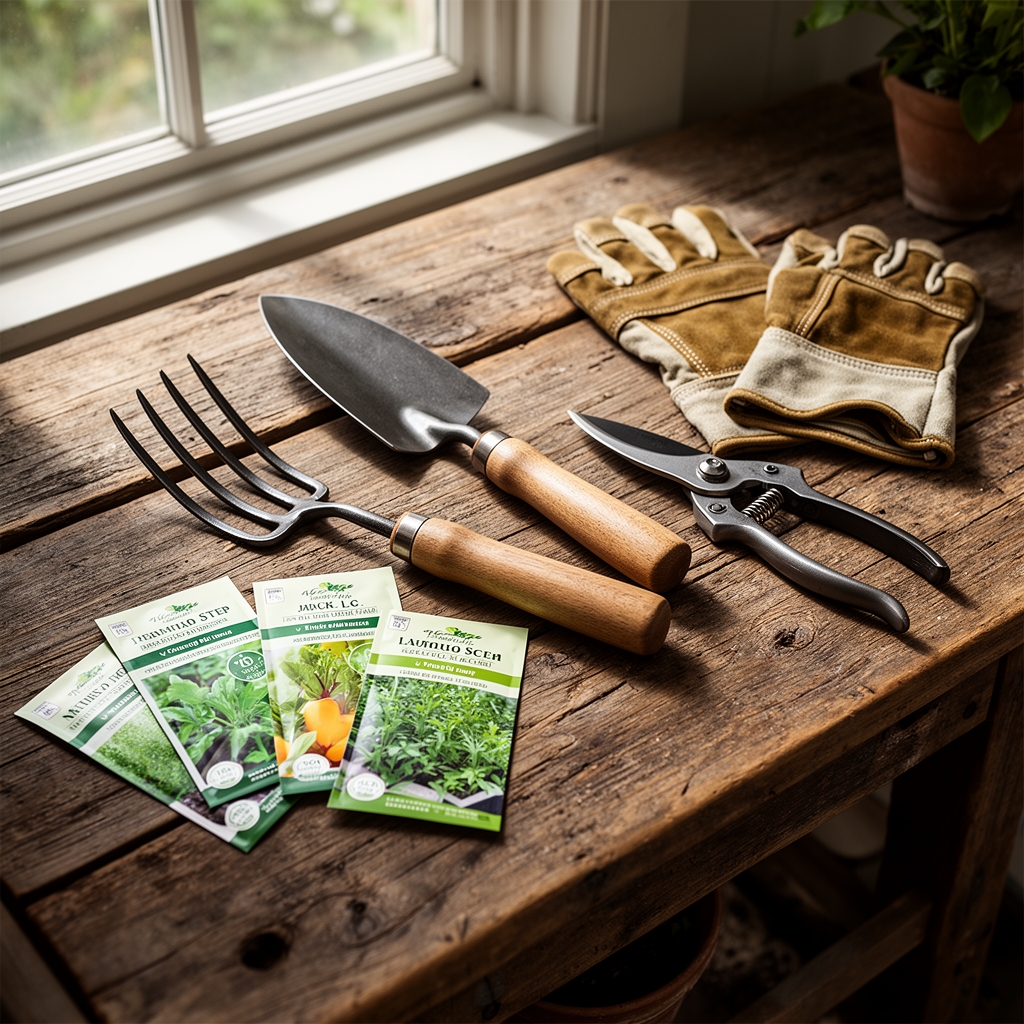
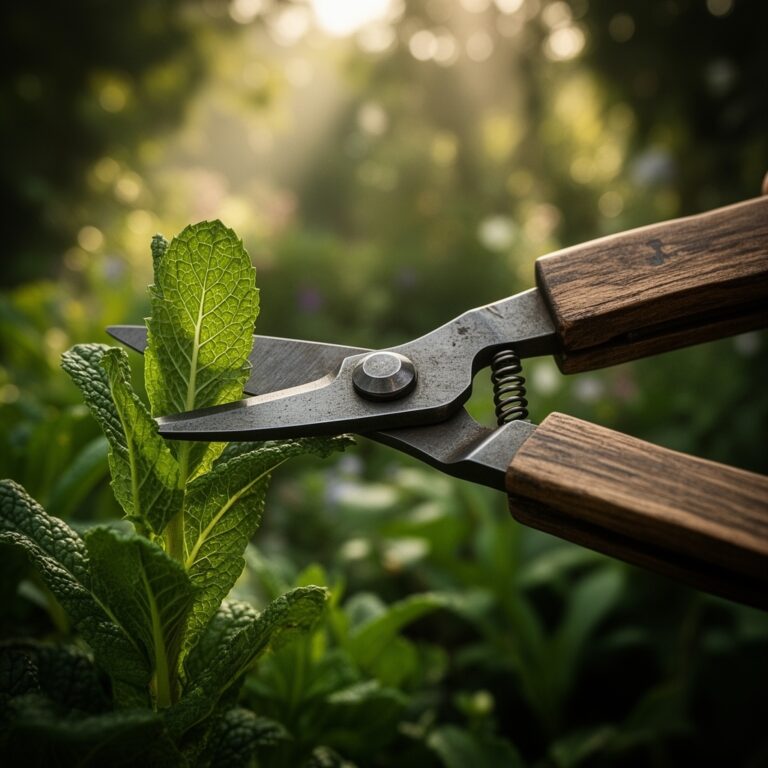
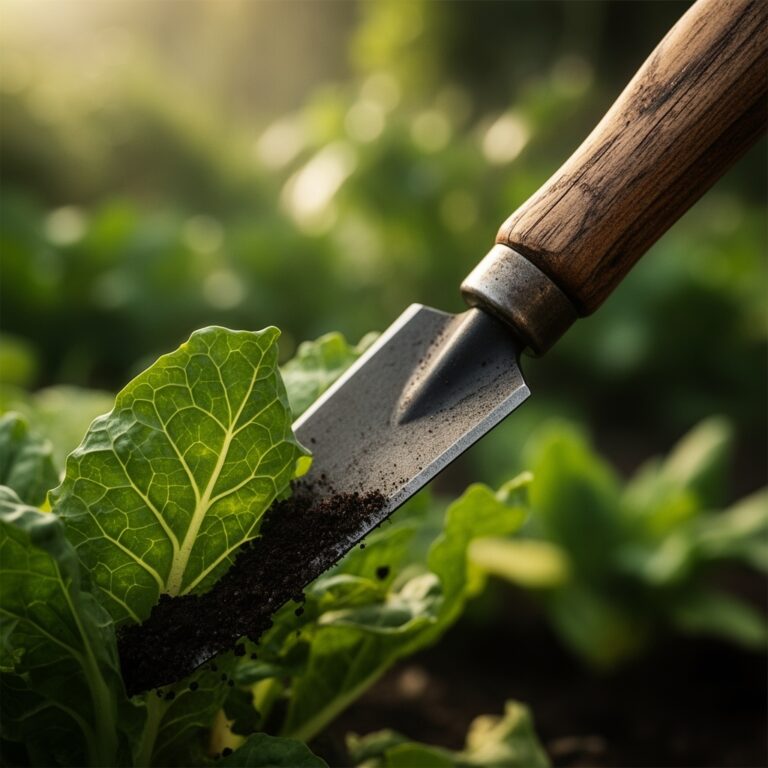
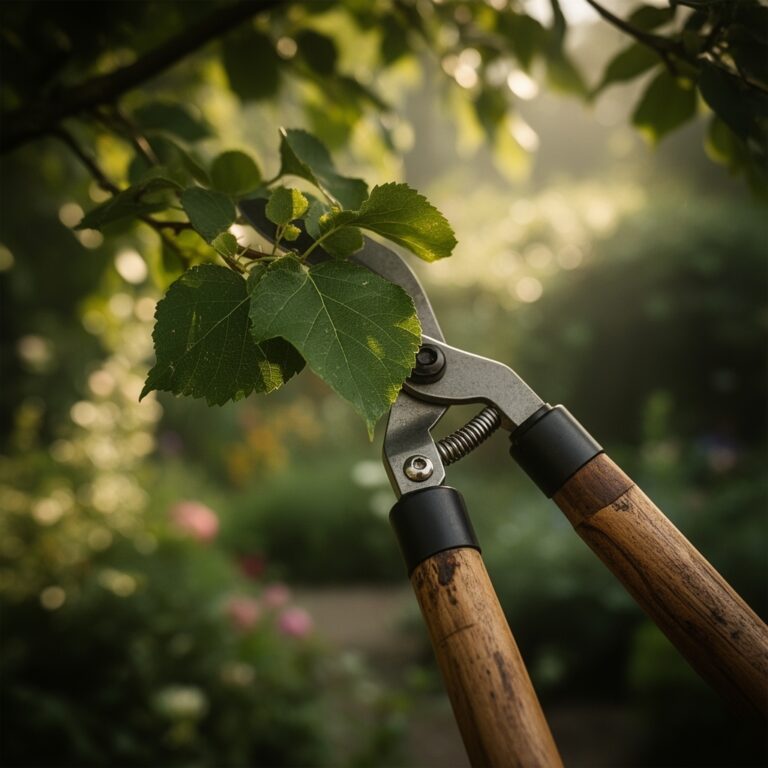
Select a carbon steel blade between 5.5 and 7 inches measured along the curve. Carbon content between 0.6 and 0.8 percent holds an edge through clay soils with pH ranging from 5.8 to 7.2. Oak or ash handles resist splitting under lateral stress. Pair the tool with a whetstone rated 1000 to 3000 grit for field sharpening.
For maintenance after clearing, apply a 4-4-4 organic meal at 2 pounds per 100 square feet to restored beds. If cation exchange capacity tests below 10 meq/100g, incorporate composted bark fines at 1 cubic yard per 500 square feet. A soil pH between 6.0 and 6.8 supports most vegetable crops following brush removal. Keep ferrous sulfate on hand to drop alkaline readings above 7.5.
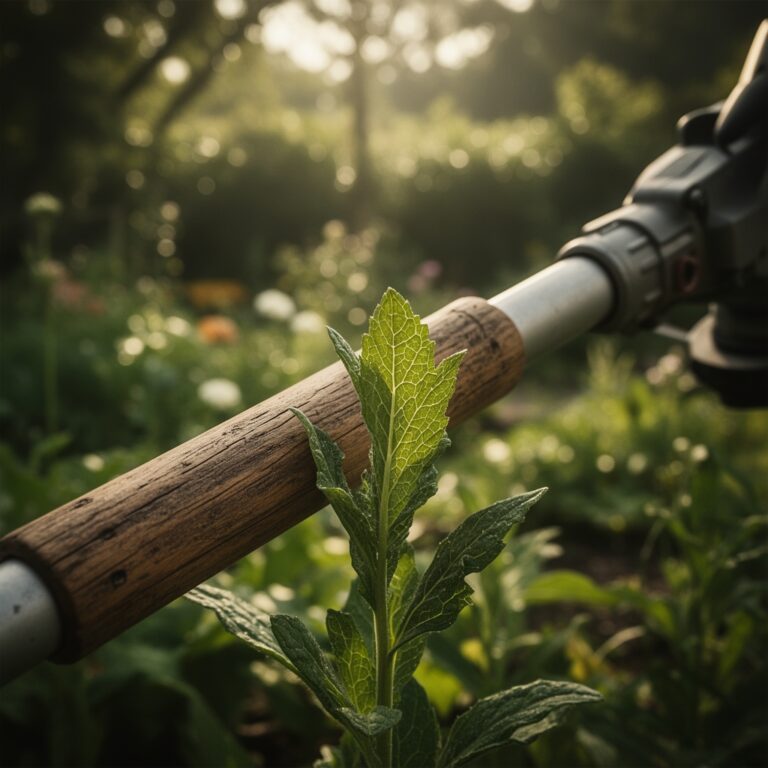
Leather gloves with reinforced palms prevent blisters during extended sessions. A canvas blade guard protects the edge and your shins during transport.
Timing
Master the steps to use japanese sickles by matching clearing schedules to hardiness zones. In Zones 6 and 7, tackle winter annual weeds between late March and mid-April, two weeks before the last average frost. This window lets you prepare beds while roots remain shallow.
Zones 8 and 9 growers should clear in early February before warm-season perennials like bermudagrass break dormancy. Summer grasses develop rhizomes by June; severing tops then merely stimulates lateral bud growth.
Clear fall beds six weeks before the first frost. Exposed soil absorbs autumn rain, and frost heave breaks remaining root clumps by spring. In Zone 5, schedule this between late August and mid-September.
Phases

Sowing the Motion: Grip the handle so your thumb aligns with the blade spine. Position your body at a 45-degree angle to the cutting line. Draw the blade toward your hip in an arc, letting the curve do the work. The belly contacts stems at 15 to 20 degrees from horizontal, the optimal shear angle for fibrous material. Your elbow should hinge; your shoulder stays quiet.
Pro-Tip: Sharpen every 30 minutes of continuous cutting. A dull edge crushes stems instead of slicing, leaving entry points for Botrytis and bacterial wilt.
Transplanting the Technique: Work in 3-foot swaths, clearing left to right if you are right-handed. Cut 1 inch above soil level to leave root crowns intact for decomposition. Soil microbes metabolize these crowns within 60 days, releasing nitrogen at roughly 20 pounds per 1000 square feet. Rake debris into windrows every 6 feet to prevent re-rooting.
Pro-Tip: Inoculate cleared beds with mycorrhizal fungi within 48 hours. Exposed roots create hyphal highways that colonize new transplants in 14 days instead of 30.
Establishing Rhythm: Once the initial clearing is complete, maintain edges with weekly passes during peak growing season. A single stroke removes new weed seedlings before taproots exceed 2 inches. This prevents auxin distribution to lateral roots, stopping colony expansion.
Pro-Tip: Angle cuts at 60 degrees when working around established perennials. Vertical cuts nick woody stems, inviting canker pathogens.
Troubleshooting
Symptom: Blade skips across tough grass crowns instead of cutting.
Solution: Resharpen to restore the primary bevel between 20 and 25 degrees. Test on newspaper; the edge should slice, not tear.
Symptom: Handle splits near the tang after one season.
Solution: Wood moisture content exceeded 12 percent at purchase. Wrap the junction with linen tape soaked in linseed oil. Replace the handle with kiln-dried stock.
Symptom: Arm fatigue after 15 minutes.
Solution: You are pushing instead of pulling. Reset your stance so the blade travels toward your center of mass. Gravity assists the cut.
Symptom: Regrowth appears within 10 days of clearing.
Solution: You cut during active cell division. Reschedule to early morning when carbohydrate reserves are lowest in roots.
Symptom: Rust pits form on the blade between uses.
Solution: Carbon steel requires a protective coat. Wipe with camellia oil after each session. Store in a climate below 60 percent relative humidity.
Maintenance
Hone the blade after every two hours of work. Hold the whetstone at the original bevel angle and make 10 strokes per side. Rinse debris every third stroke. A properly maintained edge reflects light as a hairline, not a white strip.
Oil the wood handle monthly with raw linseed oil, applying 1 milliliter and wiping excess. This prevents moisture absorption that leads to dimensional changes.
Inspect the tang annually. If the blade wobbles more than 2 millimeters side to side, drill a new pilot hole and refasten with a 1/4-inch brass rivet.
FAQ
How often should I sharpen during heavy use?
Every 30 to 45 minutes when cutting mature grasses or fibrous weeds. Young annuals permit 90-minute intervals.
Can I use a japanese sickle on woody brush?
Stems up to 1/2 inch diameter cut cleanly. Thicker material requires loppers to avoid edge damage.
What distinguishes a kama from a European sickle?
The kama's tighter curve and shorter handle prioritize control. European designs favor reach over precision.
Should I sterilize the blade between garden sections?
Yes, if viral or bacterial diseases are present. Wipe with 70 percent isopropyl alcohol for 30 seconds.
How do I prevent the handle from slipping when wet?
Wrap the grip zone with 1-inch cotton cord in a spiral pattern, securing ends with waterproof wood glue.