6 Pro Steps to Install Full Spectrum LEDs
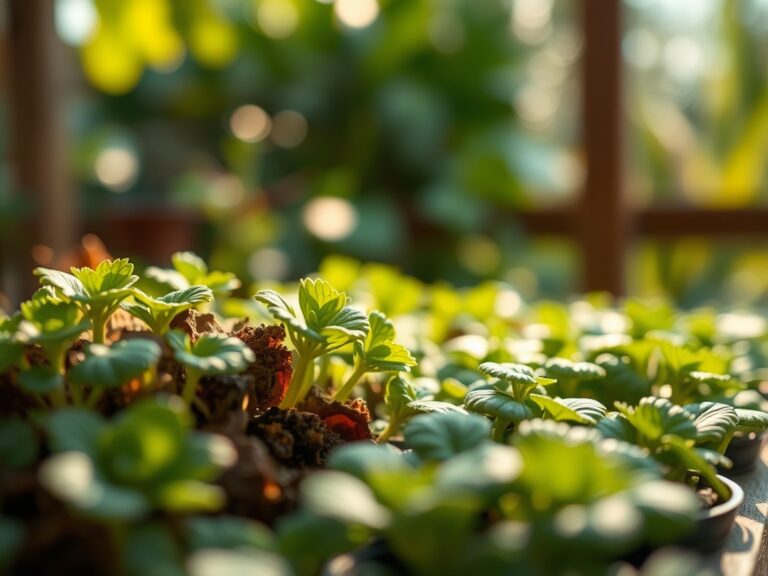
The difference between stunted seedlings and explosive vegetative growth often comes down to light quality. Growers who master the steps to install full spectrum leds create environments where photosynthetic efficiency approaches greenhouse-grade performance. Full spectrum LEDs deliver wavelengths across 400-700 nanometers, matching the photosynthetically active radiation that chlorophyll a and chlorophyll b absorb most readily. Canopy penetration improves. Internode spacing tightens. The steps to install full spectrum leds require attention to electrical load, thermal management, and photon flux density mapping.
Materials and Tools
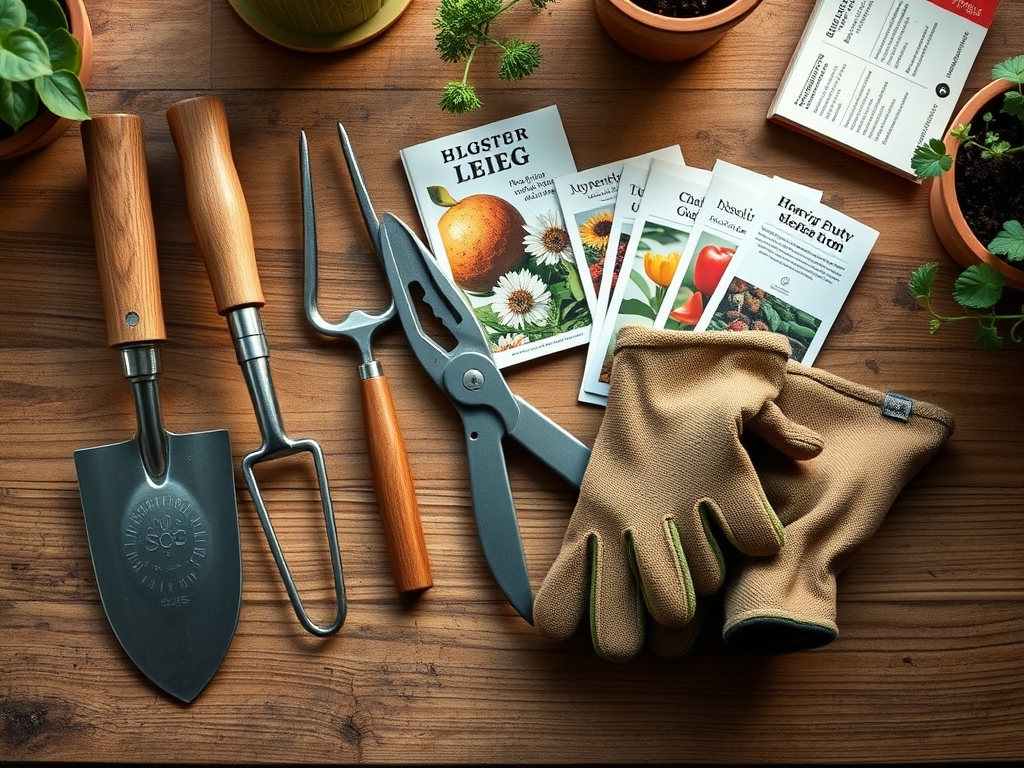
Gather LED fixtures rated at 30-50 watts per square foot of canopy. Select units with Samsung LM301B or Osram diodes for efficacy above 2.7 micromoles per joule. Purchase adjustable rope ratchets rated to 150 pounds minimum. Secure 14-gauge wire if you will hard-wire fixtures into a dedicated 20-amp circuit. Use a digital lux meter or PAR meter calibrated for LED spectra. Obtain thermal paste if mounting individual diode arrays to aluminum heat sinks.
For nutrient formulations, prepare a base amendment of 4-4-4 organic meal or a synthetic 20-10-20 liquid feed diluted to 800-1000 ppm total dissolved solids. Maintain substrate pH between 6.0 and 6.5 for optimal cation exchange capacity. Add mycorrhizal fungi inoculant at transplant to improve phosphorus uptake under high-intensity lighting. Stock dolomitic lime to buffer pH drift in peat-based mixes.
Timing and Environmental Conditions
Install full spectrum LEDs two weeks before transplanting seedlings. This window allows you to map photon distribution and adjust fixture height. In USDA Hardiness Zones 3-7, indoor installation occurs year-round. For greenhouse supplementation, begin installations in late winter (January-February) to extend photoperiods as day length increases past the spring equinox.
Maintain ambient air temperature between 70-78 degrees Fahrenheit during vegetative growth. LEDs produce less radiant heat than HPS lamps, so canopy temperature may drop 3-5 degrees below ambient. Monitor vapor pressure deficit to keep it between 0.8-1.2 kPa. This range supports open stomata and efficient transpiration without stressing the plant's hydraulic system.
Installation Phases
Sowing and Pre-Installation
Map your grow space. Measure ceiling height and canopy footprint. Full spectrum LEDs require 18-24 inches of clearance above mature canopy to prevent light burn. Mark mounting points on ceiling joists or crossbars. Use a stud finder to locate solid anchor points rated for dynamic load.
Install eye bolts or J-hooks into joists. Attach rope ratchets. Hang fixtures so they rest 30 inches above seedling trays initially. Power on the system. Use the PAR meter to record micromole readings at canopy level. Target 200-400 micromoles per square meter per second for seedlings. Adjust height until readings stabilize in this range.
Pro-Tip: Install a dimmer controller. Gradually ramp intensity from 25 percent to full power over 10 days. This acclimation period prevents photo-inhibition and allows chloroplasts to increase thylakoid membrane density.
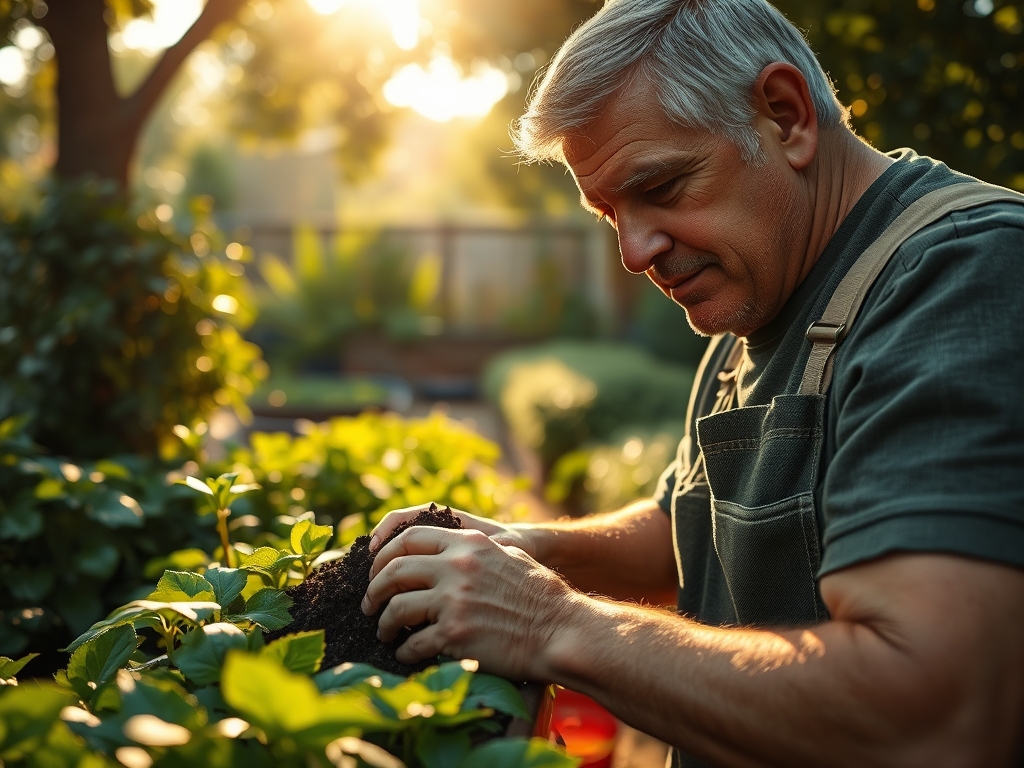
Transplanting and Height Adjustment
Transplant seedlings into final containers when the second true leaf set emerges. Position containers directly under fixtures. Lower LEDs to 24 inches above canopy. Increase intensity to 400-600 micromoles per square meter per second. Monitor auxin distribution by observing apical dominance. If lateral branches elongate excessively, raise fixtures by two inches to reduce red-to-far-red ratio.
Pro-Tip: Rotate containers 90 degrees every three days. This practice equalizes light exposure on all leaf surfaces and prevents asymmetric canopy development.
Establishing Mature Canopy
Once plants reach 12 inches in height, lower fixtures to 18 inches. Increase intensity to 600-900 micromoles per square meter per second for flowering or fruiting crops. Run LEDs on an 18/6 photoperiod for vegetative crops, 12/12 for photoperiod-sensitive flowering species.
Check diode temperature with an infrared thermometer. Diode surface temperature should not exceed 140 degrees Fahrenheit. If it does, improve airflow with oscillating fans or add supplemental heat sinks.
Pro-Tip: Install a photon timer with sunrise/sunset simulation. Gradual intensity ramps reduce shock and align circadian rhythm genes like CCA1 and LHY.
Troubleshooting Common Issues
Symptom: Chlorosis in upper leaves with interveinal yellowing.
Solution: Light intensity exceeds photosynthetic capacity. Raise fixtures four inches or reduce dimmer setting by 20 percent.
Symptom: Stretched internodes and thin stems.
Solution: Insufficient blue spectrum (400-500 nm). Replace fixtures or add supplemental blue LED bars. Maintain at least 15 percent blue content in spectrum.
Symptom: Leaf edge burn and upward cupping.
Solution: Excessive radiant heat or vapor pressure deficit too low. Increase air circulation and lower ambient temperature by two degrees.
Symptom: Algae growth on substrate surface.
Solution: Light spill onto growing medium. Install reflective mulch mats or reduce fixture spread angle.
Maintenance Schedule
Water to achieve 10-20 percent runoff every 48-72 hours. Measure runoff pH and EC weekly. If EC drifts above 2.0, flush substrate with pH-balanced water until runoff EC drops below 1.5.
Clean diode surfaces every 30 days. Dust accumulation reduces photon output by 8-12 percent per month. Use isopropyl alcohol on a microfiber cloth.
Replace fixtures after 50,000 operational hours. Light output degrades to 80 percent of initial intensity at this threshold. Log operational hours with a plug-in timer that records cumulative runtime.
Frequently Asked Questions
How much electricity do full spectrum LEDs consume?
A 240-watt fixture covering 4 square feet runs approximately 5.76 kilowatt-hours per day on an 18-hour photoperiod. Monthly cost averages 12-15 dollars at 0.12 dollars per kilowatt-hour.
Can I mix LED spectra?
Yes. Combine 3000K warm white LEDs with 5000K daylight units to broaden spectrum. Maintain a 2:1 ratio of warm to cool for balanced morphology.
Do LEDs require external drivers?
Most fixtures integrate drivers. External drivers reduce canopy heat but require additional wiring. Use Mean Well HLG series drivers for reliability.
What is the ideal hanging height?
Seedlings: 30 inches. Vegetative growth: 24 inches. Flowering: 18 inches. Always verify with PAR meter readings.
How do I prevent light stress?
Acclimate plants over 7-10 days. Start at 50 percent intensity and increase by 10 percent daily until target PPFD is reached.