6 Easy Steps to Hydrate Coconut Coir Bricks
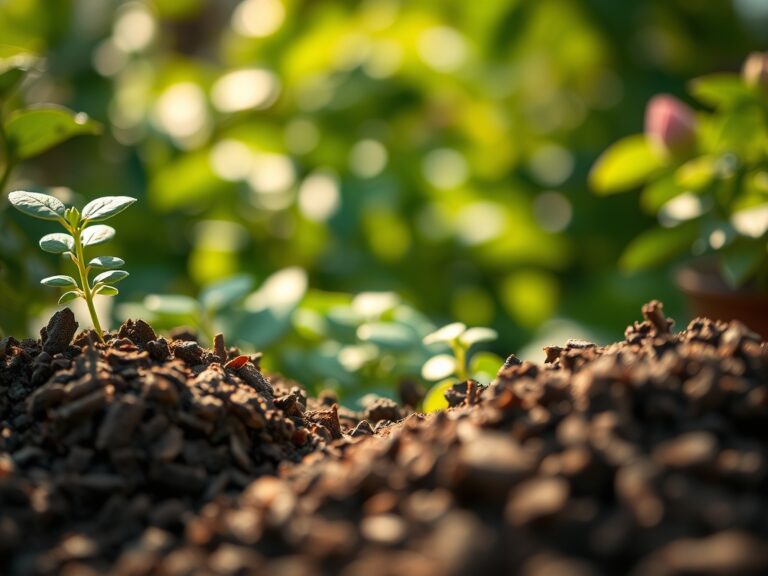
The smell of damp earth signals a shift in cellular turgor as dry fibers transition into a viable rhizosphere. Achieving the correct moisture profile is the foundational requirement for high-performance cultivation. When mastering the steps to hydrate coconut coir bricks, the goal is to expand compressed pith into a friable medium without inducing anaerobic conditions. This process requires precise water-to-media ratios to ensure the resulting substrate maintains an ideal balance of air-filled porosity and water-holding capacity. Proper hydration prevents the salt accumulation often found in lower-grade coir and prepares the fibers for nutrient loading.
Materials:

Professional grade coconut coir typically presents a **pH range of 5.8 to 6.8**, which is optimal for the availability of macronutrients. However, raw coir is naturally high in sodium and potassium while lacking calcium and magnesium. To correct the Cation Exchange Capacity (CEC), you must use a buffering solution containing **Calcium Nitrate and Magnesium Sulfate**. The ideal NPK ratio for the initial soak is a dilute **0.5-0-0** to provide immediate nitrogen for microbial colonization. The resulting substrate should have a texture of **friable loam**, characterized by granular particles that crumble under light pressure rather than clumping into a sticky mass. You will need a **20-gallon heavy-duty plastic reservoir** and a **stainless steel mesh strainer** for final drainage.
Timing:
In Hardiness Zones 3 through 11, the timing of hydration must align with the "Biological Clock" of your specific cultivars. For indoor starts, begin the hydration process 14 days before your regional last frost date. This window allows the coir to stabilize its temperature and allows for the application of beneficial fungi. In the transition from the vegetative stage to the reproductive stage, the water demand of the plant increases by 40 percent. Hydrating your bricks in early spring ensures that the medium is fully settled before the high-transpiration demands of mid-summer heat. For autumn plantings in Zones 8 to 11, hydrate the bricks during the cooling photoperiod of September to prevent root zone overheating.
Phases:

Sowing
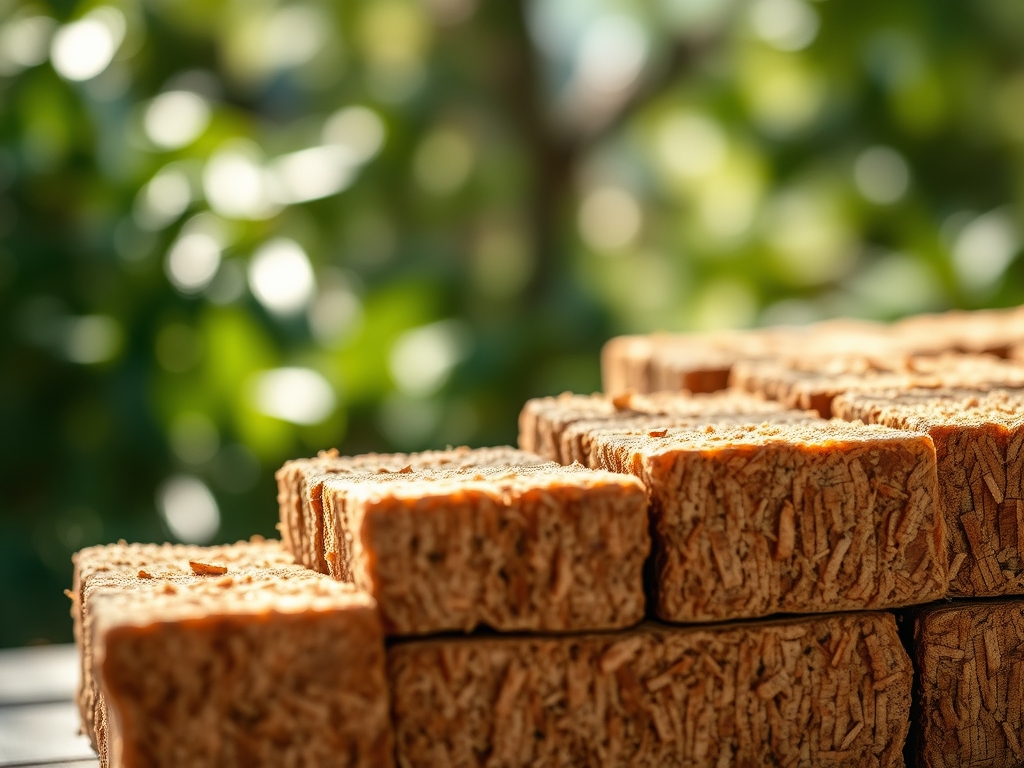
Place the 5kg compressed brick into the reservoir. Gradually add 4 to 5 gallons of warm water (approx. 105 degrees Fahrenheit). Warm water breaks the surface tension of the dry lignin fibers faster than cold water. Allow the brick to sit for 30 minutes until it has fully expanded. Use a shovel to break apart any remaining dense clumps.
Pro-Tip: Warm water increases the kinetic energy of the molecules, allowing for deeper penetration into the micropores of the coconut husk. This ensures that the entire brick reaches 100 percent saturation, preventing "dry pockets" that can cause localized root desiccation.
Transplanting
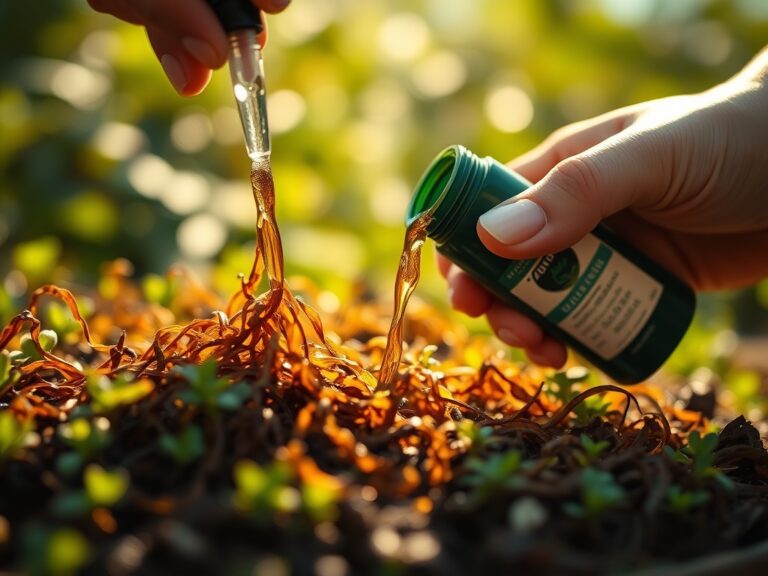
Once the coir is expanded, it must be flushed to remove excess salts. Rinse the material until the Electrical Conductivity (EC) of the runoff is below 0.5 mS/cm. After flushing, incorporate a slow-release organic fertilizer. When moving seedlings into the coir, ensure the root ball is level with the surface to prevent stem rot.
Pro-Tip: This phase relies on mycorrhizal symbiosis. By adding a fungal inoculant during transplanting, you establish a secondary root system that increases the surface area for nutrient uptake by up to 700 percent.
Establishing
As the plant enters the establishment phase, monitor the volumetric water content. The coir should feel like a wrung-out sponge. If the surface becomes hydrophobic, it has dried out too far and will require a surfactant to re-wet.
Pro-Tip: Maintaining consistent moisture levels prevents auxin suppression. When a plant experiences drought stress, it produces abscisic acid, which halts growth; consistent hydration keeps auxin levels high, promoting vigorous apical dominance.
The Clinic:
Physiological disorders in coir-based systems often stem from improper hydration or buffering.
Symptom: Interveinal Chlorosis (Yellowing between veins)
Solution: This is a classic sign of Magnesium deficiency. Because coir has high potassium levels, it can block magnesium uptake.
Fix-It: Apply a foliar spray of 1 teaspoon of Epsom salts per gallon of water to bypass the root zone competition.
Symptom: Leaf Tip Burn
Solution: This indicates high salt accumulation or Sodium toxicity.
Fix-It: Flush the medium with three times the volume of the container using distilled or reverse osmosis water to reset the EC levels.
Symptom: Wilting despite wet soil
Solution: This suggests Pythium root rot caused by lack of oxygen in the root zone.
Fix-It: Increase the perlite ratio to 30 percent to improve air-filled porosity and reduce watering frequency.
Maintenance:
Precision is mandatory for long-term plant health. Use a soil moisture meter daily to ensure the substrate stays between 60 and 80 percent capacity. In most greenhouse environments, this equates to roughly 1.5 inches of water per week applied at the drip line. When pruning or taking cuttings, use bypass pruners that have been sterilized with 70 percent isopropyl alcohol to prevent the spread of pathogens. For weeding or checking root development near the surface, a hori-hori knife allows for surgical precision without disturbing the primary taproot. Always calibrate your pH meter weekly to ensure your irrigation water remains at 6.0 pH.
The Yield:
Harvesting from a coir-based medium requires attention to the plant's final metabolic surge. For fruiting crops, reduce water delivery by 20 percent in the final week to concentrate sugars and essential oils. Harvest during the early morning hours, typically between 5:00 AM and 8:00 AM, when the plant has the highest turgor pressure. This ensures the cells are fully hydrated, providing "day-one" freshness and a longer shelf life. Use sharp, clean blades to make a clean 45-degree angle cut, which minimizes the surface area exposed to potential decay. Immediately move the harvest to a cool, shaded area to stop the process of senescence.
FAQ:
How much water does a 5kg coir brick need?
A standard 5kg brick requires approximately 18 to 22 liters of water. Add water in stages, allowing 15 minutes between additions for the fibers to expand. The final volume should be roughly 60 to 75 liters of moist substrate.
Do I need to wash the coir after hydration?
Yes. Most commercial coir contains high levels of sodium and chlorides. Flushing the hydrated medium with fresh water until the runoff EC is below 0.5 is essential to prevent osmotic stress and nutrient lockout in young plants.
Can I reuse coconut coir for another crop?
Coir is reusable for 2 to 3 cycles. Before replanting, remove large root masses and treat the medium with enzymatic cleaners to break down dead organic matter. Re-buffer with calcium and magnesium to restore the cation exchange balance.
Why is my coir turning green on top?
Green film indicates algae growth caused by persistent surface moisture and light exposure. To fix this, reduce watering frequency and apply a thin layer of perlite or sand to the surface to block light and improve evaporation.