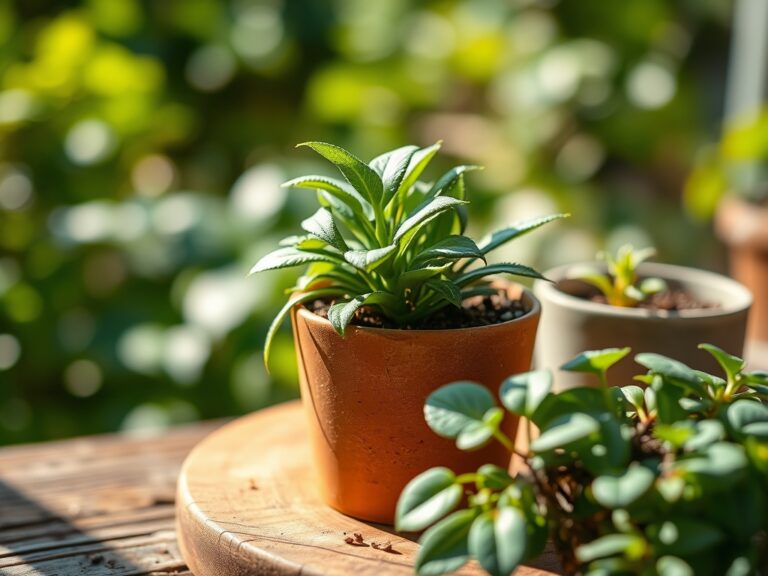
6 Basic Steps to Apply Liquid Seaweed Fertilizer
The smell of cold salt spray and damp earth signals the arrival of a high-performance growing season. When a plant reaches maximum turgor pressure; the internal fluid force that keeps stems rigid and leaves upright; it is operating at peak metabolic efficiency. Achieving this state requires more than just water and sunlight. Mastering the steps to apply liquid seaweed fertilizer provides the trace minerals and growth hormones necessary to fortify the rhizosphere against environmental stress. This is not merely feeding; it is a systemic calibration of the plant's hormonal signaling pathways.
Liquid seaweed, typically derived from Ascophyllum nodosum, contains over 60 trace elements and significant concentrations of cytokinins and auxins. Unlike synthetic salts, these organic compounds do not provide a massive NPK spike. Instead, they act as a metabolic catalyst. By following the proper steps to apply liquid seaweed fertilizer, you increase the plant's resistance to temperature extremes and pathogenic pressure. The goal is to move beyond basic survival and into a state of cellular resilience where the plant can maximize its genetic potential.
Materials:

The success of any liquid amendment depends on the substrate. The ideal medium is a friable loam with a Cation Exchange Capacity (CEC) between 15 and 25 meq/100g. This ensures the soil can hold and exchange the micronutrients found in the seaweed extract.
- Soil pH: Maintain a range of 6.2 to 6.8 for most horticultural crops. In this window, the solubility of manganese and iron; both found in seaweed; is optimized.
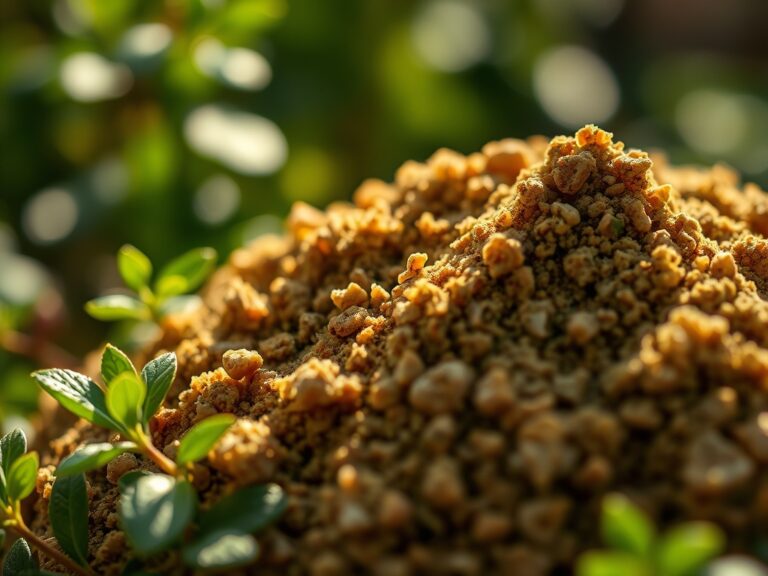
- NPK Ratios: Liquid seaweed usually tests at a low 0.1-0.1-1.0. It is a supplement, not a primary macronutrient source. Combine it with a base of 5-5-5 organic granular fertilizer if the soil test shows nitrogen deficiency.
- Concentrate: Use cold-pressed seaweed extracts. Heat-processed versions often degrade the heat-sensitive cytokinins required for cell division.
- Water Quality: Use water with a pH of 7.0 or lower. High alkalinity can cause the seaweed minerals to precipitate out of the solution, rendering them unavailable to the plant.
Timing:
In Hardiness Zones 5 through 7, the window for application begins when soil temperatures consistently reach 50 degrees Fahrenheit. Applying liquid amendments to frozen or dormant soil is a waste of resources; the roots cannot engage in active transport.
The "Biological Clock" of the plant dictates the frequency of application. During the vegetative stage, focus on foliar sprays to encourage leaf expansion. As the plant transitions to the reproductive stage (flowering and fruiting), shift toward soil drenching. This supports the increased demand for potassium and micronutrients required for fruit set. Avoid application during the heat of the day. When temperatures exceed 85 degrees Fahrenheit, plants enter a state of semi-dormancy to conserve moisture, and the stomata close to prevent desiccation. Apply at dawn when stomatal conductance is at its peak.
Phases:

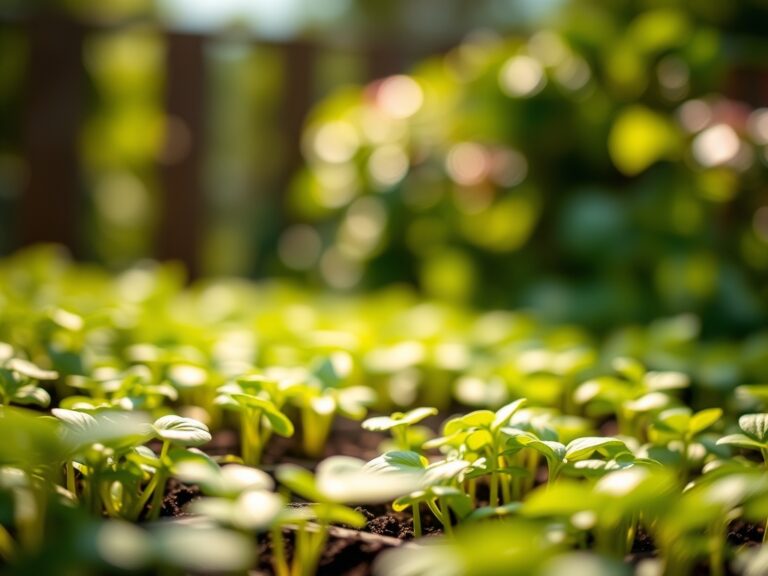
Sowing and Germination
Soak seeds in a diluted seaweed solution (1:100 ratio) for 12 to 24 hours before planting. This softens the seed coat and introduces alginates that stimulate early root development.
Pro-Tip: Seaweed contains betaines which act as osmotic adjustors. This reduces transplant shock by helping the seedling manage water potential during the critical first 48 hours in the soil.
Transplanting
When moving starts into the field, drench the root ball in a solution of 1 ounce of seaweed per gallon of water. Ensure the root system is fully saturated before backfilling with soil.
Pro-Tip: The auxins in seaweed suppress apical dominance temporarily, encouraging lateral root branching. This creates a more robust root architecture that can access a larger volume of the soil profile for nutrients.
Establishing and Vegetative Growth
Apply a foliar spray every 14 days. Use a fine mist to cover both the adaxial (top) and abaxial (bottom) surfaces of the leaves. The underside of the leaf contains the highest density of stomata for nutrient absorption.
Pro-Tip: Seaweed extracts stimulate mycorrhizal symbiosis. The mannitol in the seaweed serves as a carbon source for beneficial fungi, which in turn increases the plant's phosphorus uptake efficiency by up to 30 percent.
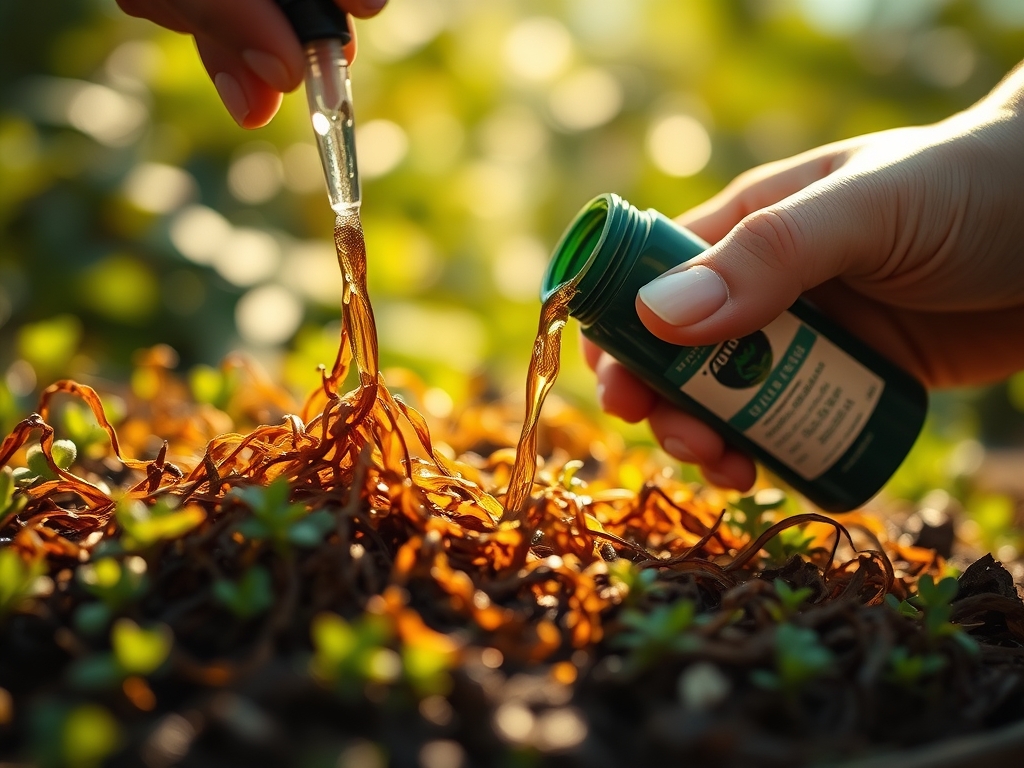
The Clinic:
Physiological disorders often mimic nutrient deficiencies. Observe the root structure in the step-by-step photos below to distinguish between systemic issues and localized stress.
- Symptom: Interveinal chlorosis (yellowing between green veins) on young leaves.
- Solution: This indicates an Iron or Manganese deficiency. Apply seaweed as a foliar spray at a 1:50 dilution every 7 days until new growth emerges green.
- Symptom: Blossom end rot in solanaceous crops.
- Solution: While caused by Calcium deficiency, it is often a water transport issue. Seaweed improves the plant's ability to regulate transpiration, ensuring Calcium reaches the fruit.
- Symptom: Leaf curl and stunted terminal buds.
- Solution: This suggests Boron deficiency. Seaweed is a natural source of Boron. Apply a soil drench of 2 ounces per gallon to stabilize the cell wall structure.
Fix-It: If you observe Nitrogen chlorosis (general paling of older leaves), do not rely on seaweed alone. Mix the seaweed with a high-nitrogen fish emulsion at a 1:1 ratio to provide an immediate protein-building block.
Maintenance:
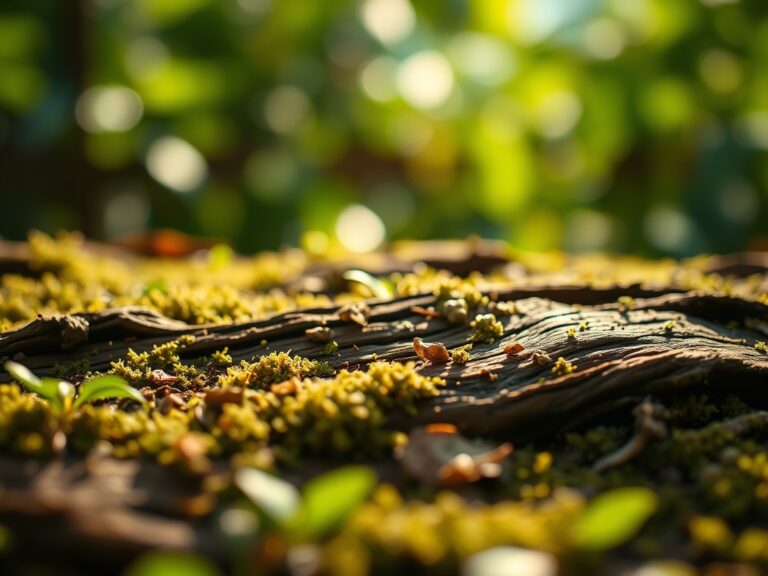
Precision maintenance ensures the seaweed application is not leached from the soil. Provide 1.5 inches of water per week delivered at the drip line. This keeps the rhizosphere hydrated and allows the seaweed compounds to remain mobile.
Use a soil moisture meter daily to ensure the substrate remains between 60% and 80% field capacity. Over-saturation leads to anaerobic conditions that kill the beneficial microbes seaweed is meant to support. When pruning, use bypass pruners for clean cuts that heal quickly. A hori-hori knife is essential for weeding near the base of the plant without disturbing the shallow feeder roots that are actively absorbing the seaweed nutrients.
The Yield:
For edible crops, the final application of seaweed should occur 10 days before harvest. This increases the sugar content (Brix level) and extends the shelf life of the produce. Harvest during the coolest part of the morning to maintain cellular turgor.
When harvesting leafy greens, use a sharp blade to cut cleanly, then immediately submerge the base in cold water. For fruiting crops, leave a small portion of the pedicel attached to prevent moisture loss at the detachment point. This "day-one" freshness is a direct result of the mineral density and hydration levels achieved through a disciplined seaweed regimen.
FAQ:
How often should I apply liquid seaweed fertilizer?
Apply every 10 to 14 days during the active growing season. For stressed plants or during extreme weather, frequency can increase to once per week. Always follow the specific dilution rates on the product label to avoid nutrient runoff.
Can I mix seaweed fertilizer with other products?
Yes. Seaweed is highly compatible with fish emulsion and compost tea. However, do not mix it with high-calcium nitrate fertilizers in concentrated form, as this can cause physical precipitation and clog your sprayer nozzles.
Is foliar feeding better than soil drenching?
Both have roles. Foliar feeding provides a rapid metabolic boost and is ideal for micronutrient delivery. Soil drenching supports long-term soil health and microbial activity. For best results, rotate between both methods every two weeks.
Will seaweed fertilizer burn my plants?
No. Liquid seaweed has a very low salt index and low NPK values. Unlike synthetic fertilizers, it will not cause osmotic dehydration or "burn" the foliage or roots, even if applied at slightly higher concentrations than recommended.