5 Strong Steps to Install a Gravel Grid
Damp earth releases a sharp, metallic scent of geosmin as the spade breaks the surface tension of the soil. A healthy plant maintains high turgor pressure; its cell walls are rigid and upright. To maintain this structural integrity in a landscape, the ground beneath must be equally stable. Mastering the steps to install a gravel grid ensures that high-traffic areas remain permeable while preventing the compaction that suffocates the rhizosphere. This process requires a shift from mere aesthetics to rigorous civil engineering on a domestic scale.
Successful installation transforms a muddy slope or a sinking driveway into a load-bearing surface capable of supporting several hundred tons per square foot. The grid acts as a mechanical stabilizer. It locks aggregate in place to prevent lateral displacement. Without this cellular confinement, gravel migrates and the underlying soil loses its ability to breathe. We are building a system that balances hydraulic conductivity with structural rigidity. This guide provides the technical specifications required to execute a professional-grade installation that will endure for decades.
Materials

The foundation of any structural landscape project is the substrate. For a gravel grid, you must evaluate the soil Cation Exchange Capacity (CEC) and pH to ensure the surrounding flora thrives. Aim for a pH between 6.0 and 7.0 to maintain nutrient availability. If the soil is heavy clay, the CEC will be high, meaning it retains water and nutrients but lacks drainage. You need a friable loam texture for the bedding layer.
Required materials include:
- Gravel Grids: High-density polyethylene (HDPE) units with a minimum wall thickness of 1.5mm.
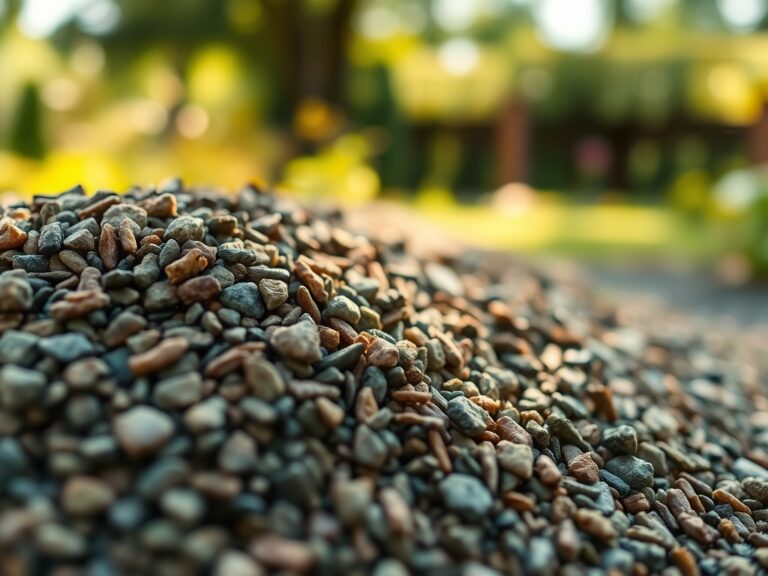
- Sub-base: Crushed stone (MOT Type 1 or equivalent) graded from 40mm down to dust.
- Bedding Layer: Sharp sand or 2mm to 6mm grit.
- Geotextile Fabric: Non-woven, needle-punched polypropylene with a minimum weight of 100gsm.
- Infill: Angular aggregate, ideally 10mm to 14mm in size. Avoid rounded pea shingle as it lacks the friction to lock into the cells.
- Nutrient Amendments: If planting near the grid, integrate a slow-release fertilizer with an NPK ratio of 10-10-10 to support initial root establishment in the disturbed soil.
Timing
Installation should occur during periods of low soil moisture to prevent anaerobic compaction. In Hardiness Zones 4 through 7, the ideal window is late spring after the last frost but before the heat of midsummer. In Zones 8 through 11, autumn is preferable to avoid heat stress on adjacent vegetation.
The biological clock of the surrounding landscape is critical. Avoid heavy excavation during the transition from vegetative to reproductive stages of nearby specimen trees. This transition, often triggered by the photoperiod, is when plants allocate maximum energy to flowering or fruiting. Disturbing the root zone during this high-demand phase can induce premature senescence or permanent wilting. Aim for a soil temperature of at least 50 degrees Fahrenheit (10 degrees Celsius) to ensure any disturbed microorganisms can quickly recolonize the rhizosphere.
Phases

Sowing the Foundation
Excavate the area to a depth of 8 to 12 inches, depending on the intended load. For pedestrian paths, 4 inches of sub-base is sufficient; for vehicular traffic, use 8 inches. Level the sub-grade with a 1 percent to 2 percent slope to facilitate drainage away from structures. Compact the sub-grade using a vibrating plate compactor until it reaches 95 percent Proctor density.
Pro-Tip: Proper compaction prevents the formation of air pockets that lead to localized subsidence. By ensuring a solid base, you maintain the capillary action of the soil, allowing deep-seated moisture to move upward while preventing surface saturation.
Transplanting the Grid
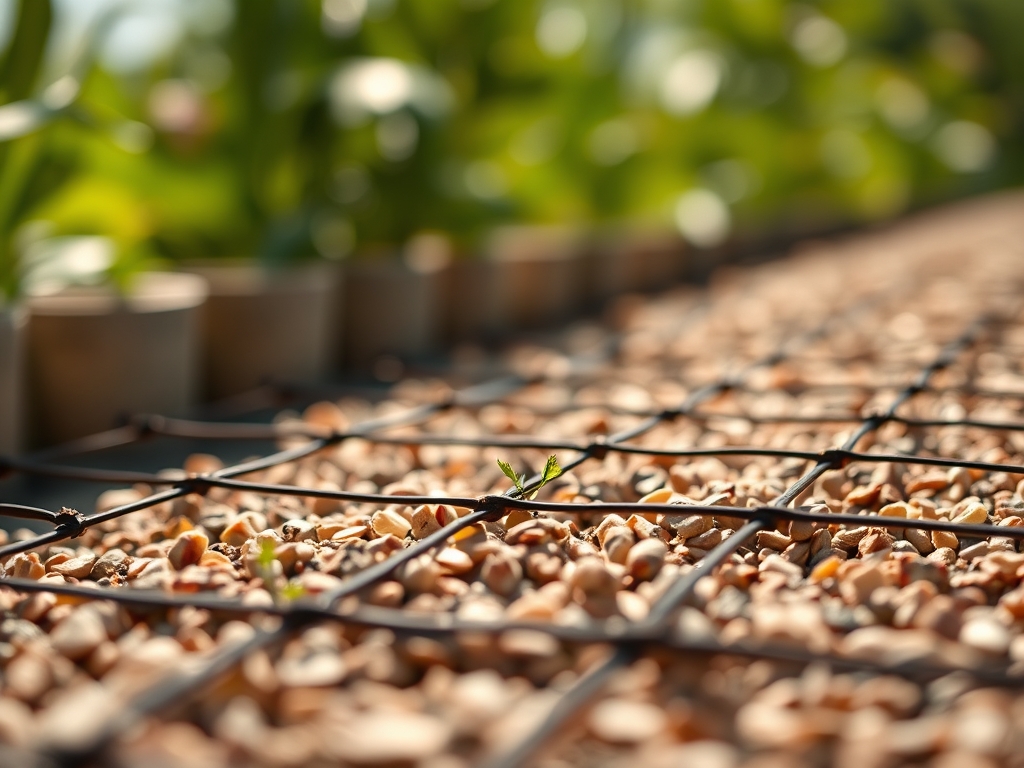
Lay the geotextile fabric over the compacted sub-base, overlapping seams by at least 12 inches. This layer prevents the "fines" from the soil from migrating upward and clogging the drainage layers. Spread a 1-inch bedding layer of sharp sand. Place the grid units starting from a corner, interlocking them according to the manufacturer's specifications. Trim edges using a circular saw or a hand saw for a precise fit.
Pro-Tip: Geotextile membranes utilize pore size distribution to filter particles. This encourages mycorrhizal symbiosis in the surrounding soil by maintaining a stable environment for fungal hyphae to transport phosphorus to nearby plant roots.
Establishing the Surface
Fill the cells with your chosen angular aggregate. Overfill the grids by approximately 0.5 inches to allow for natural settling. Use a stiff broom to distribute the gravel evenly. After the initial fill, run the plate compactor over the grid to lock the stones into the cellular structure. Top up any low spots to ensure the plastic edges are not exposed to UV degradation.
Pro-Tip: Using angular stone creates "interlocking friction." This mimics the natural structural stability of well-aggregated soil, reducing the energy required for maintenance and preventing the lateral displacement of the medium.
The Clinic
Physiological disorders in the landscape often stem from poor drainage or soil compaction following construction.
- Symptom: Leaf chlorosis (yellowing) in nearby shrubs.
Solution: Check for Nitrogen deficiency. Excavation often leaches mobile nutrients. Apply a high-nitrogen (20-10-10) fertilizer to restore chlorophyll production. - Symptom: Marginal leaf burn or necrosis.
Solution: This indicates salt accumulation or drought stress. Flush the area with 2 inches of water to leach salts and check the soil moisture at a 6-inch depth. - Symptom: Stunted growth and small leaves.
Solution: Likely soil compaction. Use a soil moisture meter to check for anaerobic conditions. If the probe cannot penetrate 8 inches, the soil is too dense for root respiration. - Symptom: Iron Chlorosis (yellow leaves with green veins).
Fix-It: This occurs when pH exceeds 7.5, making iron insoluble. Apply chelated iron or elemental sulfur to lower the pH to the 6.0 to 6.5 range.
Maintenance
A gravel grid system is low-maintenance but not "no-maintenance." Inspect the surface twice annually. Remove any organic debris that could decompose and create a seedbed for weeds. If weeds appear, use a hori-hori knife to extract the taproot entirely without disturbing the grid.
Watering adjacent plants is vital during the first two seasons post-installation. Provide 1.5 inches of water per week at the drip line to compensate for any root pruning that occurred during excavation. Use bypass pruners to remove any branches that overhang the grid and drop excessive leaf litter. Monitor the site with a soil moisture meter to ensure the permeable surface is effectively directing water to the sub-soil rather than allowing it to evaporate.
The Yield
While a gravel grid does not produce a harvest in the traditional sense, it yields a "functional landscape." If you have integrated "grass-fill" grids instead of gravel, the harvest is the biomass of the turf. Mow the grass-fill grids to a height of 2.5 to 3 inches. This height maximizes the surface area for photosynthesis while protecting the growing point (the crown) located just inside the grid cell. For day-one freshness in a grass-grid, never remove more than one-third of the leaf blade at a time to prevent physiological shock.
FAQ
How deep should I excavate for a gravel grid?
Excavate 8 to 12 inches for vehicular traffic and 4 to 6 inches for pedestrian paths. This depth accommodates the sub-base, bedding layer, and the grid itself, ensuring long-term structural integrity and proper drainage.
What size gravel is best for filling the grid?
Use 10mm to 14mm angular aggregate. Angular stones lock together through friction, whereas rounded pea shingle will shift and roll. This size ensures the gravel stays confined within the cells under heavy loads.
Do I need a weed membrane under the grid?
Yes, use a non-woven geotextile fabric. It serves two purposes: it prevents weeds from germinating from the sub-soil and keeps the clean stone from mixing with the dirt, which maintains the system's permeability.
Can I install a gravel grid on a slope?
Yes, gravel grids are effective on slopes up to 10 percent to 12 percent. For steeper inclines, use earth anchors or pins to secure the grids. The cellular structure prevents the gravel from migrating downhill during heavy rain.
How do I prevent the grid from showing?
Overfill the cells by 0.5 inches with aggregate. This "sacrificial layer" covers the plastic edges and accounts for initial settling. Periodic raking ensures the grid remains buried and protected from UV light and mechanical wear.