5 Simple Ways How to Build a Vertical Indoor Garden
Growing food and ornamentals in cramped apartments once meant windowsill pots and compromised yields. Now, learning how to build a vertical indoor garden transforms unused wall space into productive growing zones. A well-designed vertical system delivers 4–6 times the yield per square foot compared to horizontal beds, while improving air circulation and reducing foliar disease pressure. Mastering how to build a vertical indoor garden requires understanding structural load limits, irrigation distribution, and phototropic responses.
Materials
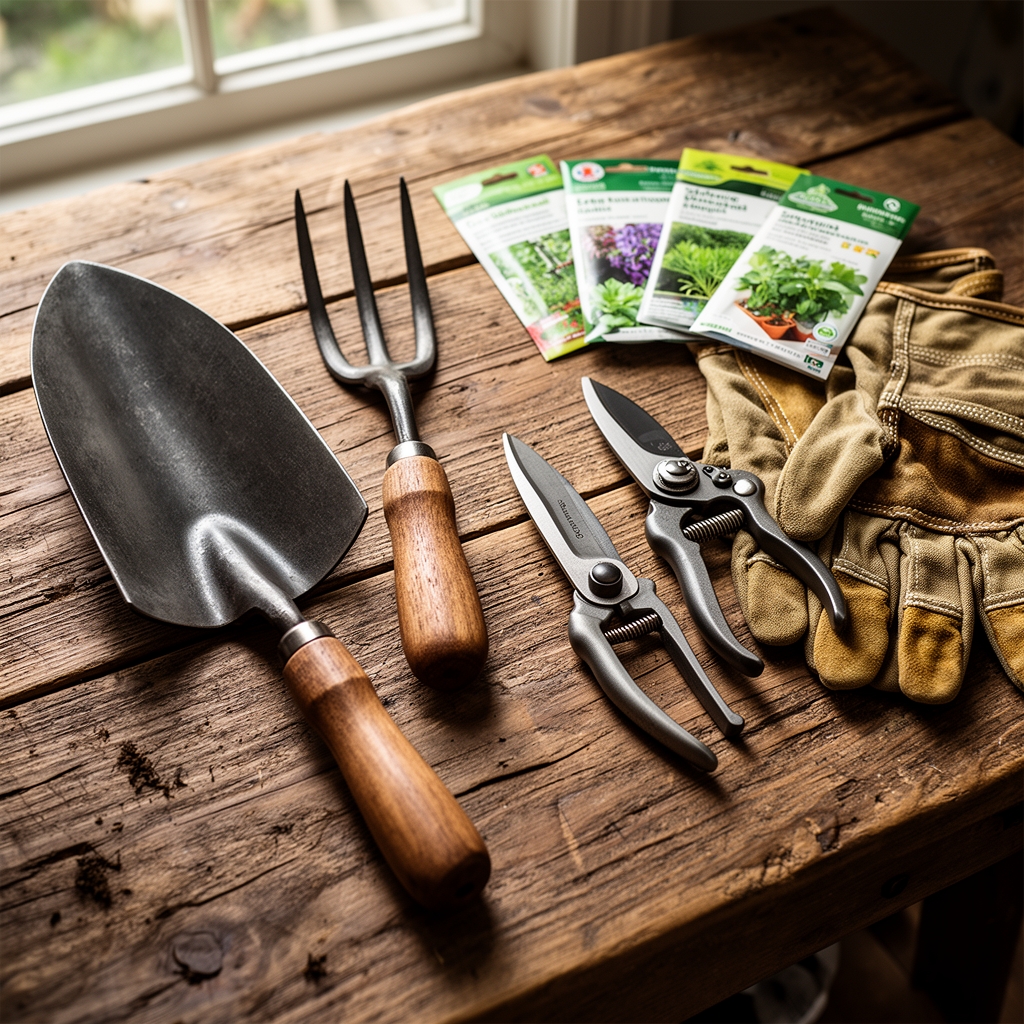
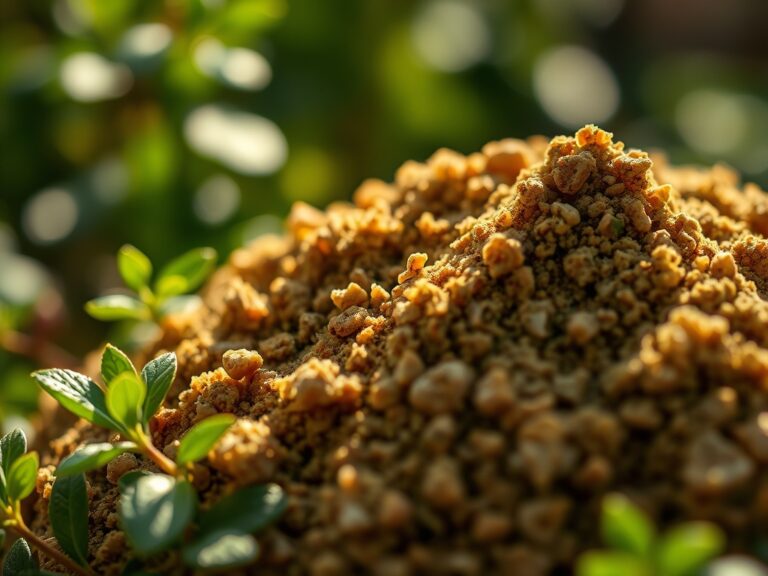
Select your growing medium based on cation exchange capacity and drainage needs. Coco coir blended with perlite (70:30 ratio) maintains pH 5.8–6.5 and drains within 30 seconds of saturation. Alternatively, a peat-based mix amended with dolomitic lime stabilizes pH at 6.2–6.8 over 8–12 weeks. For nutrient-dense substrates, combine aged compost, worm castings, and kelp meal to achieve a balanced 4-4-4 NPK profile suitable for leafy greens and herbs.
Wall-mounted pocket planters made from food-grade felt require vertical studs rated for 40 pounds per linear foot when saturated. Modular trellis systems using PVC or powder-coated steel provide structural support for vining crops. Install full-spectrum LED grow lights delivering 400–600 micromoles per square meter per second at canopy height. Use a programmable timer to maintain 14–16 hour photoperiods for vegetative growth.
Irrigation components include a submersible pump (120 gallons per hour), quarter-inch tubing, drip emitters calibrated at 0.5 gallons per hour, and a reservoir with 5-gallon minimum capacity. Add chelated micronutrient solution at 1 milliliter per gallon of water weekly. Monitor electrical conductivity with a digital meter to maintain readings between 1.2–2.0 mS/cm depending on crop tolerance.
Timing
Indoor vertical gardens bypass hardiness zone restrictions, yet seasonal light angles still influence growth rates. North-facing walls require supplemental lighting year-round. South-facing installations in USDA zones 5–7 benefit from natural winter light but need thermal barriers when ambient temperatures drop below 55°F.
Begin construction in early spring or autumn when humidity levels naturally stabilize between 40–60 percent. Avoid summer installations if indoor temperatures exceed 78°F without ventilation. Seedlings transplanted during these moderate periods experience 20–30 percent faster root establishment compared to temperature-stressed starts.
Plan crop succession every 3–4 weeks for continuous harvests. Lettuce, arugula, and spinach mature in 28–35 days under optimal conditions. Basil and cilantro require 45–50 days from seed to first cutting. Determinate tomato varieties adapted for containers reach harvest maturity at 60–70 days.
Phases
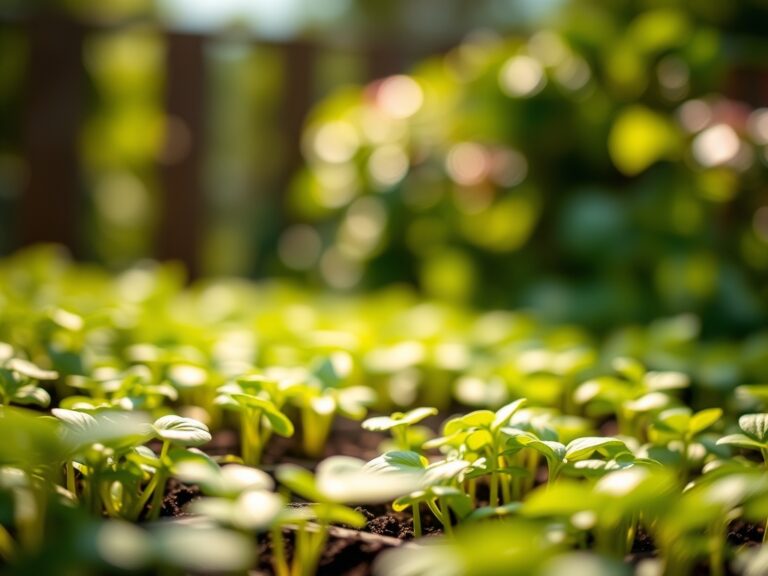
Sowing
Germinate seeds in 1.5-inch rockwool cubes or sterile seedling mix at 70–75°F. Maintain substrate moisture at field capacity without waterlogging. Most culinary herbs and leafy greens emerge within 5–10 days. Cover trays with humidity domes to retain 80–90 percent relative humidity during germination.
Pro-Tip: Inoculate seedling roots with Rhizophagus irregularis mycorrhizal fungi at transplant to increase phosphorus uptake by 35–40 percent and enhance drought tolerance.
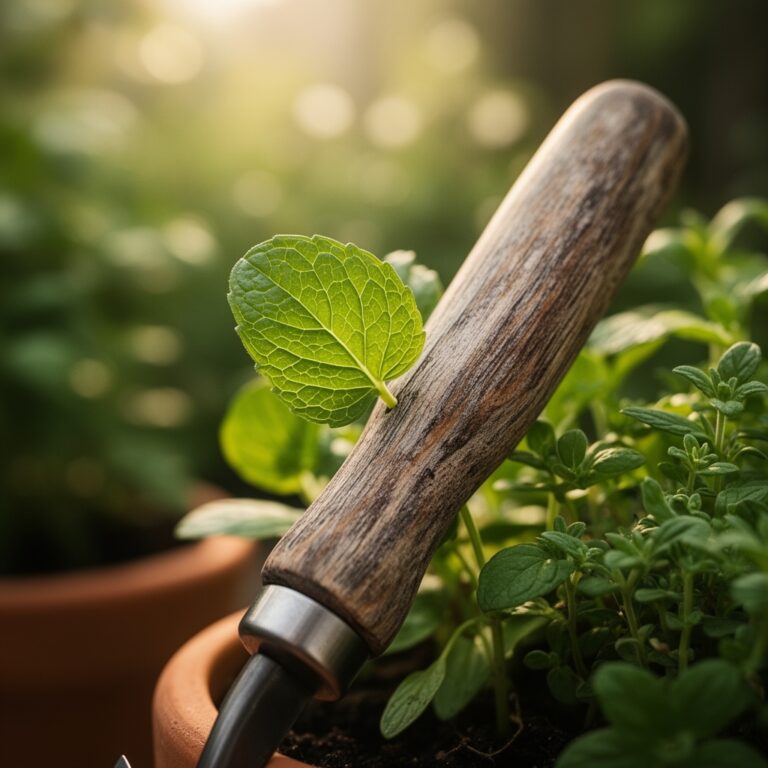
Transplanting
Move seedlings to vertical pockets when true leaves fully expand and root systems colonize starter cells. Handle by leaves, never stems, to avoid crushing vascular tissue. Position root crowns level with substrate surface to prevent stem rot. Space plants 6–8 inches apart for leafy greens, 10–12 inches for compact herbs.
Water immediately after transplanting with half-strength nutrient solution (EC 0.8–1.0 mS/cm). Elevated auxin concentrations at root tips during this phase drive gravitropic orientation in the new vertical environment.
Pro-Tip: Prune transplanted basil and mint at a 45-degree angle above the third node pair to stimulate lateral branching and double harvestable biomass within 3 weeks.
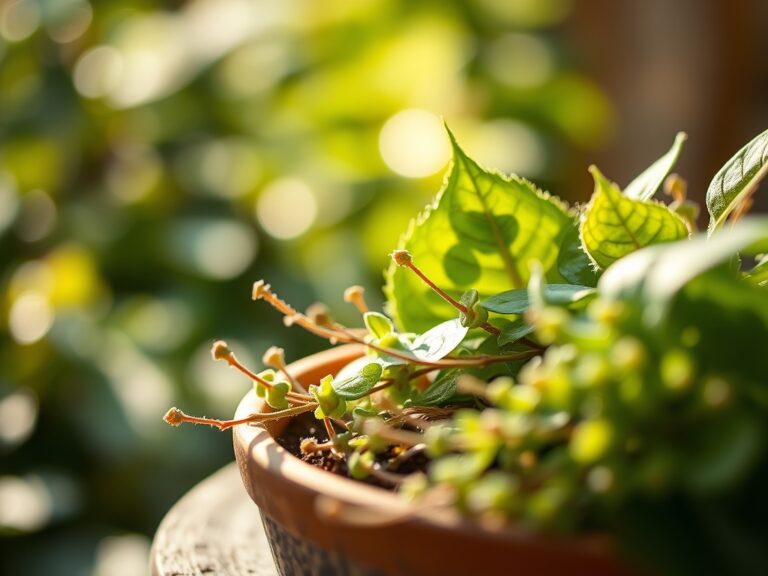
Establishing
Root systems anchor within 10–14 days post-transplant. Increase nutrient strength to full concentration once new vegetative growth resumes. Train vining crops like peas and cucumbers onto vertical supports using soft ties, adjusting weekly to prevent stem girdling.
Monitor canopy density. Remove lower leaves that receive less than 100 micromoles per square meter per second to redirect carbohydrate allocation toward productive tissue. Prune aggressively once plants occupy 70 percent of available vertical space.
Pro-Tip: Apply foliar kelp extract (diluted 1:500) every 14 days during establishment to supply cytokinins that promote cell division and stress resistance.
Troubleshooting
Symptom: Yellowing lower leaves with green veins (interveinal chlorosis).
Solution: Iron deficiency caused by elevated substrate pH. Flush with pH 5.5 water, then apply chelated iron at 5 milligrams per liter.
Symptom: Wilting despite moist substrate, brown root tips.
Solution: Root rot from Pythium species. Remove affected plants, sterilize pockets with 10 percent bleach solution, improve drainage, and reduce irrigation frequency by 30 percent.
Symptom: White powdery coating on leaf surfaces.
Solution: Powdery mildew from poor air circulation. Increase spacing, add oscillating fan to maintain 0.5 meters per second airflow at canopy level, and apply potassium bicarbonate spray (1 tablespoon per quart water) every 5 days.
Symptom: Stunted growth, purple leaf undersides.
Solution: Phosphorus deficiency. Amend substrate with bone meal (3-15-0 NPK) at 2 tablespoons per gallon of mix, or apply liquid phosphorus supplement at 30 ppm concentration.
Symptom: Sudden leaf drop, stem collapse.
Solution: Ethylene accumulation from decaying organic matter or poor ventilation. Remove all dead plant material, install ventilation fan, and avoid storing ripening fruit near garden.
Maintenance
Deliver 1 inch of water per week through drip emitters, split into daily 10-minute irrigation cycles. Measure substrate moisture with a tensiometer, maintaining readings between 10–20 centibars. Flush substrate with pH-adjusted water every 4 weeks to prevent salt accumulation.
Feed with complete fertilizer solution at each irrigation. Use 150–200 ppm nitrogen for leafy greens, 100–150 ppm for herbs. Alternate between calcium nitrate and potassium nitrate sources to maintain proper cation ratios.
Harvest leafy greens when they reach 4–6 inches tall using clean scissors sterilized with 70 percent isopropyl alcohol. Cut herbs 2 inches above woody growth to encourage regrowth. Prune senescent foliage weekly to maintain air circulation.
Replace substrate annually to refresh microbial populations and restore cation exchange capacity. Rotate crop families every 8–10 weeks to disrupt pest and disease cycles.
FAQ
How much weight does a vertical garden add to walls?
Saturated felt pocket systems add 3–5 pounds per square foot. Always mount to wall studs or use anchor systems rated for 50 pounds minimum per fixture.
Can I grow fruiting crops vertically indoors?
Compact determinate varieties like 'Tiny Tim' tomatoes and 'Patio Snacker' cucumbers succeed with 600+ micromoles per square meter per second light intensity and weekly phosphorus supplementation.
What causes algae growth on substrate surfaces?
Constant surface moisture combined with light exposure. Apply 0.5-inch layer of rice hulls or perlite as mulch to block light while maintaining gas exchange.
How do I prevent nutrient lockout in vertical systems?
Maintain substrate pH between 5.8–6.5, flush biweekly, and use chelated micronutrients. Test EC weekly to prevent salt buildup above 2.5 mS/cm.
Do vertical gardens attract indoor pests?
Yellow sticky traps catch fungus gnats and thrips. Introduce Stratiolaelaps scimitus predatory mites preventatively at 10 mites per square foot for biological control.