5 Secret Ways How to Start Seeds Indoors
The smell of damp peat moss and the sharp, metallic scent of a cold grow room define the early season for a master horticulturist. Success depends on maintaining high turgor pressure within the cellular walls of a seedling; if the stem lacks rigidity, the vascular system is already failing. To master how to start seeds indoors, you must move beyond casual gardening and adopt the precision of a laboratory technician. Every seed is a biological engine waiting for a specific thermal and moisture trigger to break dormancy. This process requires an uncompromising focus on soil chemistry, light spectrums, and atmospheric humidity. Failure to control these variables leads to weak, etiolated stems that cannot survive the transition to the field. We begin by manipulating the micro-environment to mimic the precise moment of spring.
Materials:
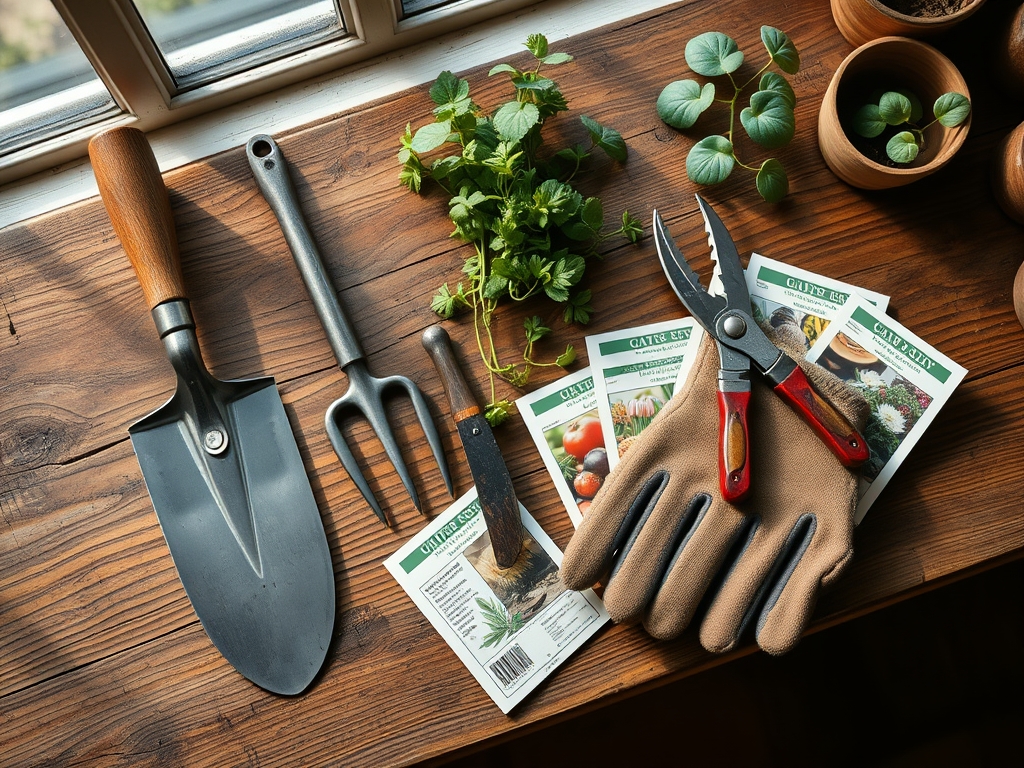
The foundation of indoor propagation is the substrate. Never use garden soil; its high clay content and lack of porosity lead to anaerobic conditions and root rot. Instead, utilize a sterile, soilless medium with a pH between 5.8 and 6.2. The texture must be a friable loam, composed of fine-grade sphagnum peat or coconut coir mixed with perlite for aeration.
For the initial germination phase, the NPK ratio should be negligible, approximately 0-0-0, as the seed contains its own nutrient reserves within the endosperm. Once the first true leaves emerge, transition to a liquid fertilizer with a 5-10-5 ratio to prioritize root development over excessive foliage. High phosphorus levels at this stage are critical for ATP production and cellular energy transfer. The Cation Exchange Capacity (CEC) of your mix determines how well the substrate holds onto these nutrients. A higher CEC prevents leaching during frequent waterings, ensuring that ions like calcium and magnesium remain available in the rhizosphere.
Timing:
Timing is governed by your USDA Hardiness Zone and the specific photoperiod requirements of the species. Most temperate crops require a head start of 6 to 10 weeks before the average last frost date. In Zone 6, this typically means sowing in late February or early March.
Understanding the biological clock is essential. Plants transition from the vegetative stage to the reproductive stage based on hormonal shifts triggered by light duration and temperature. If you start seeds too early, the plant may become root-bound, leading to premature senescence or "bolting" once transplanted. You are aiming for a transplant window where the soil temperature has reached a consistent 60 degrees Fahrenheit at a depth of four inches. This ensures that the metabolic rate of the plant remains high enough to overcome transplant shock.
Phases:
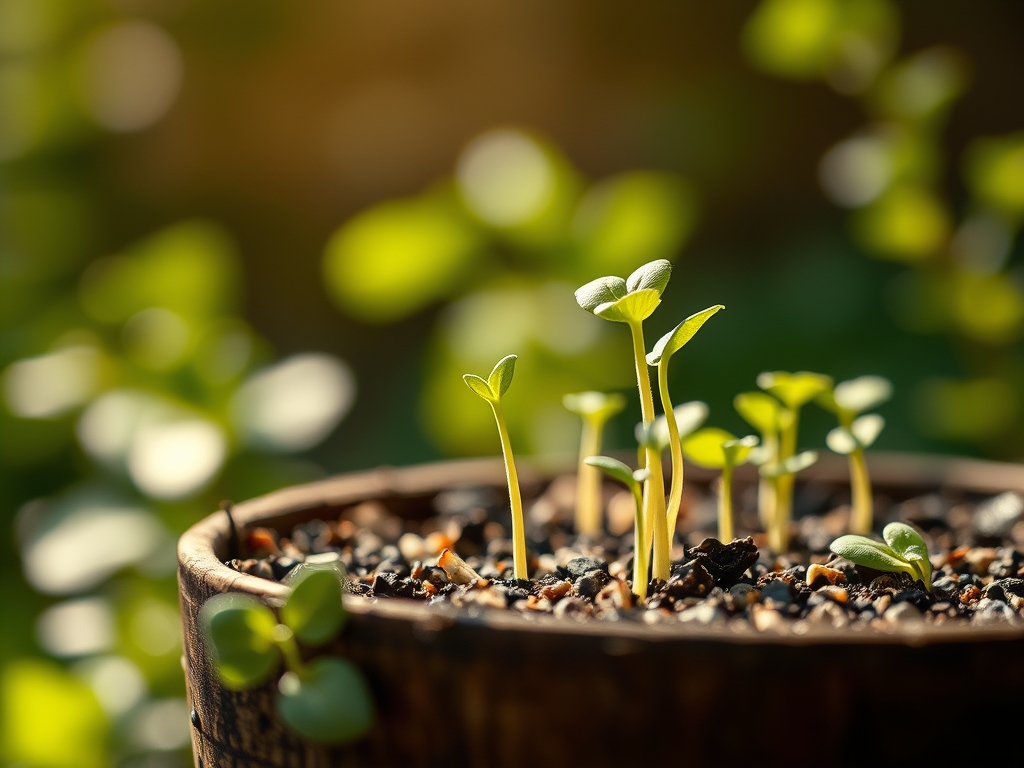
Sowing
Place seeds at a depth exactly two to three times their diameter. Smaller seeds, like lettuce or tobacco, require light for germination and should be surface-sown with a light dusting of vermiculite. Maintain a constant soil temperature of 70 to 75 degrees Fahrenheit using waterproof heating mats.
Pro-Tip: Utilize bottom-heat to encourage rapid radicle emergence. This works because of thermomorphogenesis, where specific temperature gradients signal the seed to break dormancy and begin cellular division before the ambient air temperature fluctuates.
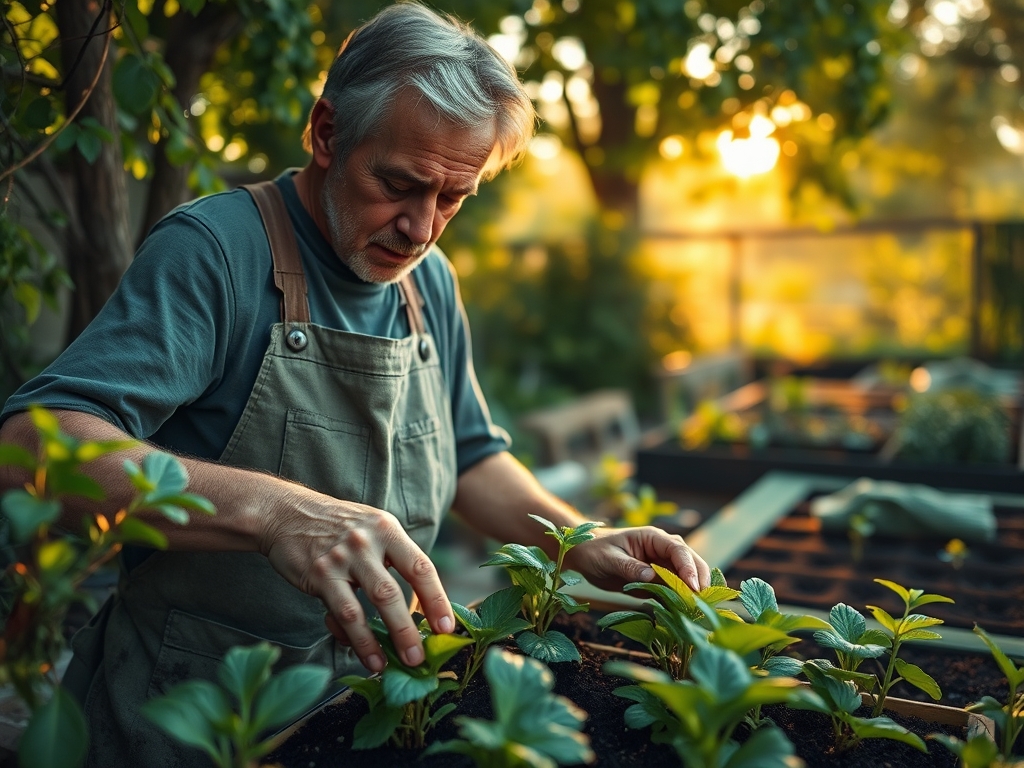
Transplanting
Move seedlings to larger 4-inch pots once they have developed two sets of true leaves. Handle the plants only by the cotyledons or the root ball; never touch the delicate hypocotyl (stem). The new medium should have a slightly higher nutrient density to support rapid biomass accumulation.
Pro-Tip: When transplanting, ensure the root system is not circling the container. If it is, gently tease the roots outward. This prevents auxin suppression, a hormonal state where the plant stops vertical growth because the roots sense physical confinement.
Establishing
Before moving plants outdoors, they must undergo "hardening off." Gradually expose them to direct sunlight and wind over a 7 to 10 day period. Start with one hour of exposure and increase the duration daily. This process thickens the waxy cuticle on the leaves to prevent desiccation.
Pro-Tip: Controlled exposure to wind strengthens the stem through thigmomorphogenesis. The physical stress causes the plant to produce more lignin and ethylene, resulting in a shorter, sturdier stalk capable of withstanding field conditions.
The Clinic:
Physiological disorders often mimic disease, but they are usually a result of environmental stress or chemical imbalances.
- Symptom: Damping-off (shriveled stem at the soil line).
Solution: This is caused by fungal pathogens like Pythium. Increase airflow using a fan and reduce humidity. Ensure the substrate is sterile.
- Symptom: Interveinal chlorosis (yellowing between leaf veins).
Solution: This indicates a Magnesium deficiency or a pH imbalance. Check the soil pH; if it is above 7.0, magnesium becomes "locked" and unavailable to the plant. Fix it by applying a 1 percent Epsom salt solution via foliar spray.
- Symptom: Purple undersides on leaves.
Solution: This is a classic sign of Phosphorus deficiency, often caused by soil temperatures below 55 degrees Fahrenheit. Increase the ambient temperature to restore nutrient uptake.
- Symptom: Edema (small bumps or blisters on leaf undersides).
Solution: This occurs when the plant takes up more water than it can transpire. Reduce watering frequency and improve drainage.
Fix-It for Nitrogen Chlorosis: If the oldest leaves turn pale yellow, the plant is scavenging nitrogen for new growth. Apply a balanced water-soluble fertilizer at half-strength to immediately boost nitrate levels in the rhizosphere.
Maintenance:
Precision maintenance is the difference between a surviving plant and a thriving one. Use a soil moisture meter to ensure the substrate stays between 40 and 60 percent capacity. Over-saturation leads to root hypoxia. As the plants grow, provide 1.5 inches of water per week, delivered directly to the base of the plant to keep the foliage dry.
Pruning is necessary for indeterminate species to manage airflow. Use bypass pruners for clean cuts that heal quickly. If you are thinning seedlings in a tray, do not pull them out, as this disturbs the root systems of neighbors. Instead, use a hori-hori knife or small snips to cut the unwanted seedlings at the soil level. Monitor the light distance constantly; LED or fluorescent shop lights should remain 3 to 4 inches above the canopy to prevent stretching and maximize photosynthetic photon flux density (PPFD).
The Yield:
For those growing edibles or flowers, the harvest is the final data point. Harvest leafy greens in the early morning when turgor pressure is at its peak; this ensures the leaves are crisp and have the longest shelf life. Use a sharp blade to make a clean incision, preventing jagged wounds that invite pathogens.
Post-harvest, immediately submerge produce in a cold water bath to remove field heat. This process, known as hydro-cooling, slows down the metabolic rate and respiration of the plant material. For flowers, a clean cut at a 45-degree angle under water prevents air embolisms from forming in the xylem, ensuring the bloom can continue to draw moisture for several days.
FAQ:
How much light do indoor seedlings need?
Seedlings require 14 to 16 hours of high-intensity light per day. Standard windowsill light is rarely sufficient and often leads to leggy, weak plants. Use full-spectrum LED grow lights positioned just inches above the foliage for optimal results.
What is the best temperature for starting seeds?
Most temperate seeds germinate best with a soil temperature between 70 and 75 degrees Fahrenheit. Once germinated, ambient air temperatures can drop to 65 degrees during the day and 55 degrees at night to encourage stocky growth.
Why are my seedlings falling over and dying?
This is likely "damping-off," a fungal condition favored by cool, wet soil and poor air circulation. To prevent this, use sterile potting mix, avoid overwatering, and provide a small fan to keep air moving around the base of the plants.
When should I start fertilizing my seedlings?
Begin fertilization once the first true leaves appear. Use a water-soluble fertilizer diluted to quarter or half strength. Avoid fertilizing before this stage, as the seed's endosperm provides all the necessary nutrients for initial emergence and root development.