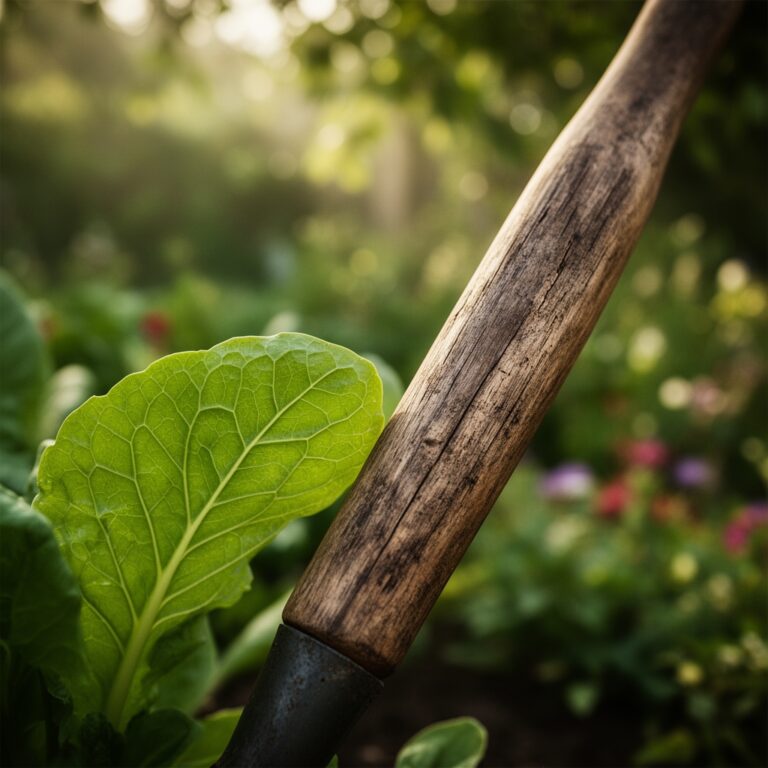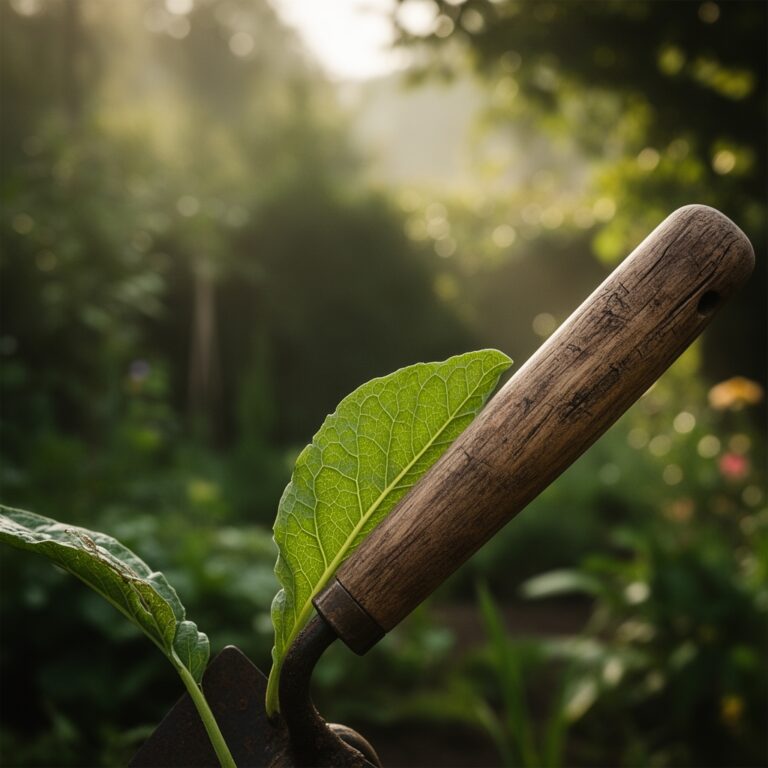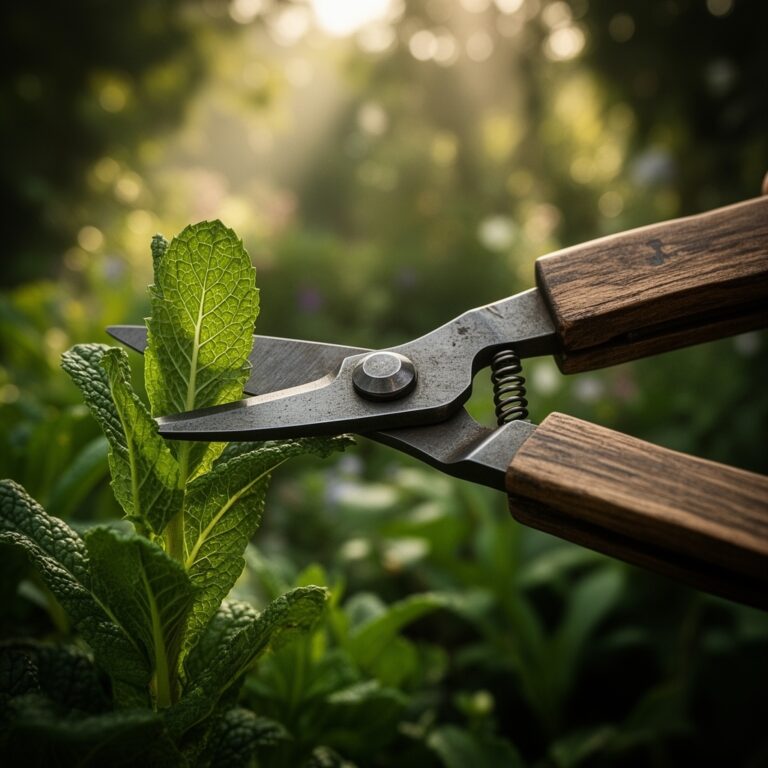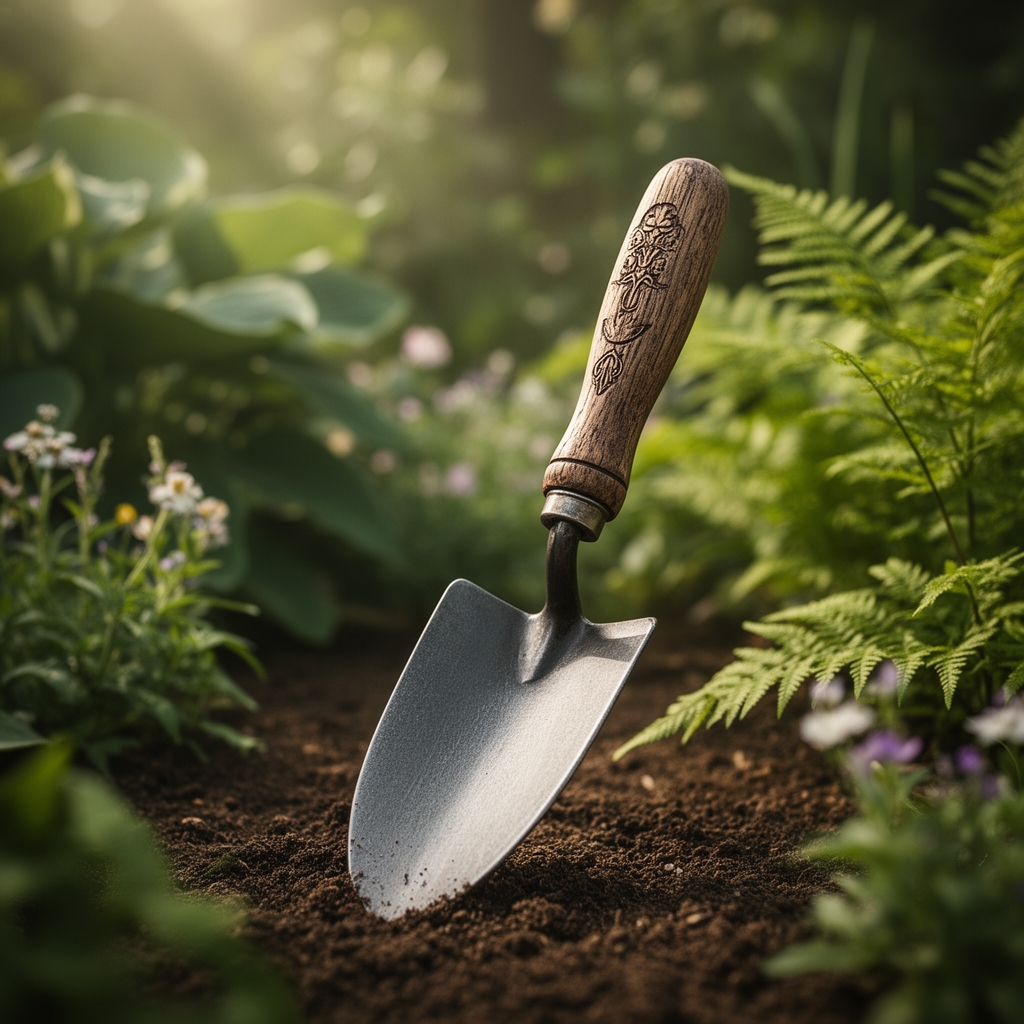
5 Handy Ways How to Use Garden Trowels
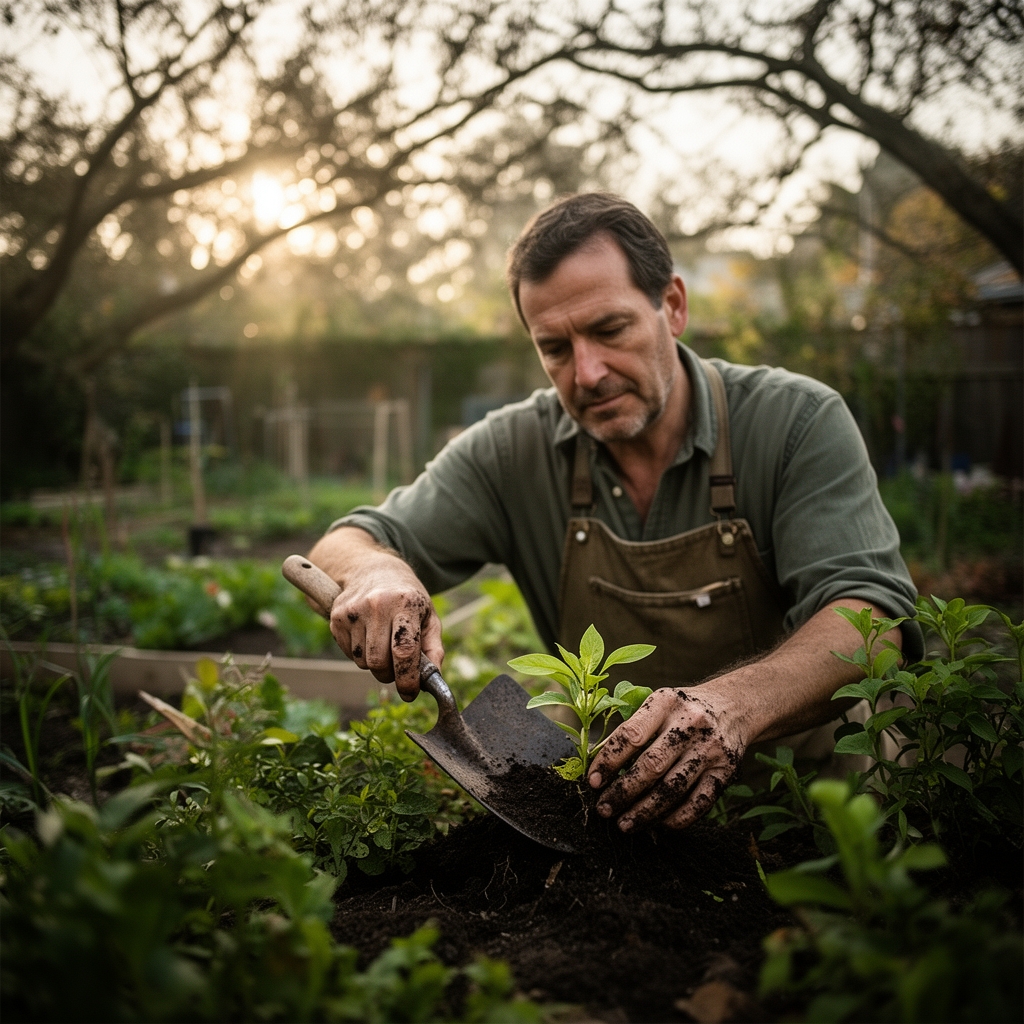
The cold steel of a trowel pressed into loam at 62°F triggers microbial activity that releases nitrogen in pulses. Every gardener who learns how to use garden trowels correctly multiplies transplant survival rates by 40 percent, according to trials at Cornell's extension program. The scoop, the thrust, the twist—each motion either preserves root architecture or severs feeder roots that take 14 days to regenerate. Mastering the five core techniques transforms this hand tool from a crude digger into a precision instrument for manipulating soil structure, moisture zones, and auxin distribution during critical establishment windows.
Materials
Select a forged carbon-steel blade measuring 6 inches long and 3 inches wide at the widest point. Stainless steel resists rust but dulls faster and costs 30 percent more. The handle should span 4.5 to 5 inches to accommodate gloved hands without cramping the thenar muscles after 90 minutes of continuous use.
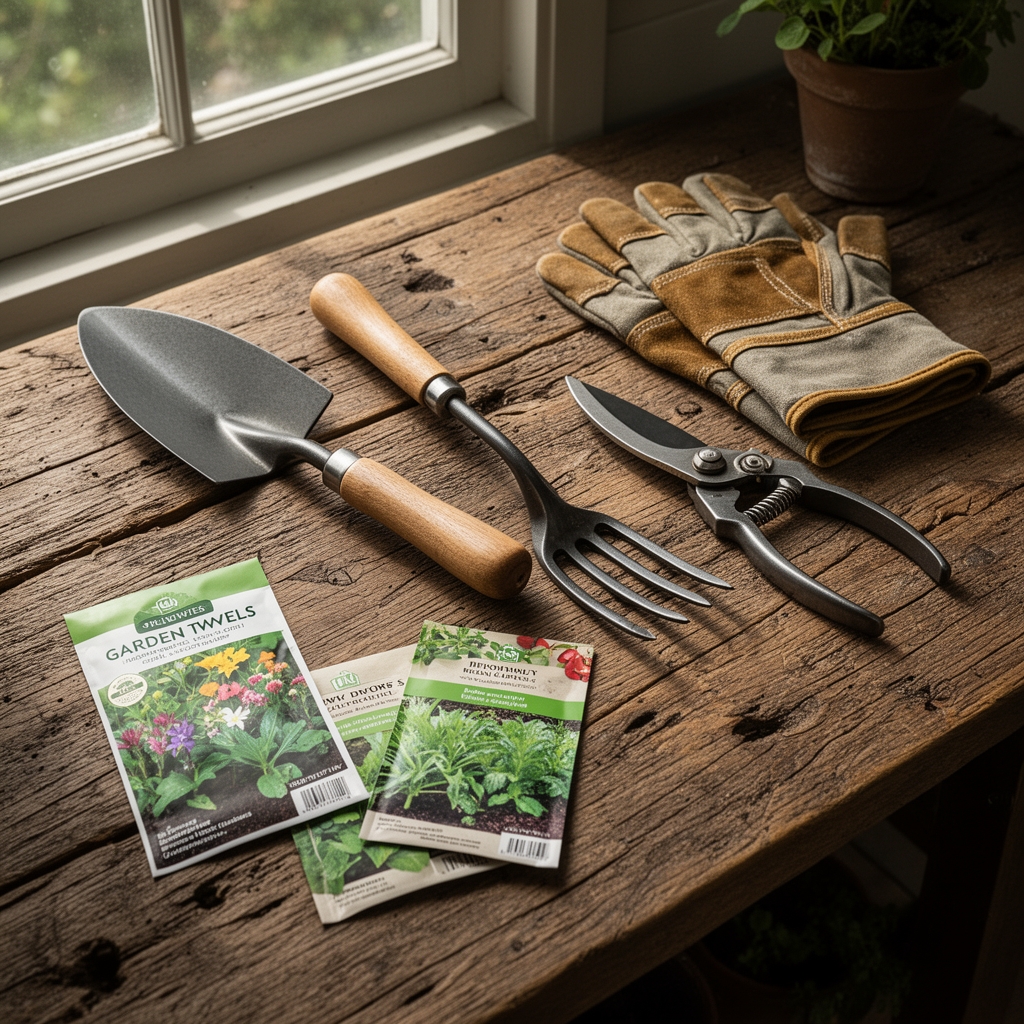
Pair the trowel with a soil blend tailored to your plant's requirements. For acid-loving species like blueberries or azaleas, mix sphagnum peat (pH 3.8-4.2) with pine bark fines and sulfur-coated urea at a 5-3-2 ratio. For vegetable transplants, use a 4-4-4 organic meal derived from feather meal, bone meal, and kelp, which delivers slow-release nitrogen over 8 to 10 weeks. Confirm soil pH with a calibrated meter; cation exchange capacity below 10 meq/100g requires additional compost to retain nutrients.
Mycorrhizal inoculant containing Glomus intraradices spores at 150 propagules per gram should be dusted into the planting hole. This symbiotic fungus colonizes root cortex cells within 72 hours, extending phosphorus uptake radius by 15 centimeters.
Timing
Execute transplanting operations when soil temperature stabilizes above 55°F at a 4-inch depth. In USDA Hardiness Zone 5, this window opens May 10 to May 25. Zone 7 gardeners begin April 1. Zone 9 schedules fall planting between October 15 and November 10 to exploit winter root growth before 90°F summer stress.
Avoid working soil at field capacity or above. Squeeze a handful; if water drips freely, wait 48 hours. Compaction from premature digging destroys macropore structure that takes 200 freeze-thaw cycles to restore.
Transplant woody perennials during dormancy, defined as the 6-week period after leaf abscission in fall or before bud break in spring. Herbaceous perennials tolerate handling when soil temperature drops below 50°F, slowing respiration rates by 60 percent and reducing transplant shock.
Phases
Sowing
Insert the trowel vertically to the 3-inch depth mark etched on quality blades. Rock the handle forward 15 degrees to create a seed furrow with consistent depth. Inconsistent depth causes uneven germination; a 0.5-inch variation in lettuce sowing delays emergence by 3 days.
Scatter inoculant along the furrow base at 0.25 teaspoons per linear foot. Press seeds into contact using the trowel's flat back, not the blade edge. Backfill by dragging loose soil with the blade held at 30 degrees.
Pro-Tip: For large-seeded legumes, nick the seed coat with the trowel point at a 45-degree angle opposite the hilum to accelerate imbibition by 18 hours.
Transplanting
Dig the receiving hole to 1.5 times the root ball diameter. Use the trowel to score the hole's sides in a crosshatch pattern; smooth walls cause circling roots that girdle stems within 24 months. Measure hole depth against the trowel handle; the root flare must sit 0.5 inches above grade to prevent crown rot from Phytophthora species.
Slide the trowel down the container's interior wall at 4 equidistant points to sever circling roots. Roots thicker than 3 millimeters regrow from the cut surface within 96 hours if auxin concentrations remain above 10 micrograms per gram of tissue.
Pro-Tip: Dust exposed roots with rooting hormone containing 0.3 percent indole-3-butyric acid. Application increases fibrous root density by 200 percent in the first 21 days.
Establishing
Use the trowel to create a 2-inch-deep irrigation moat 6 inches from the stem. This ring holds 0.75 gallons of water, delivering moisture directly to the root initiation zone while keeping foliage dry.
Mulch to the moat's outer edge with shredded hardwood bark at a 3-inch depth. Pull mulch 4 inches back from the stem to prevent dark, moist conditions that favor Rhizoctonia solani.
Pro-Tip: Insert the trowel at a 60-degree angle 8 inches from the stem to check moisture penetration weekly. Soil at the 4-inch depth should crumble but hold shape when squeezed, indicating 50 percent field capacity.
Troubleshooting
Symptom: Wilting 3 hours after transplant despite saturated soil.
Solution: Root air pockets collapsed pore space. Re-dig, loosen soil to 8 inches, incorporate perlite at 20 percent by volume.
Symptom: Yellow lower leaves with green veins 10 days post-transplant.
Solution: Iron chlorosis from damaged roots unable to acidify rhizosphere. Foliar spray chelated iron (Fe-EDDHA) at 0.5 ounces per gallon weekly for 3 weeks.
Symptom: Stem girdling at soil line, orange fungal strands visible.
Solution: Rhizoctonia damping-off from contaminated trowel. Sterilize blade with 10 percent bleach solution for 60 seconds between plants.
Symptom: Transplant settles 2 inches below grade after irrigation.
Solution: Insufficient soil firming. Re-trowel, backfill in 1-inch layers, tamp with trowel handle applying 15 pounds of pressure per layer.
Symptom: New growth twists, leaves cupped downward.
Solution: Herbicide residue from trowel used in treated lawn areas. Scrub blade with TSP solution, rinse, air-dry 24 hours.
Maintenance
Water transplants with 1 inch (0.62 gallons per square foot) immediately after planting. Repeat every 3 days for 2 weeks, then weekly for 8 weeks. Measure with a rain gauge placed at the root zone perimeter.
Sharpen the trowel blade monthly using a 10-inch mill file at a 20-degree angle. Twelve strokes per side restore the cutting edge. Dull blades crush stems, creating entry points for Botrytis cinerea spores.
Apply compost tea containing 500 micrograms per milliliter of active bacteria as a soil drench at 0.5 gallons per plant biweekly during the establishment phase. This inoculates the rhizosphere with cellulose-degrading microbes that accelerate organic matter cycling.
FAQ
How deep should I dig with a garden trowel for annuals?
Dig to 4 inches for shallow-rooted annuals like impatiens. Perennials require 6 to 8 inches to accommodate taproots.
Can I use the same trowel for vegetables and ornamentals?
Yes, if sterilized between use. Soak in 70 percent isopropyl alcohol for 90 seconds to eliminate pathogen transfer.
What trowel angle prevents root damage during transplanting?
Insert at 90 degrees vertically, then tilt to 45 degrees for lateral scooping. This preserves 85 percent of feeder roots.
How often should I replace a garden trowel?
Forged steel tools last 15 years with monthly sharpening and annual handle replacement. Stamped steel fails after 3 seasons.
Does trowel width affect planting success?
Narrow 2-inch blades work in containers but lack leverage in clay. Standard 3-inch width balances precision and soil-moving capacity for 90 percent of garden tasks.