10 Pro Tips How to Use Vermiculite for Moisture
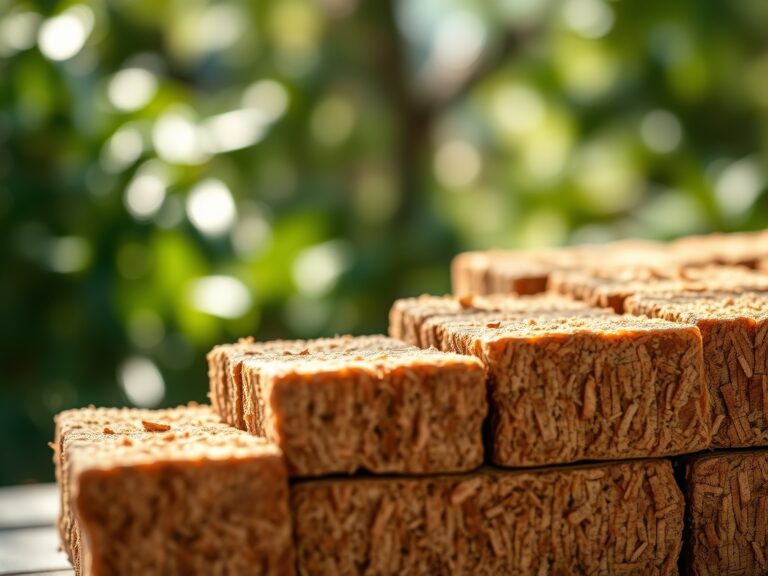
Healthy plant tissue relies on turgor pressure; the internal fluid force that keeps a leaf rigid and functional. When a plant loses this pressure, the cellular structure collapses and photosynthesis halts. Understanding how to use vermiculite for moisture management is the difference between a thriving rhizosphere and a desiccated root system. This micaceous mineral undergoes a process called exfoliation, where it is heated to 1000 degrees Celsius to expand its layers. These layers act as microscopic bellows, trapping water and essential ions within the soil matrix. For a professional grower, managing this hydration is a mechanical necessity. Proper application ensures that the soil remains aerobic while maintaining a consistent water reserve for the roots to draw upon during peak transpiration hours.
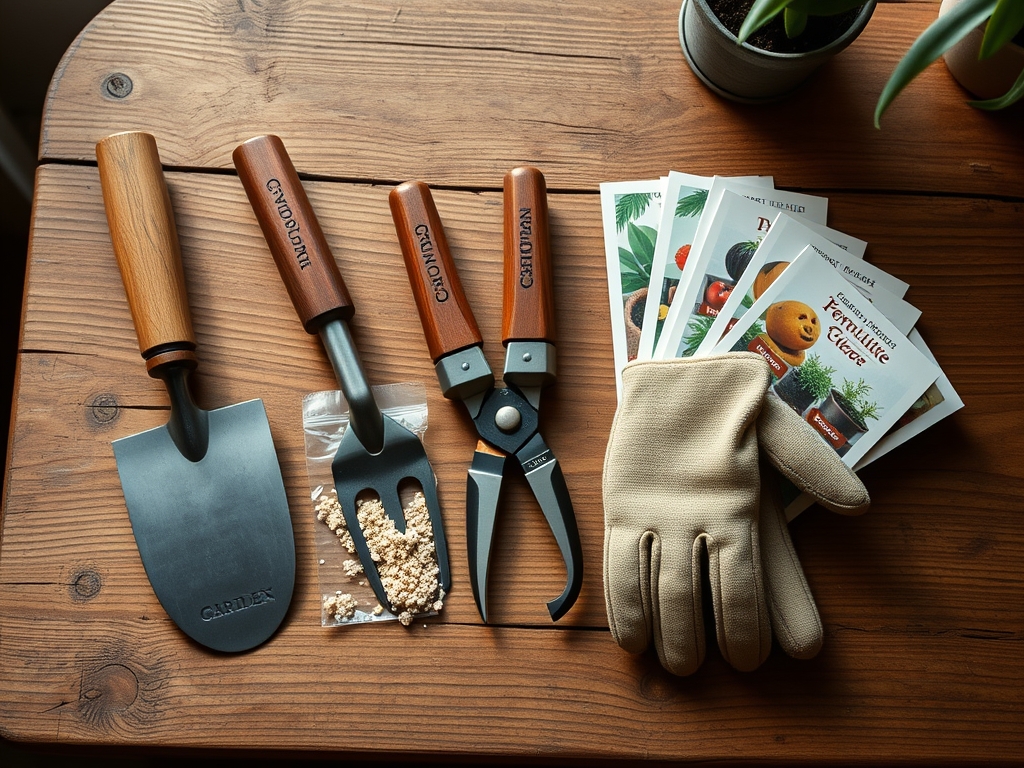
Materials:
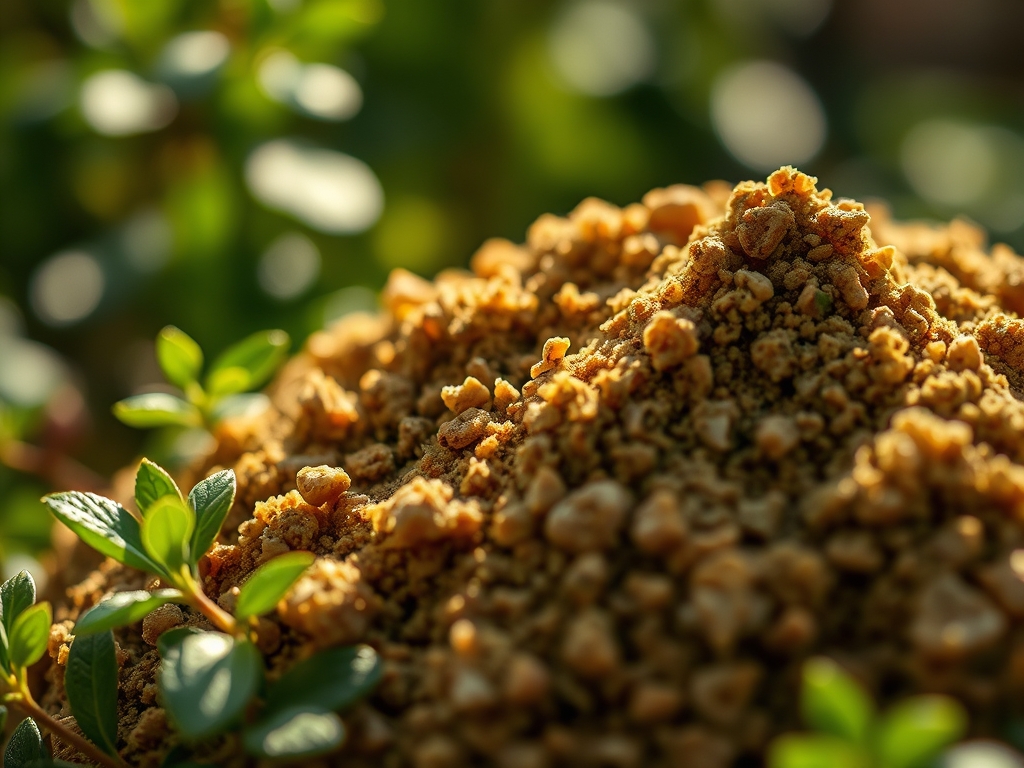
Selecting the correct grade of vermiculite is critical for soil physics. Horticultural vermiculite is chemically inert with a neutral pH of 7.0; it will not alter the acidity of your growing medium. To create a professional-grade substrate, start with a friable loam base. This loam should ideally consist of 40 percent sand, 40 percent silt, and 20 percent clay.
The NPK ratio of your starting mix should be low, such as a 5-5-5 starter fertilizer, to prevent osmotic shock to young seedlings. Vermiculite possesses a high Cation Exchange Capacity (CEC), meaning it attracts and holds positively charged ions like potassium (K+), magnesium (Mg2+), and calcium (Ca2+). Use a coarse grade (Size 3 or 4) for outdoor beds to improve drainage, and a fine grade (Size 1 or 2) for seed starting to ensure maximum seed-to-soil contact.
Timing:
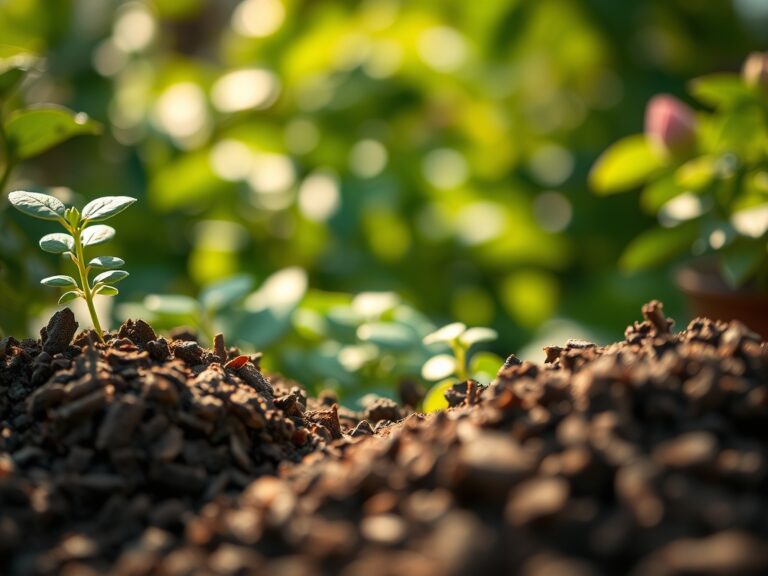
In USDA Hardiness Zones 3 through 7, the window for soil preparation begins 4 to 6 weeks before the last predicted frost. For Mediterranean climates in Zones 8 through 10, moisture management is a year-round requirement due to higher evapotranspiration rates. You must synchronize vermiculite application with the plant's Biological Clock. During the vegetative stage, high nitrogen demand requires consistent moisture to transport nitrates into the roots. As the plant transitions to the reproductive stage, signaled by a change in photoperiod or thermal units, the water demand often spikes as the plant develops fruit or flowers. Incorporating vermiculite during the initial spring tilling or at the point of mid-season transplanting ensures the root zone remains hydrated during these critical metabolic shifts.
Phases:

Sowing
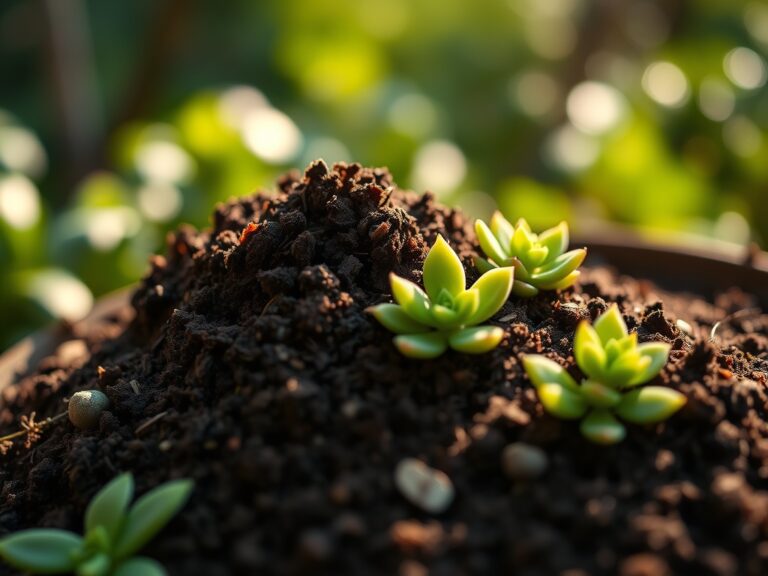
For seed starting, create a mix of 50 percent peat moss or coconut coir and 50 percent fine-grade vermiculite. This ratio provides the ideal balance of aeration and water retention. Cover the seeds with a thin layer of vermiculite rather than heavy soil to allow light penetration for species that require it.
Pro-Tip: Vermiculite prevents "damping off" by maintaining a consistent moisture level that discourages the rapid fluctuation of surface humidity. This stability supports early mycorrhizal symbiosis, where beneficial fungi colonize the root system to enhance nutrient uptake.
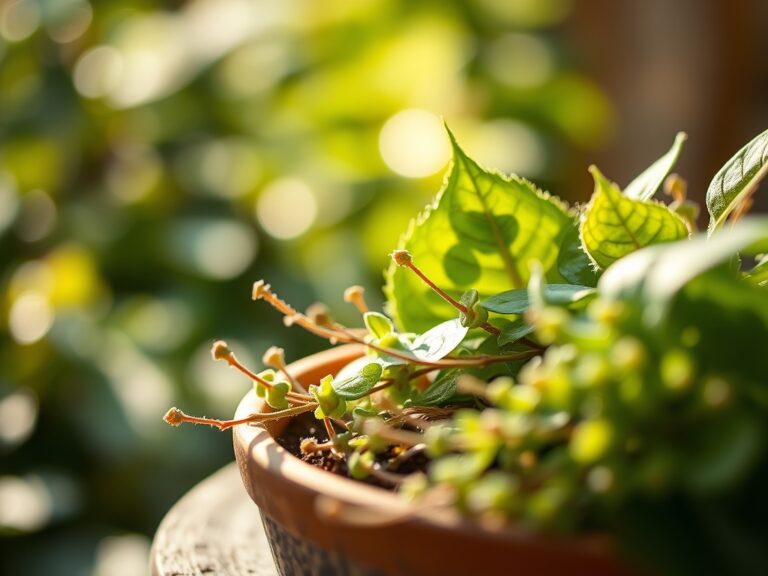
Transplanting
When moving a plant from a nursery pot to the field, mix two cups of coarse vermiculite into the backfill soil for every gallon of root ball volume. This creates a transition zone that prevents the root ball from drying out faster than the surrounding native soil.
Pro-Tip: This technique reduces transplant shock by maintaining turgor pressure during the period before the roots have successfully bridged into the new soil profile. It suppresses the production of abscisic acid, a hormone that triggers leaf drop under stress.
Establishing
For established perennials or shrubs, apply a 2-inch layer of vermiculite mixed with organic mulch around the drip line. This acts as a reservoir that captures irrigation and slowly releases it to the feeder roots located in the top 6 to 12 inches of the soil.
Pro-Tip: Consistent moisture at the drip line prevents the plant from entering early senescence. By keeping the rhizosphere hydrated, you ensure that auxins continue to flow from the apical meristems, promoting healthy lateral growth.
The Clinic:
Physiological disorders often stem from erratic moisture levels rather than pathogens.
- Symptom: Blossom End Rot. This appears as a dark, sunken leathery spot on the bottom of tomatoes or peppers.
Solution: This is a calcium deficiency caused by uneven watering. Mix vermiculite into the soil at a 1:3 ratio to stabilize moisture. This allows for a continuous flow of calcium through the xylem.
- Symptom: Nitrogen Chlorosis. Leaves turn pale yellow, starting with the older, lower leaves.
Solution: If the soil is waterlogged, roots cannot respire to take up nitrogen. Increase the vermiculite content to 30 percent to improve pore space and oxygen availability in the rhizosphere.
- Symptom: Leaf Scorch. Edges of the leaves turn brown and crispy during high heat.
Solution: The transpiration rate is exceeding the water uptake. Use a soil moisture meter to check the depth of hydration. If the top 4 inches are dry, increase the vermiculite density to hold water longer.
Fix-It: For general nutrient deficiencies, remember that vermiculite’s high CEC allows it to act as a slow-release buffer for fertilizers. If you notice stunted growth, top-dress with a balanced 10-10-10 fertilizer and rake in 1 inch of vermiculite to help lock those nutrients in place.
Maintenance:
Precision is the hallmark of a master gardener. Most vegetable crops require 1.5 inches of water per week delivered directly to the drip line. Use a soil moisture meter daily to ensure the substrate remains between 60 and 80 percent of its field capacity. If you need to prune dead or diseased wood to improve airflow, use sharp bypass pruners to make clean cuts at a 45-degree angle just above a lateral bud. When weeding around the base of the plant, use a hori-hori knife to slice through taproots without disturbing the vermiculite-enhanced soil structure. Avoid heavy tilling once the plant is established, as this can break the delicate fungal hyphae that work in tandem with the vermiculite to move water.
The Yield:
Harvesting is a race against cellular degradation. For leafy greens, harvest in the early morning when turgor pressure is at its peak. Use a sharp blade to minimize tissue damage. For fruiting bodies like tomatoes or cucumbers, wait until the fruit reaches its specific "breaker stage" or full color. Once harvested, the plant begins a process of rapid respiration. To maintain "day-one" freshness, hydro-cool the produce immediately by submerging it in 40-degree Fahrenheit water for 15 minutes. This removes field heat and slows down the metabolic processes that lead to wilting.
FAQ:
Does vermiculite expire or break down in soil?
Vermiculite is a permanent soil amendment. Unlike organic matter, it does not decompose. It maintains its structure and Cation Exchange Capacity for years, though heavy compaction can eventually crush the expanded flakes and reduce their aeration benefits.
Can I use vermiculite for succulents?
Generally, no. Succulents require rapid drainage and low moisture retention. Perlite is a better choice for cacti and succulents because it provides aeration without holding onto the high volumes of water that vermiculite is designed to retain.
What is the difference between perlite and vermiculite?
Perlite is volcanic glass used primarily for aeration and drainage. Vermiculite is a silicate mineral that excels at water and nutrient retention. Use perlite for drainage-heavy mixes and vermiculite for moisture-loving plants or seed starting.
Is vermiculite safe for organic vegetable gardening?
Yes, horticultural vermiculite is a naturally occurring mineral and is widely used in organic production. Ensure the product is labeled as asbestos-free, which is the industry standard for all modern horticultural vermiculite sourced from reputable mines.